Tuesday 12 April 2022

Lucky Us ☘️

Last summer I stumbled across a company called Kimberbell.  

What caught my eye whilst browsing their website is their vast back catalog of machine embroidery projects they have available to choose from.  I have to confess I have quite a few cute projects I want to do and they are all now waiting in the wings…

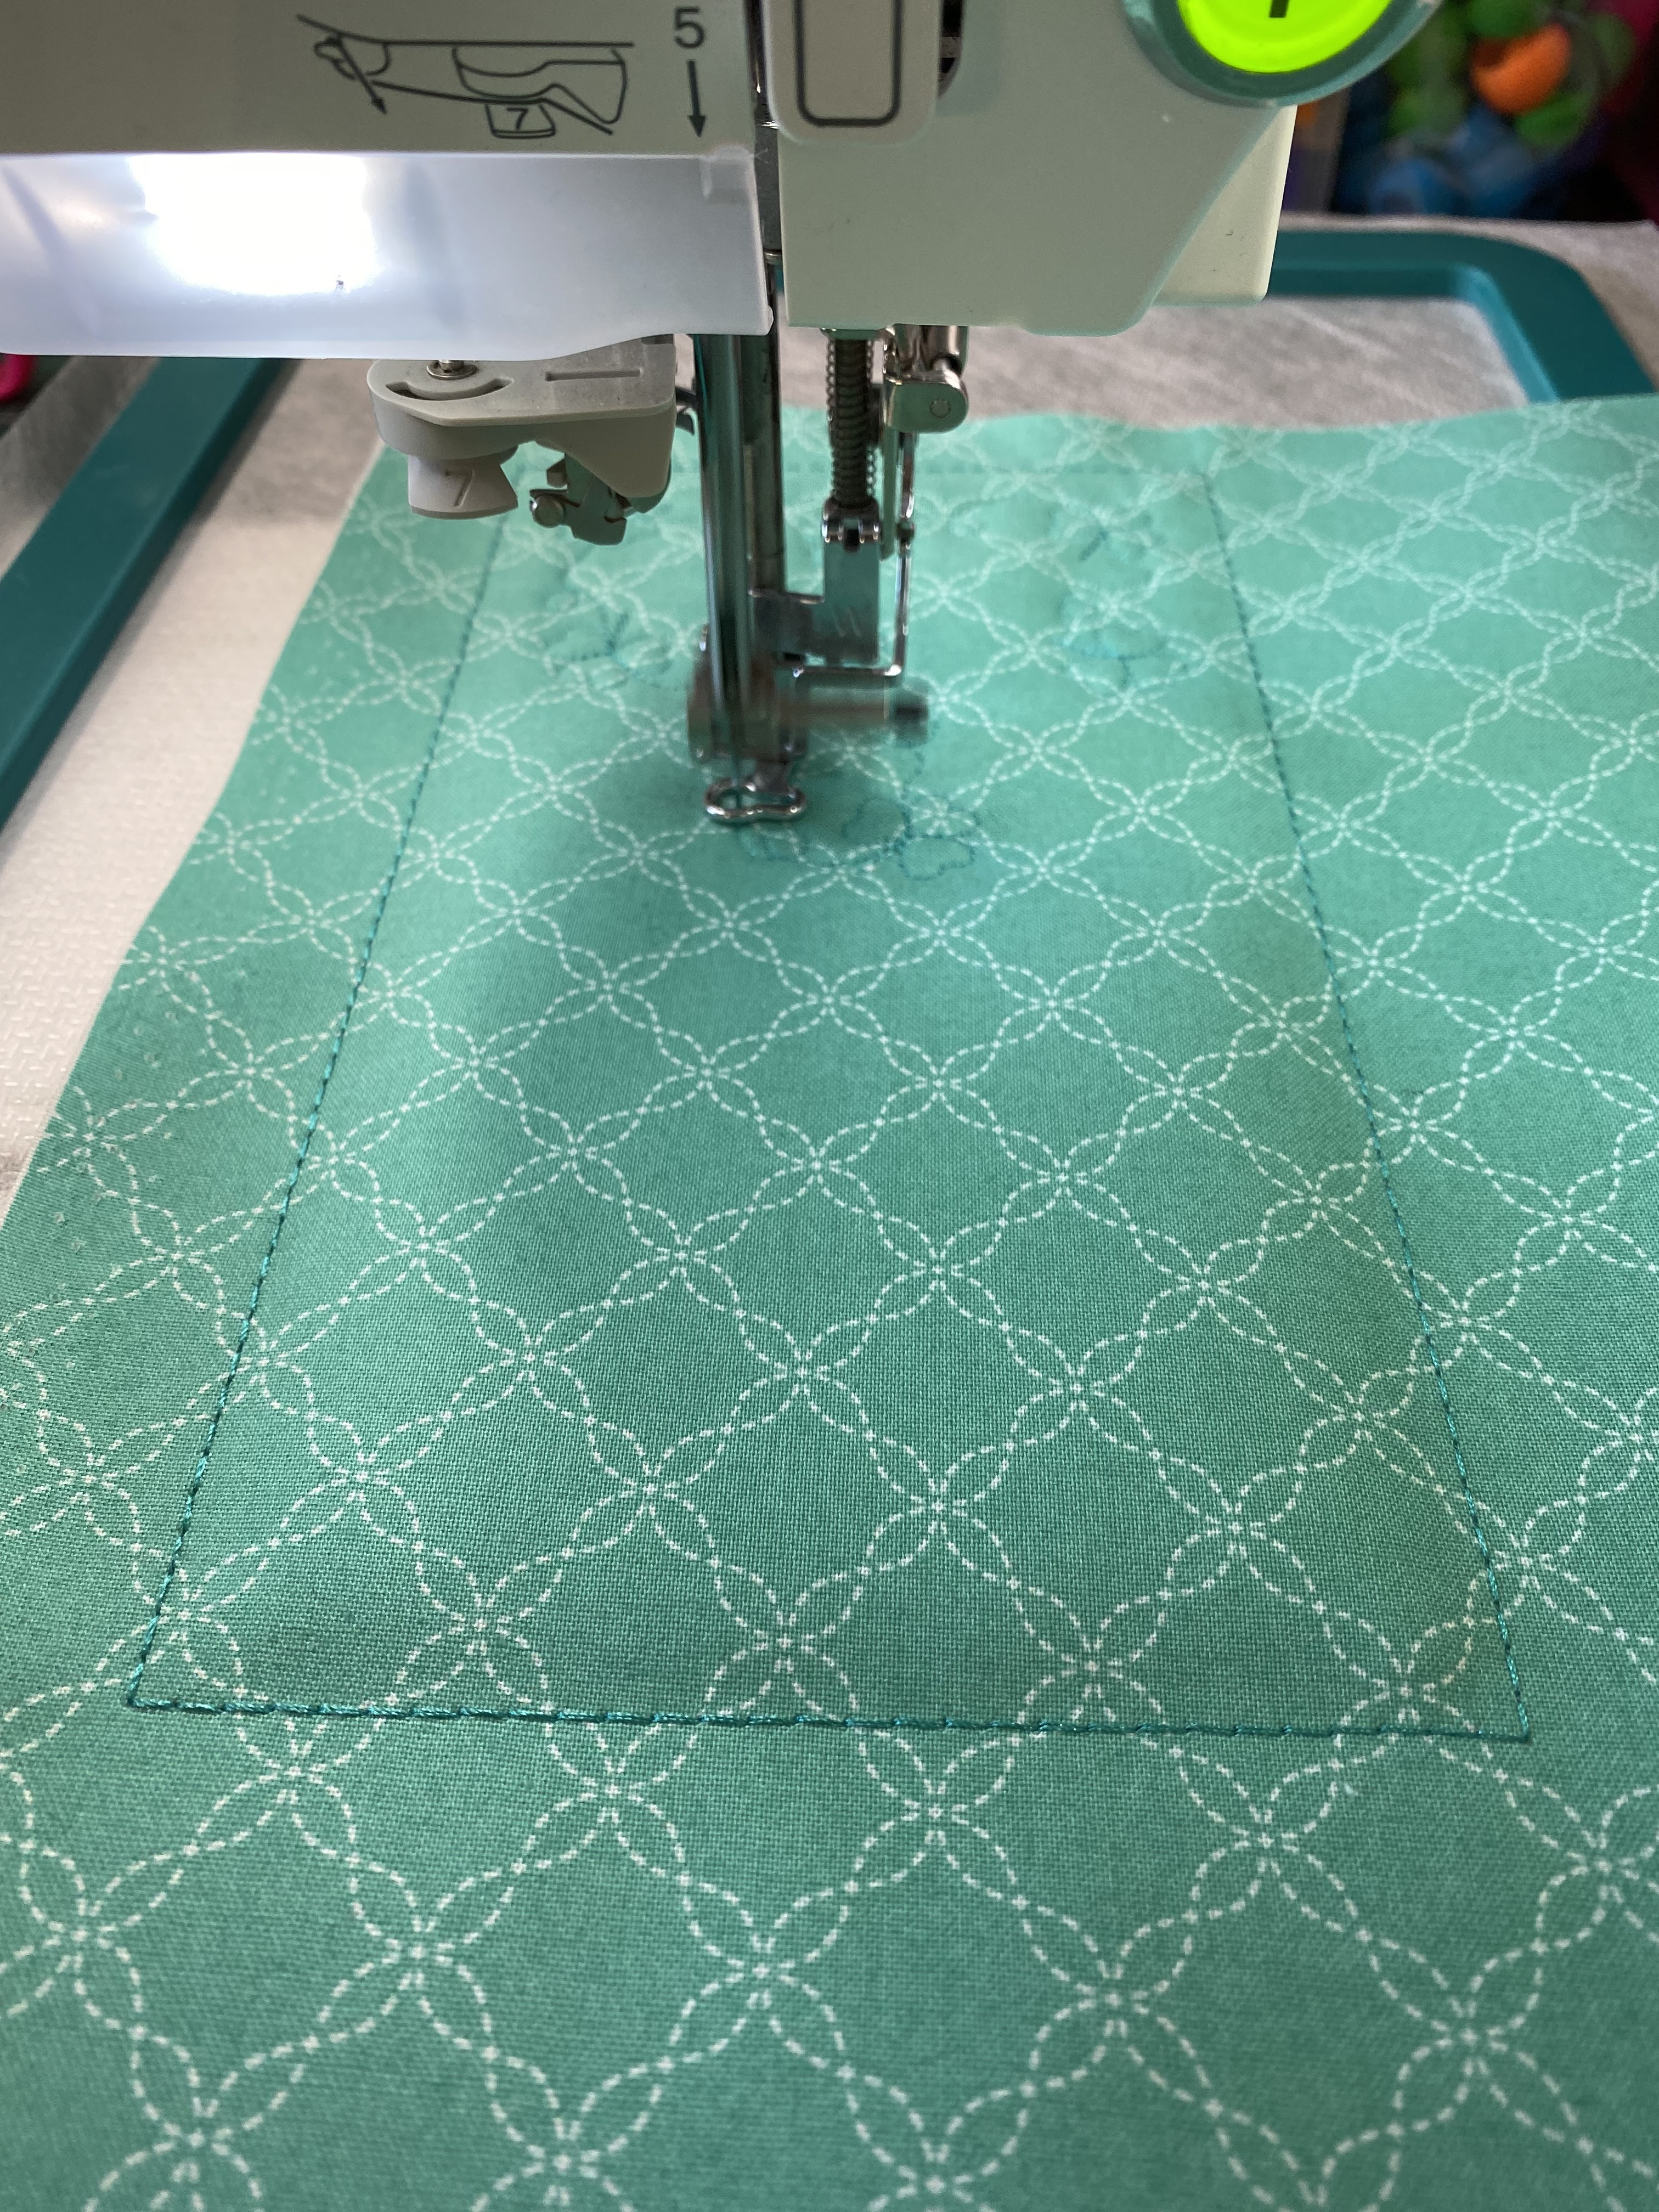
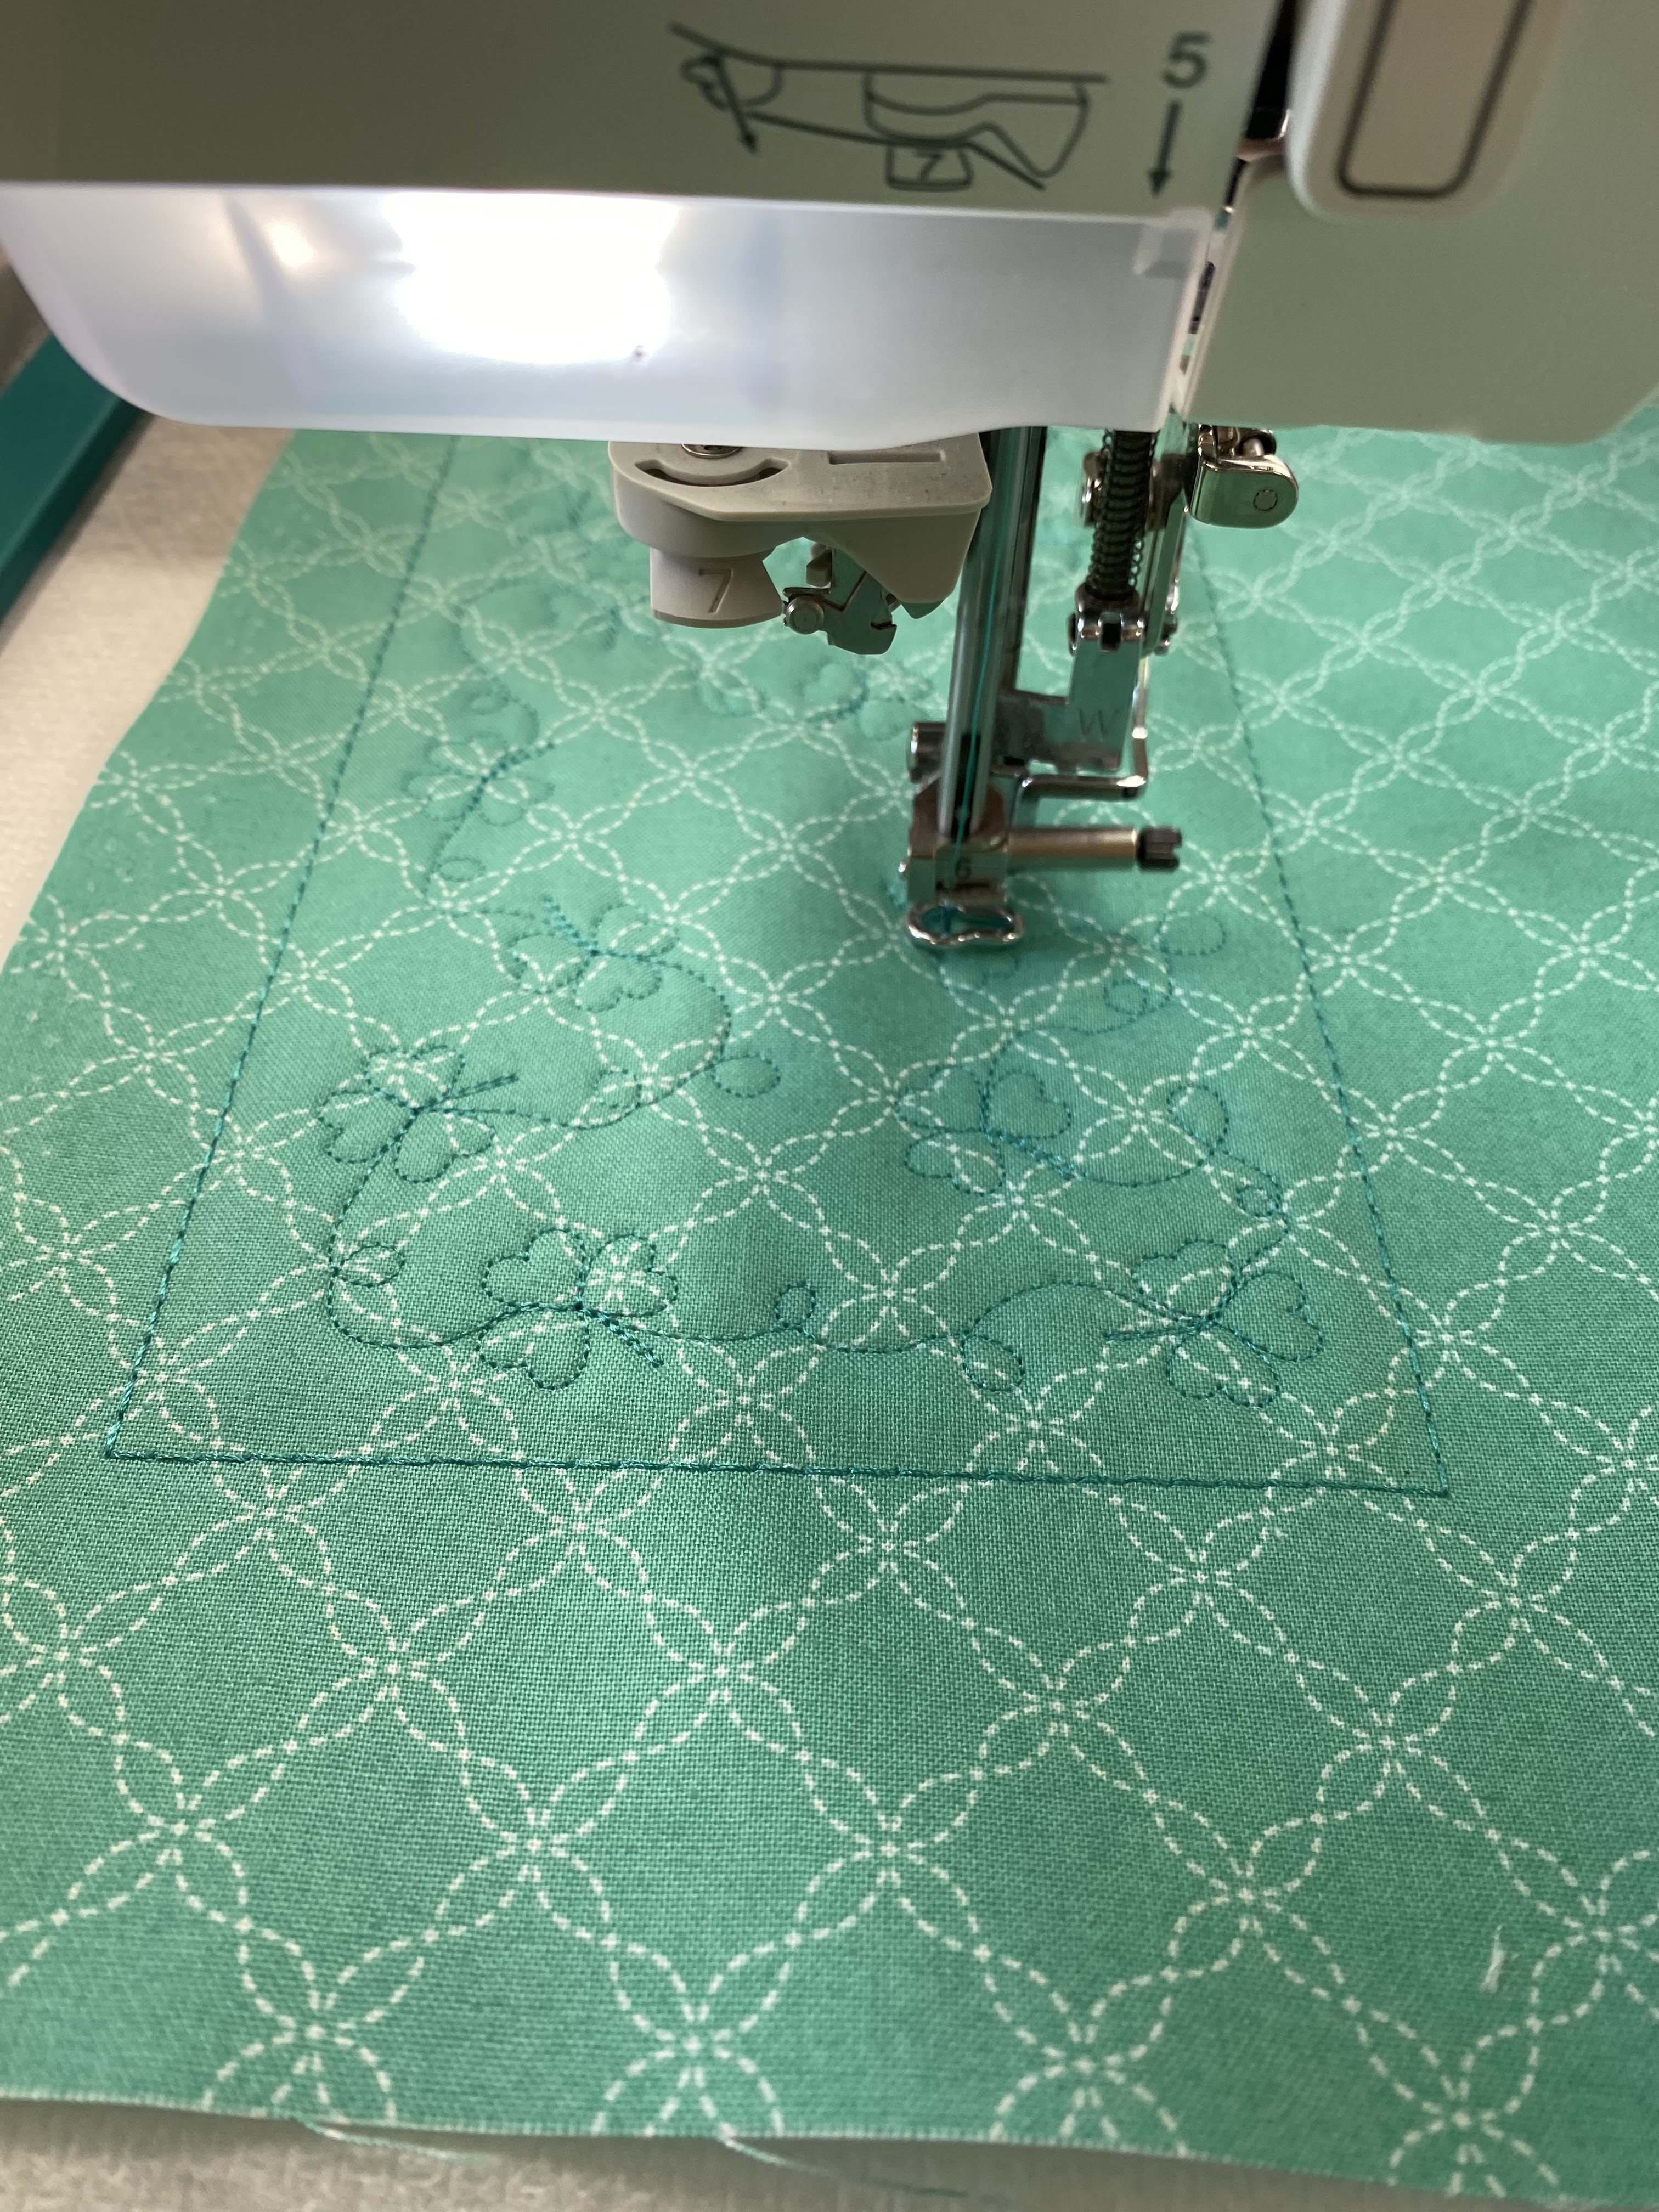
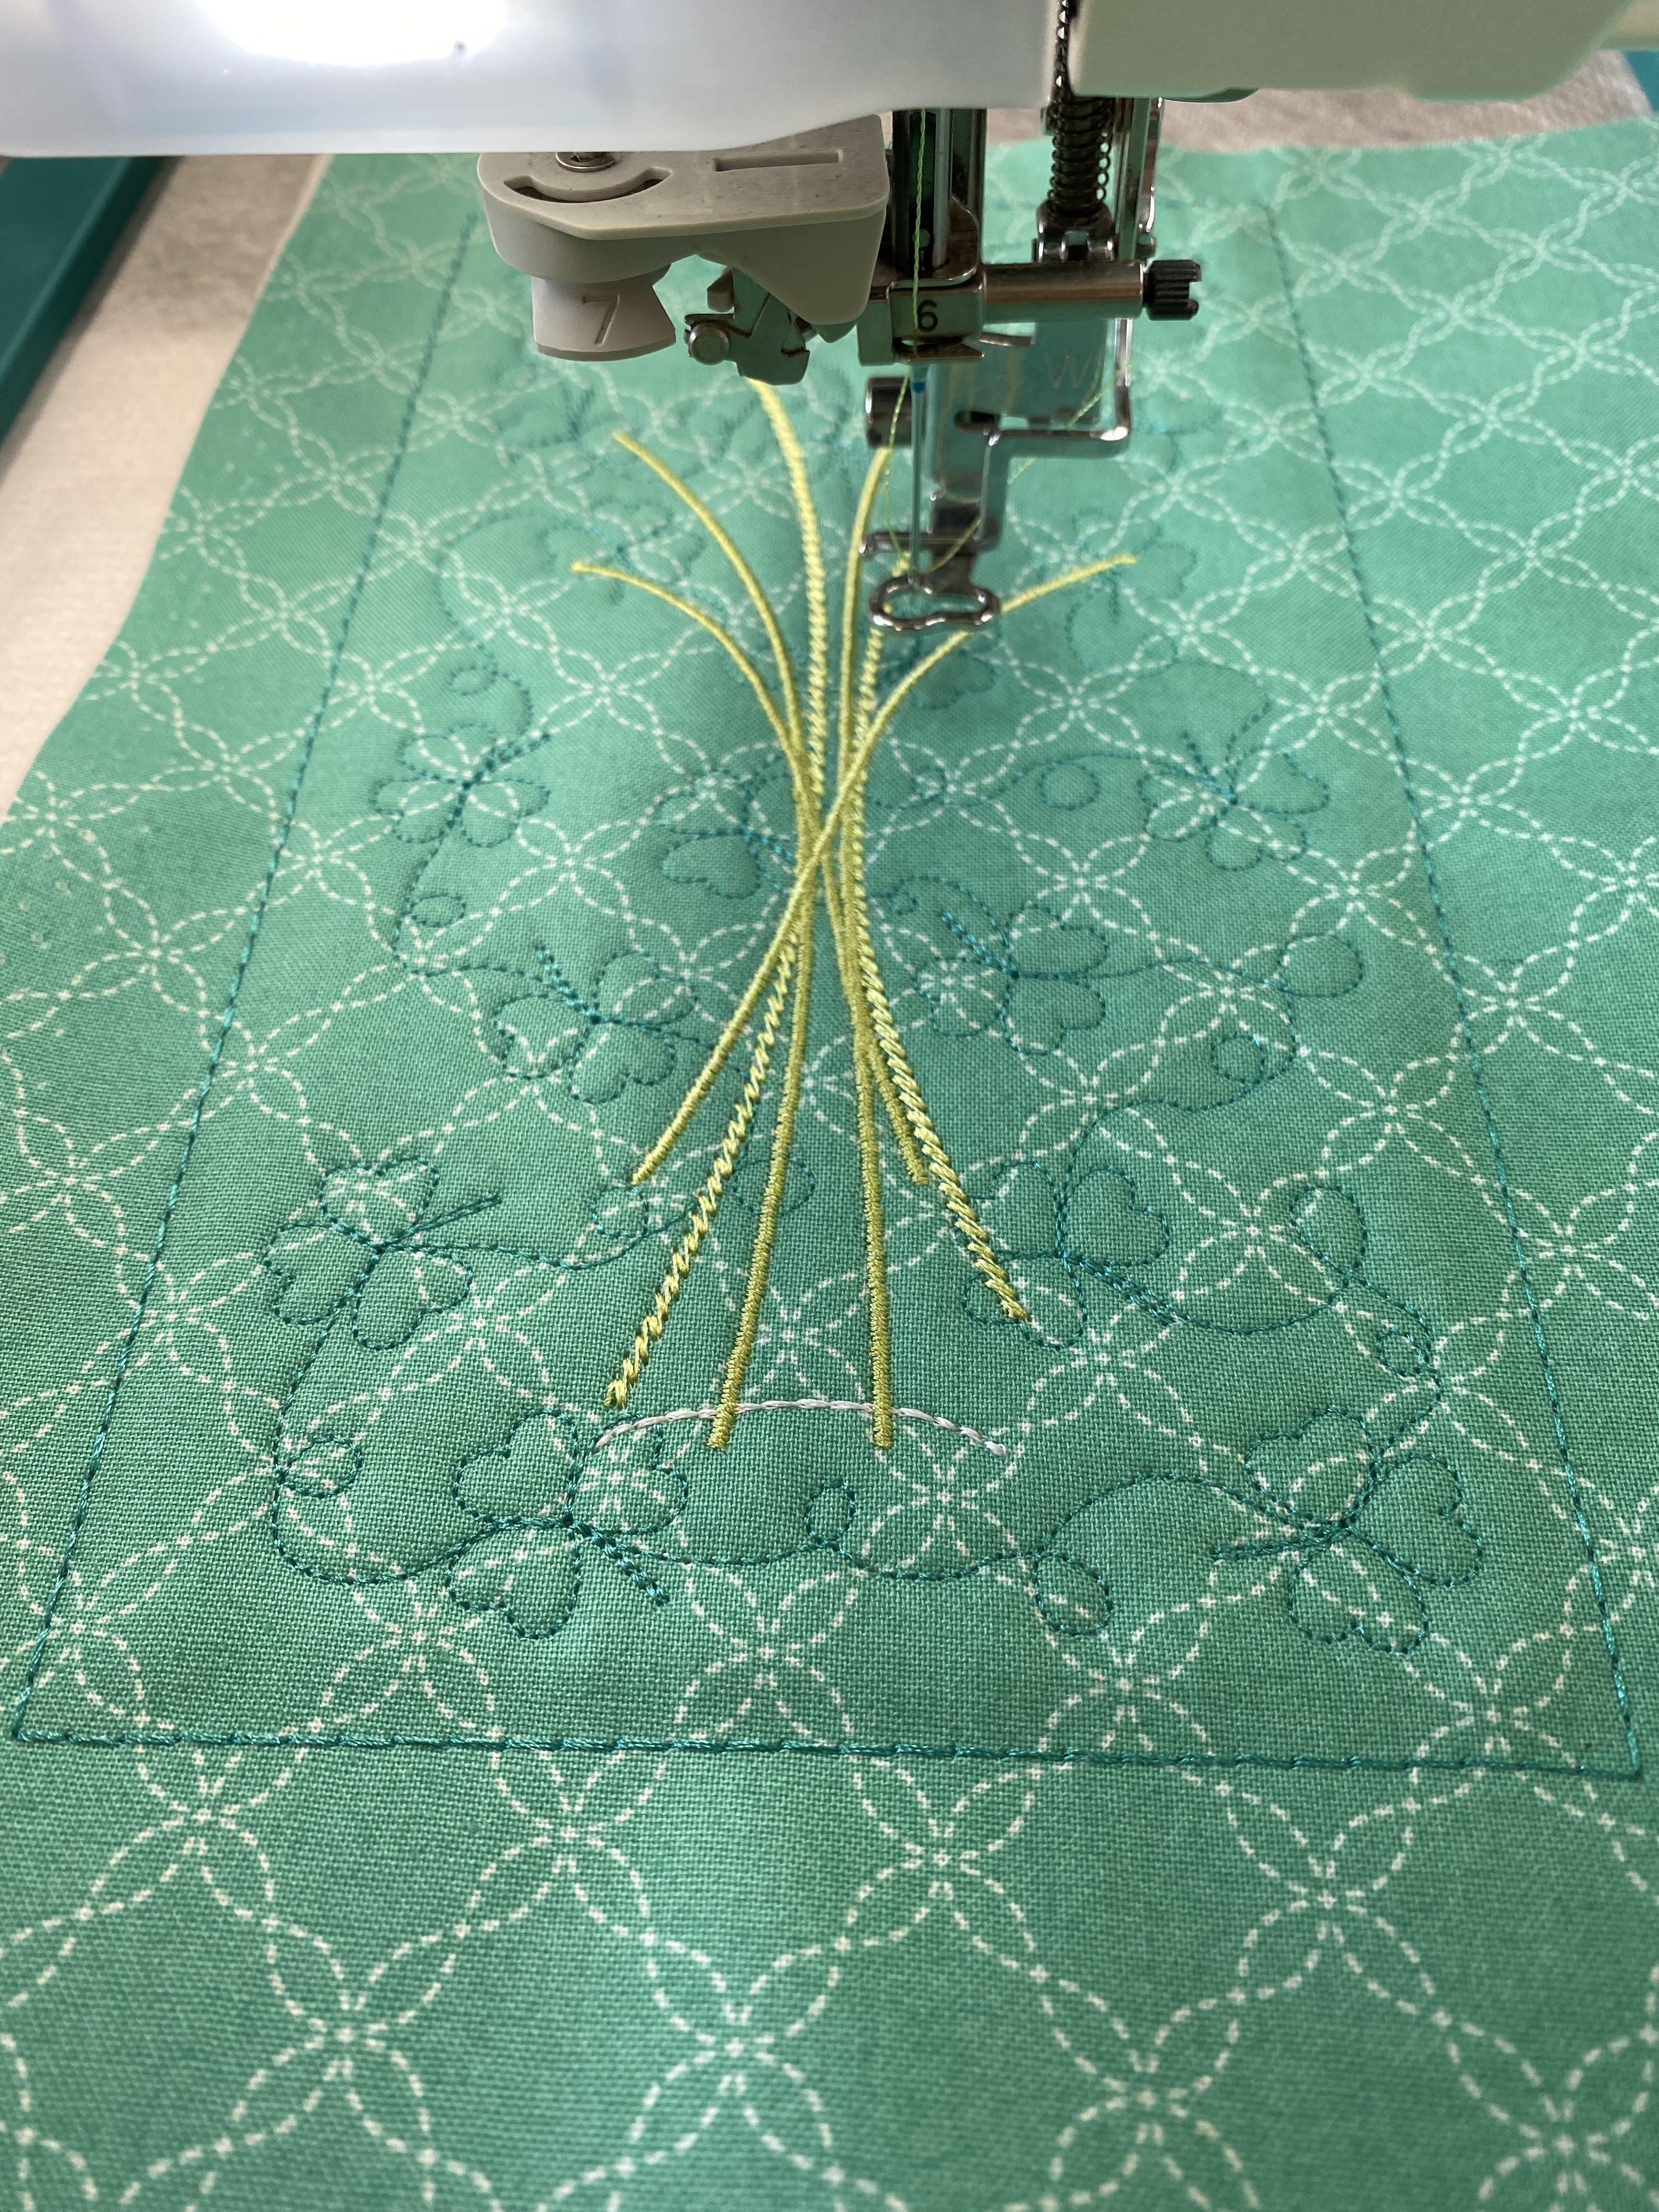
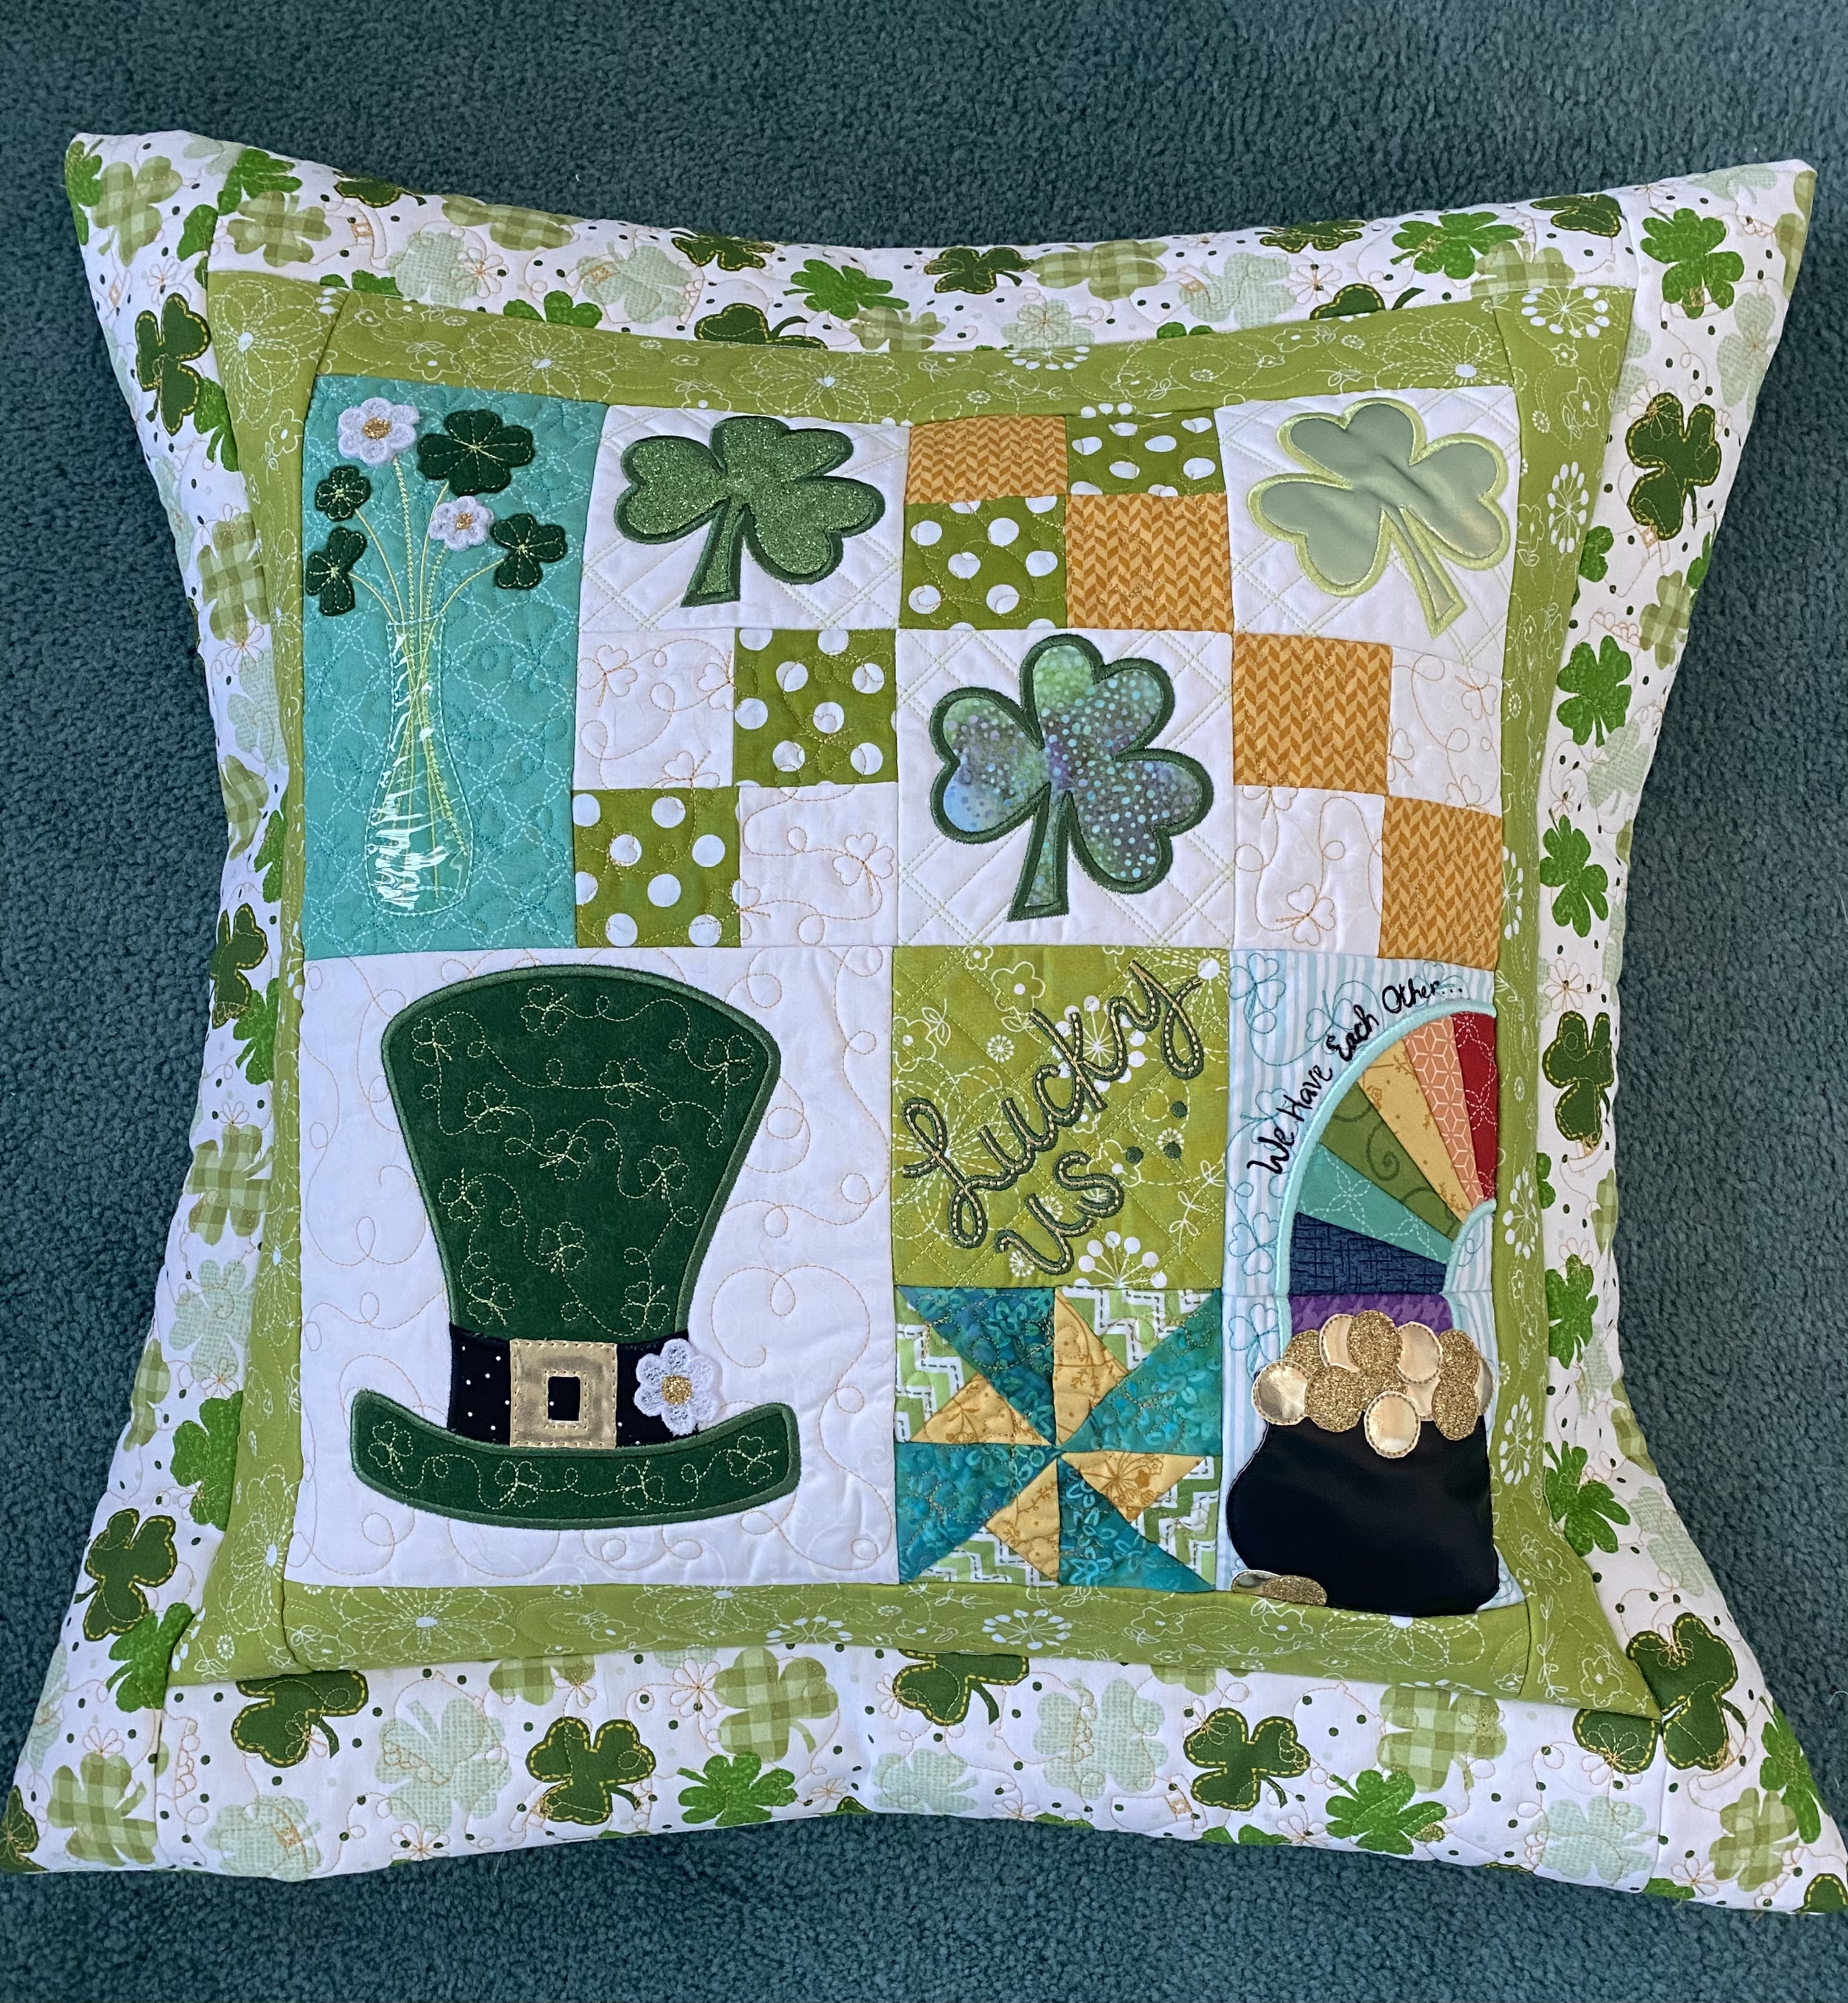
First up ‘Lucky Us’, this is a quilted pillow case, using the block-by-block method, completing each block “in the hoop” including the background quilting.  

This design is available from Kimberbell’s website, under digital downloads, here is a link https://kimberbell.com/product/lucky-us-pillow/

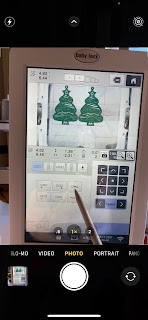
Once downloaded, I save the files received into a folder onto my laptop, from there I print out the instructions.  I think it’s good to read through the instructions and familiarize oneself with Kimberbell’s way of doing things.  I attach a sample below.


Once you think you know what you are doing then you could just use an iPad or laptop to flick through the instructions.  Having a printed copy also means you can write up any notes you might want reminding of, as you complete each block.  I have started to bind mine, as the instructions for this pillow, were some 40 pages long.

Kimberbell’s instructions are pretty straight forward, once you are used to the way they explain their processes.  

Save the embroidery files to a USB stick so they can be accessed over on your sewing machine.  I find I save everything onto my computer under a folder called Kimberbell and then create lots of sub-folders which I save everything I have, also make sure you do backups regularly and then from there I save just the PES files onto my USB stick, I have a combo Brother sewing and embroidery machine.   I sometimes have to rename files on my laptop otherwise it’s difficult to see what the file is on my sewing machine as it only displays the first 8 characters of the named file.  You have to figure out a system that works for you.

I had a fabric kit cut for me.   I use Kim’s Korner to cut mine and also order other Kimberbell products from.   You can connect with Kim through her website - link below.

https://kims-korner.square.site/

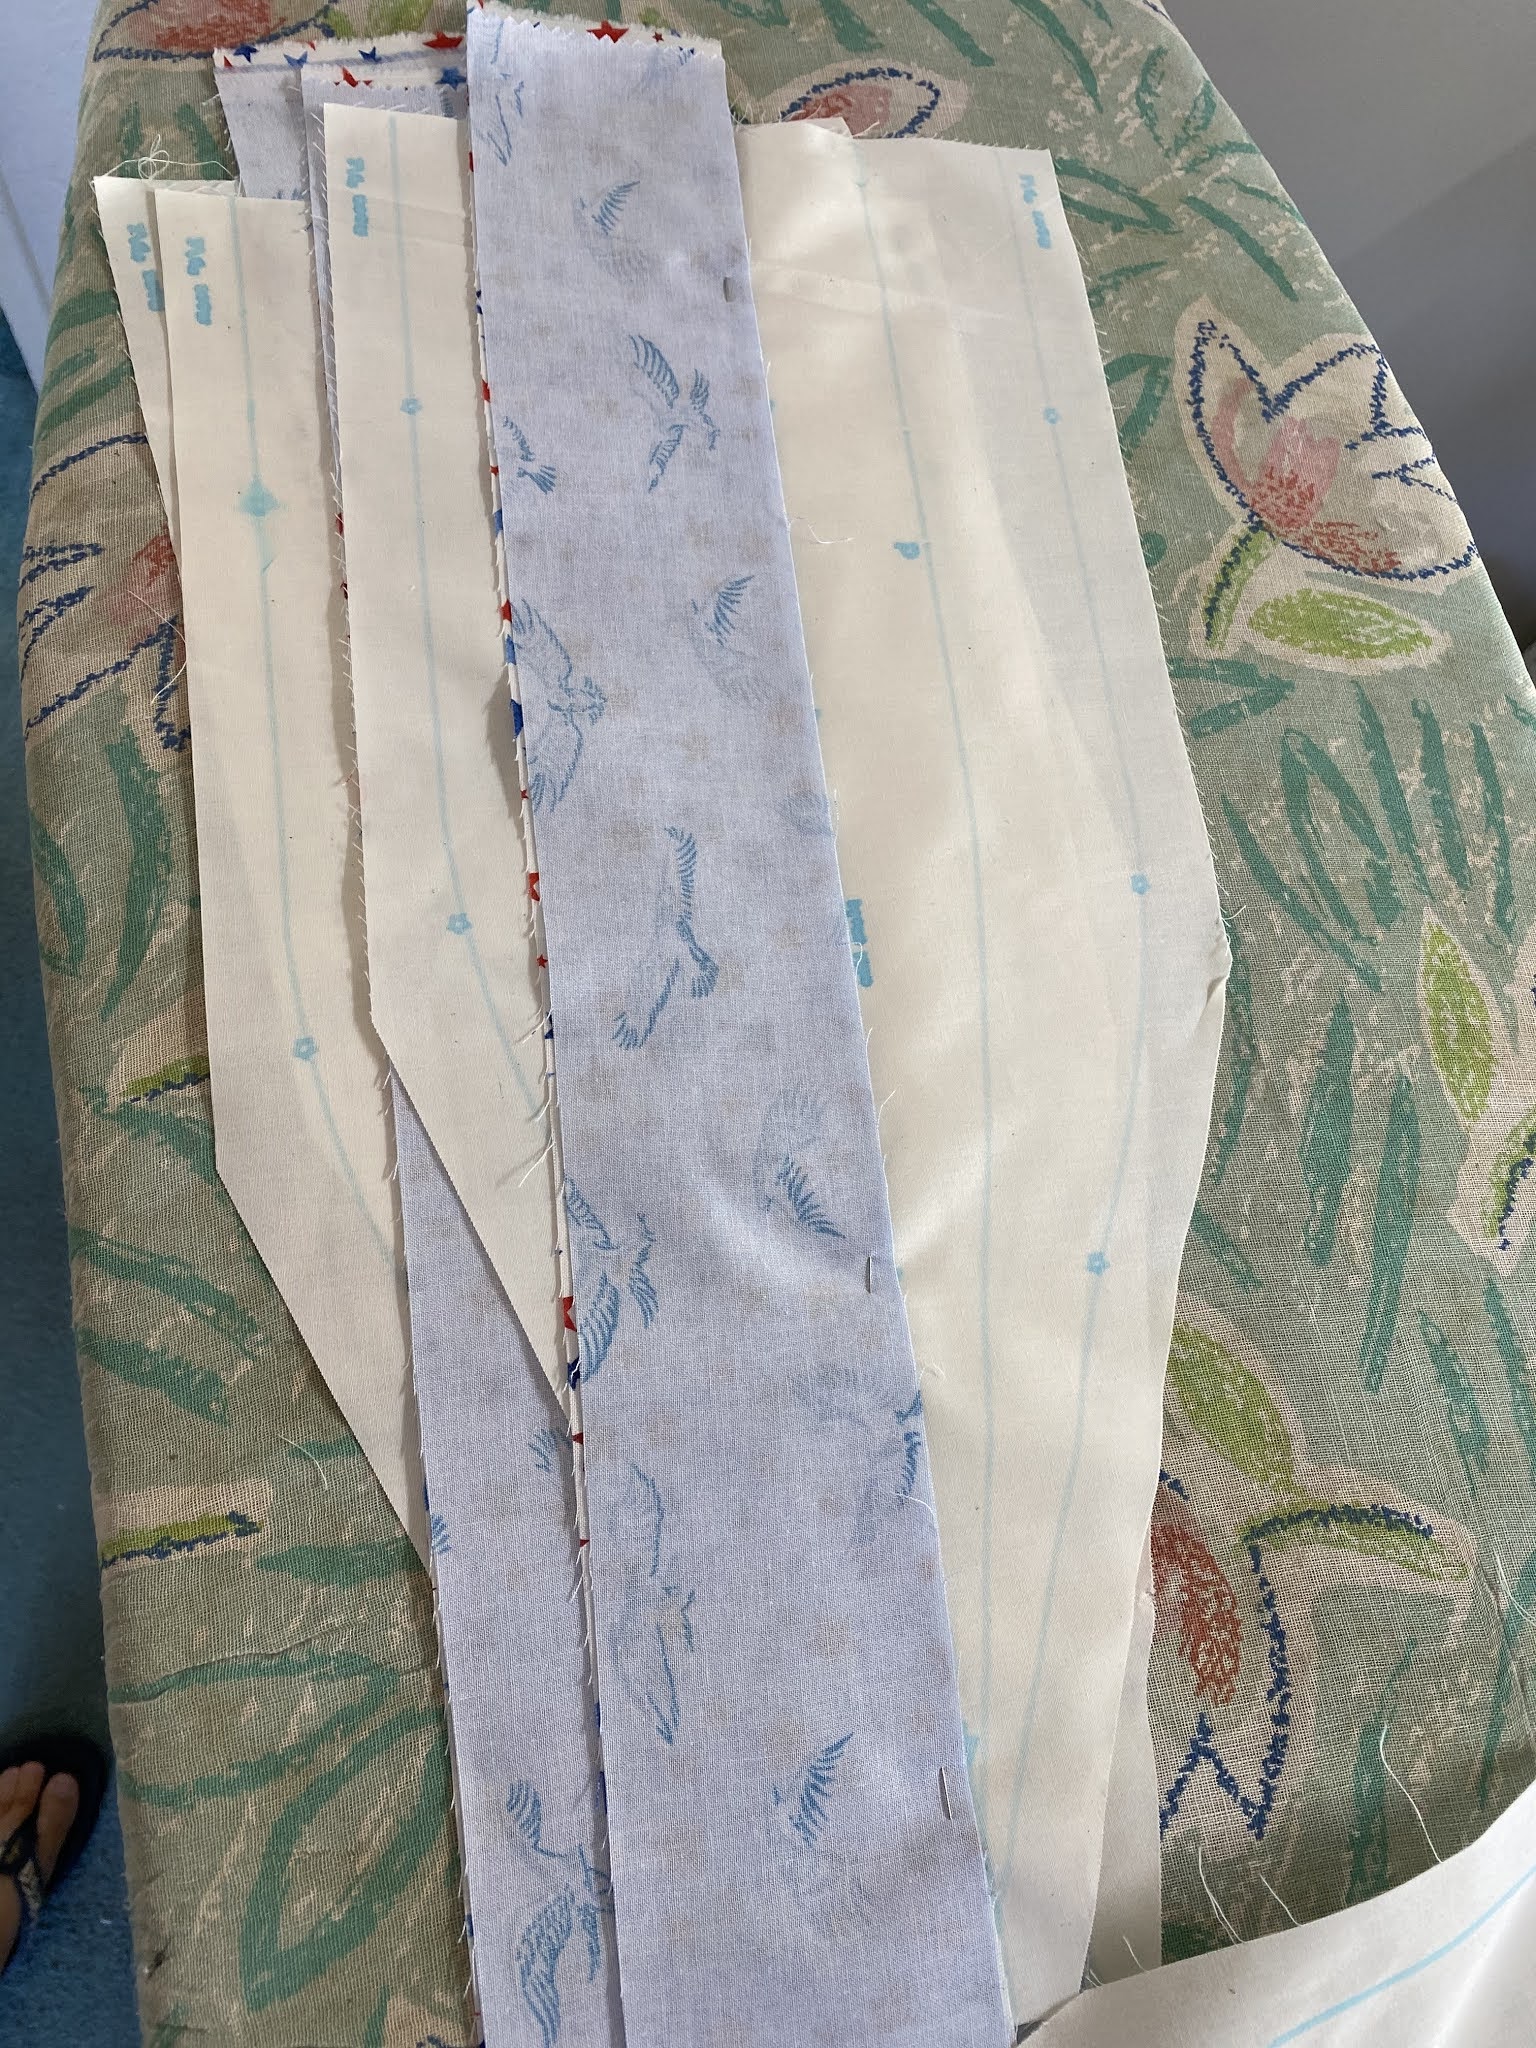
You can cut your fabric from your own stash but a kit really helps if you are a newbie to Kimberbell. Something I learned watching some of the tutorials on YouTube is to look at the fabric cut instructions and look at the largest pieces in your kit and try to marry them up which fabric goes with it.  Usually your kit will closely resemble that which Kimberbell uses in their sample pillow and if the fabric shop doesn’t have the exact fabric they’ll usually substitute it out for something that closely resembles it.  One of the recommendations is to cut all your fabrics and place them into labeled bags as to which block they relate to.   Also iron SF101 to the back of each piece of fabric, this really helps prevent the fabric puckering - you might want to do this before cutting your fabrics as it’s easier to iron on to larger pieces.  You can order SF101 from Jo-Anns - I attach a link. 

https://www.joann.com/pellon-sf101-shape-flex-fusible-interfacing-20x10-yds/13188750.html

You will also need to get the recommended stabilizers and project batting from Kimberbell or supplied through your Local Quilt Shop “LQS”.   If you don’t have a LQS who can assist, you can order these items through Kim’s Korner, link above.  If you already have a stabilizer that closely matches the one required, then by all means use what you have.   Everything required will be listed at the beginning of the instructions for that item.   Kimberbell seems to follow the same layout for each project which makes the next one a little easier to understand, once you’ve got to grips with what you are doing. 

I also watched video tutorials for this pillow.  I attach links below, in case you’re interested.

https://youtu.be/qgkclJSEEjw

The above link is to Kimberbell’s video tutorials and below is of another lady Cristin Sohm of Cristin Creates, I follow her on YouTube and Facebook as she really breaks down the process to building your pillow or quilt.

https://youtu.be/lAt0GPzbXK8

These really really helped me.  I strongly recommend watching each video through at least once before starting on your blocks.   Each has their own style of teaching.  Second time around you can then pause, play, go back and forth over the video as many times as you need.

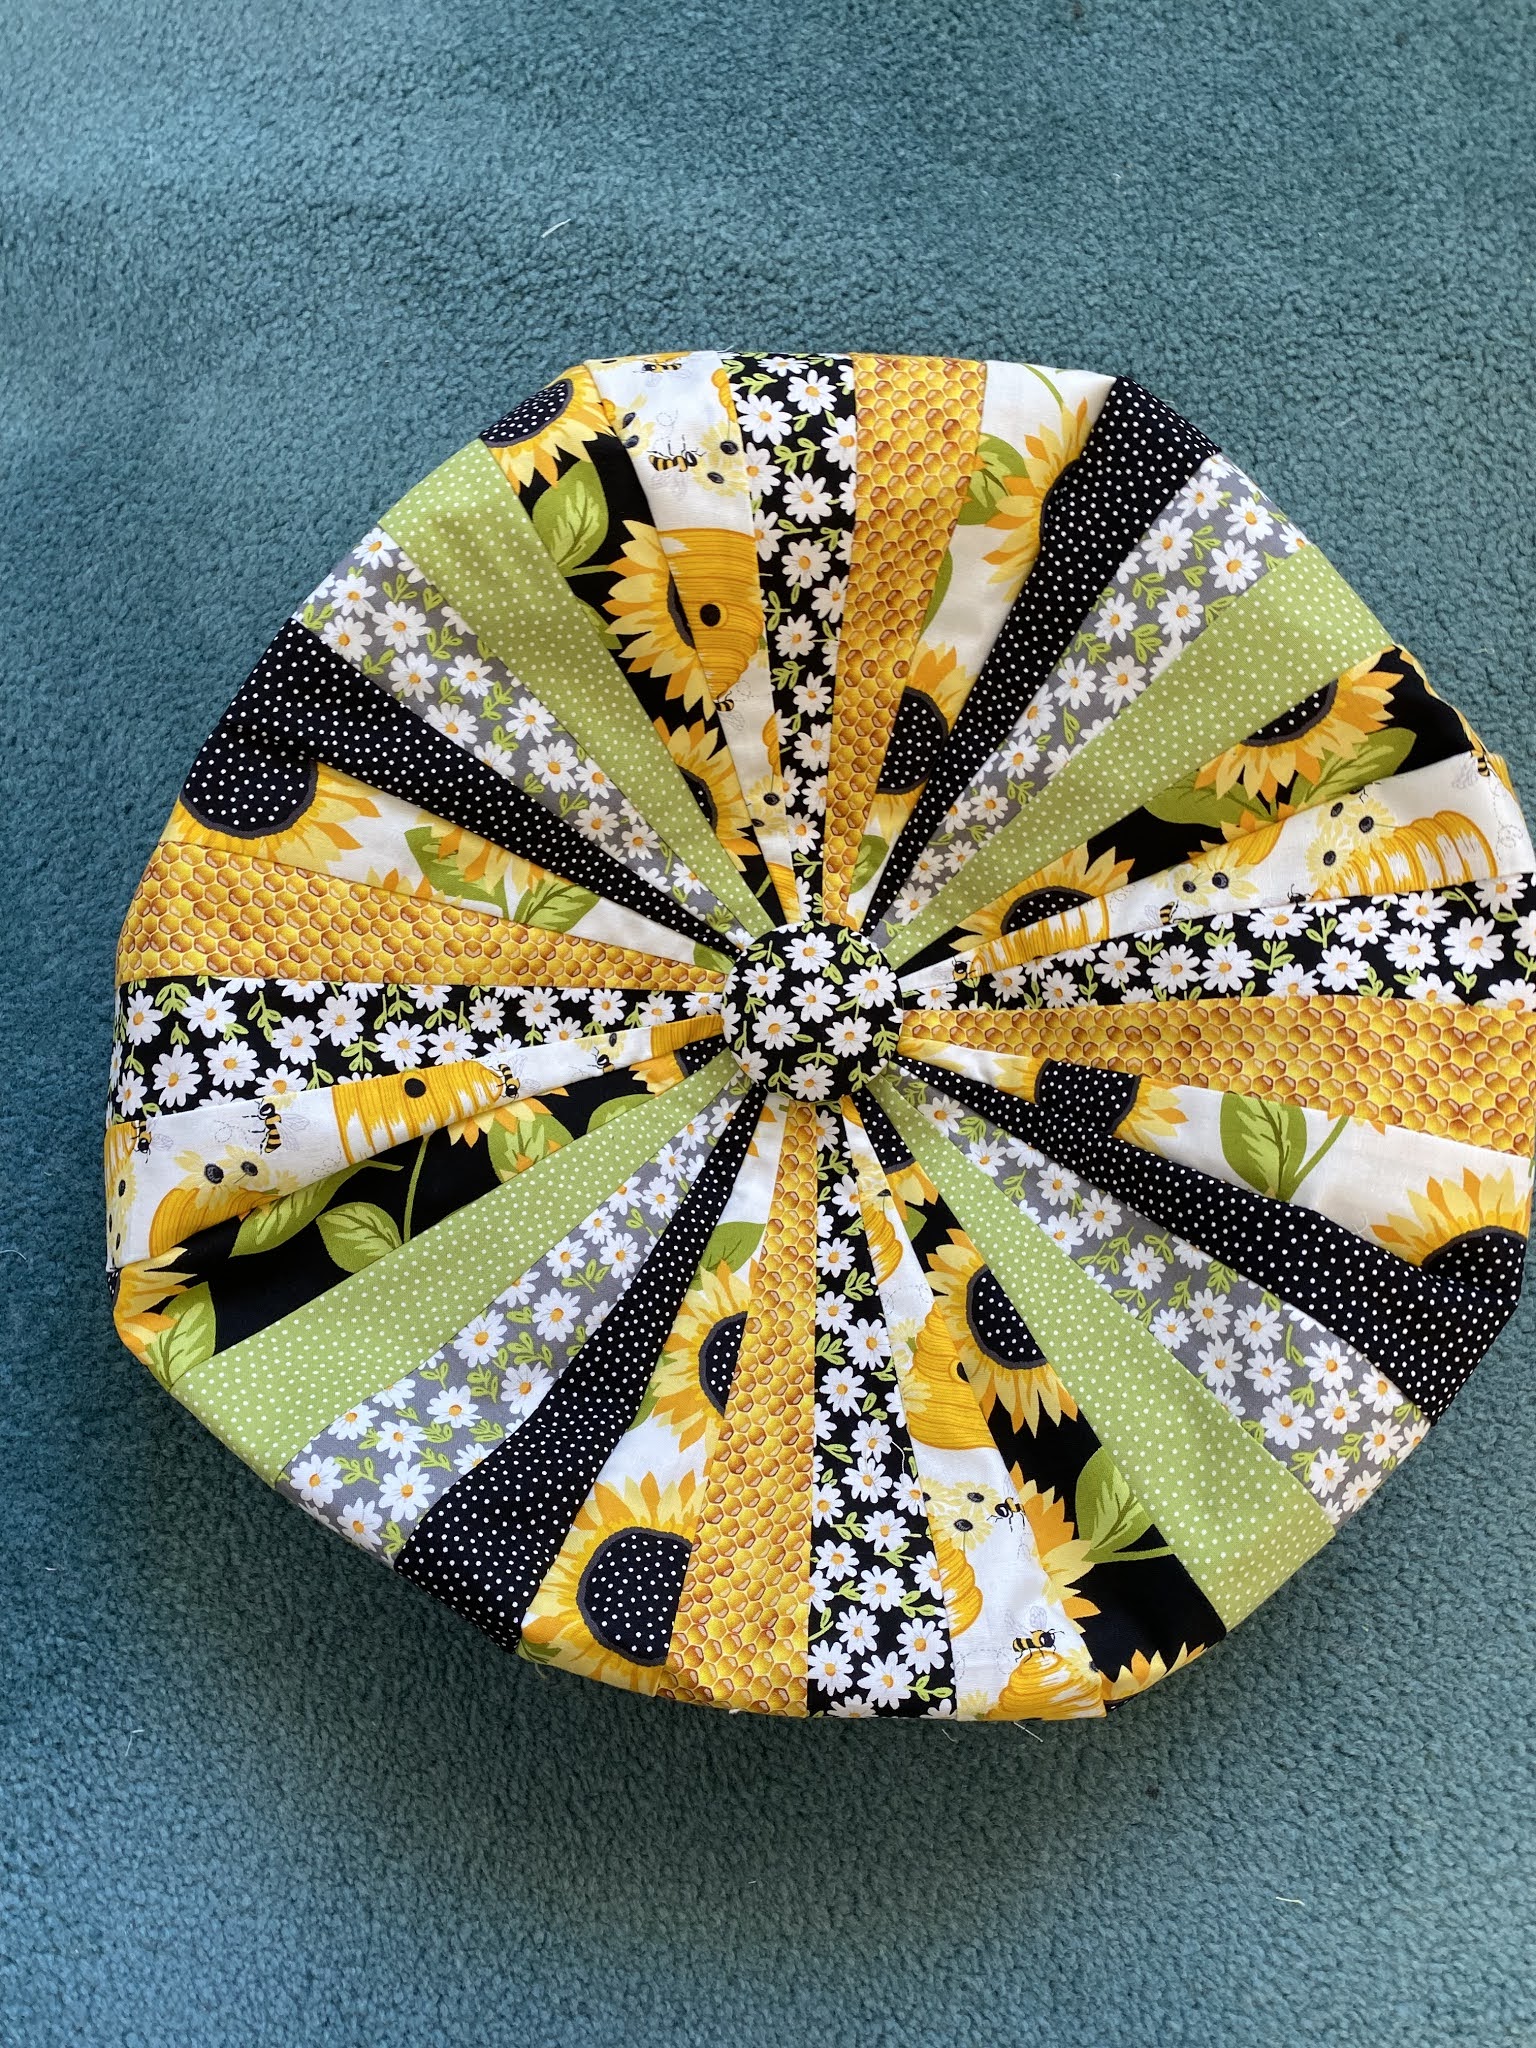
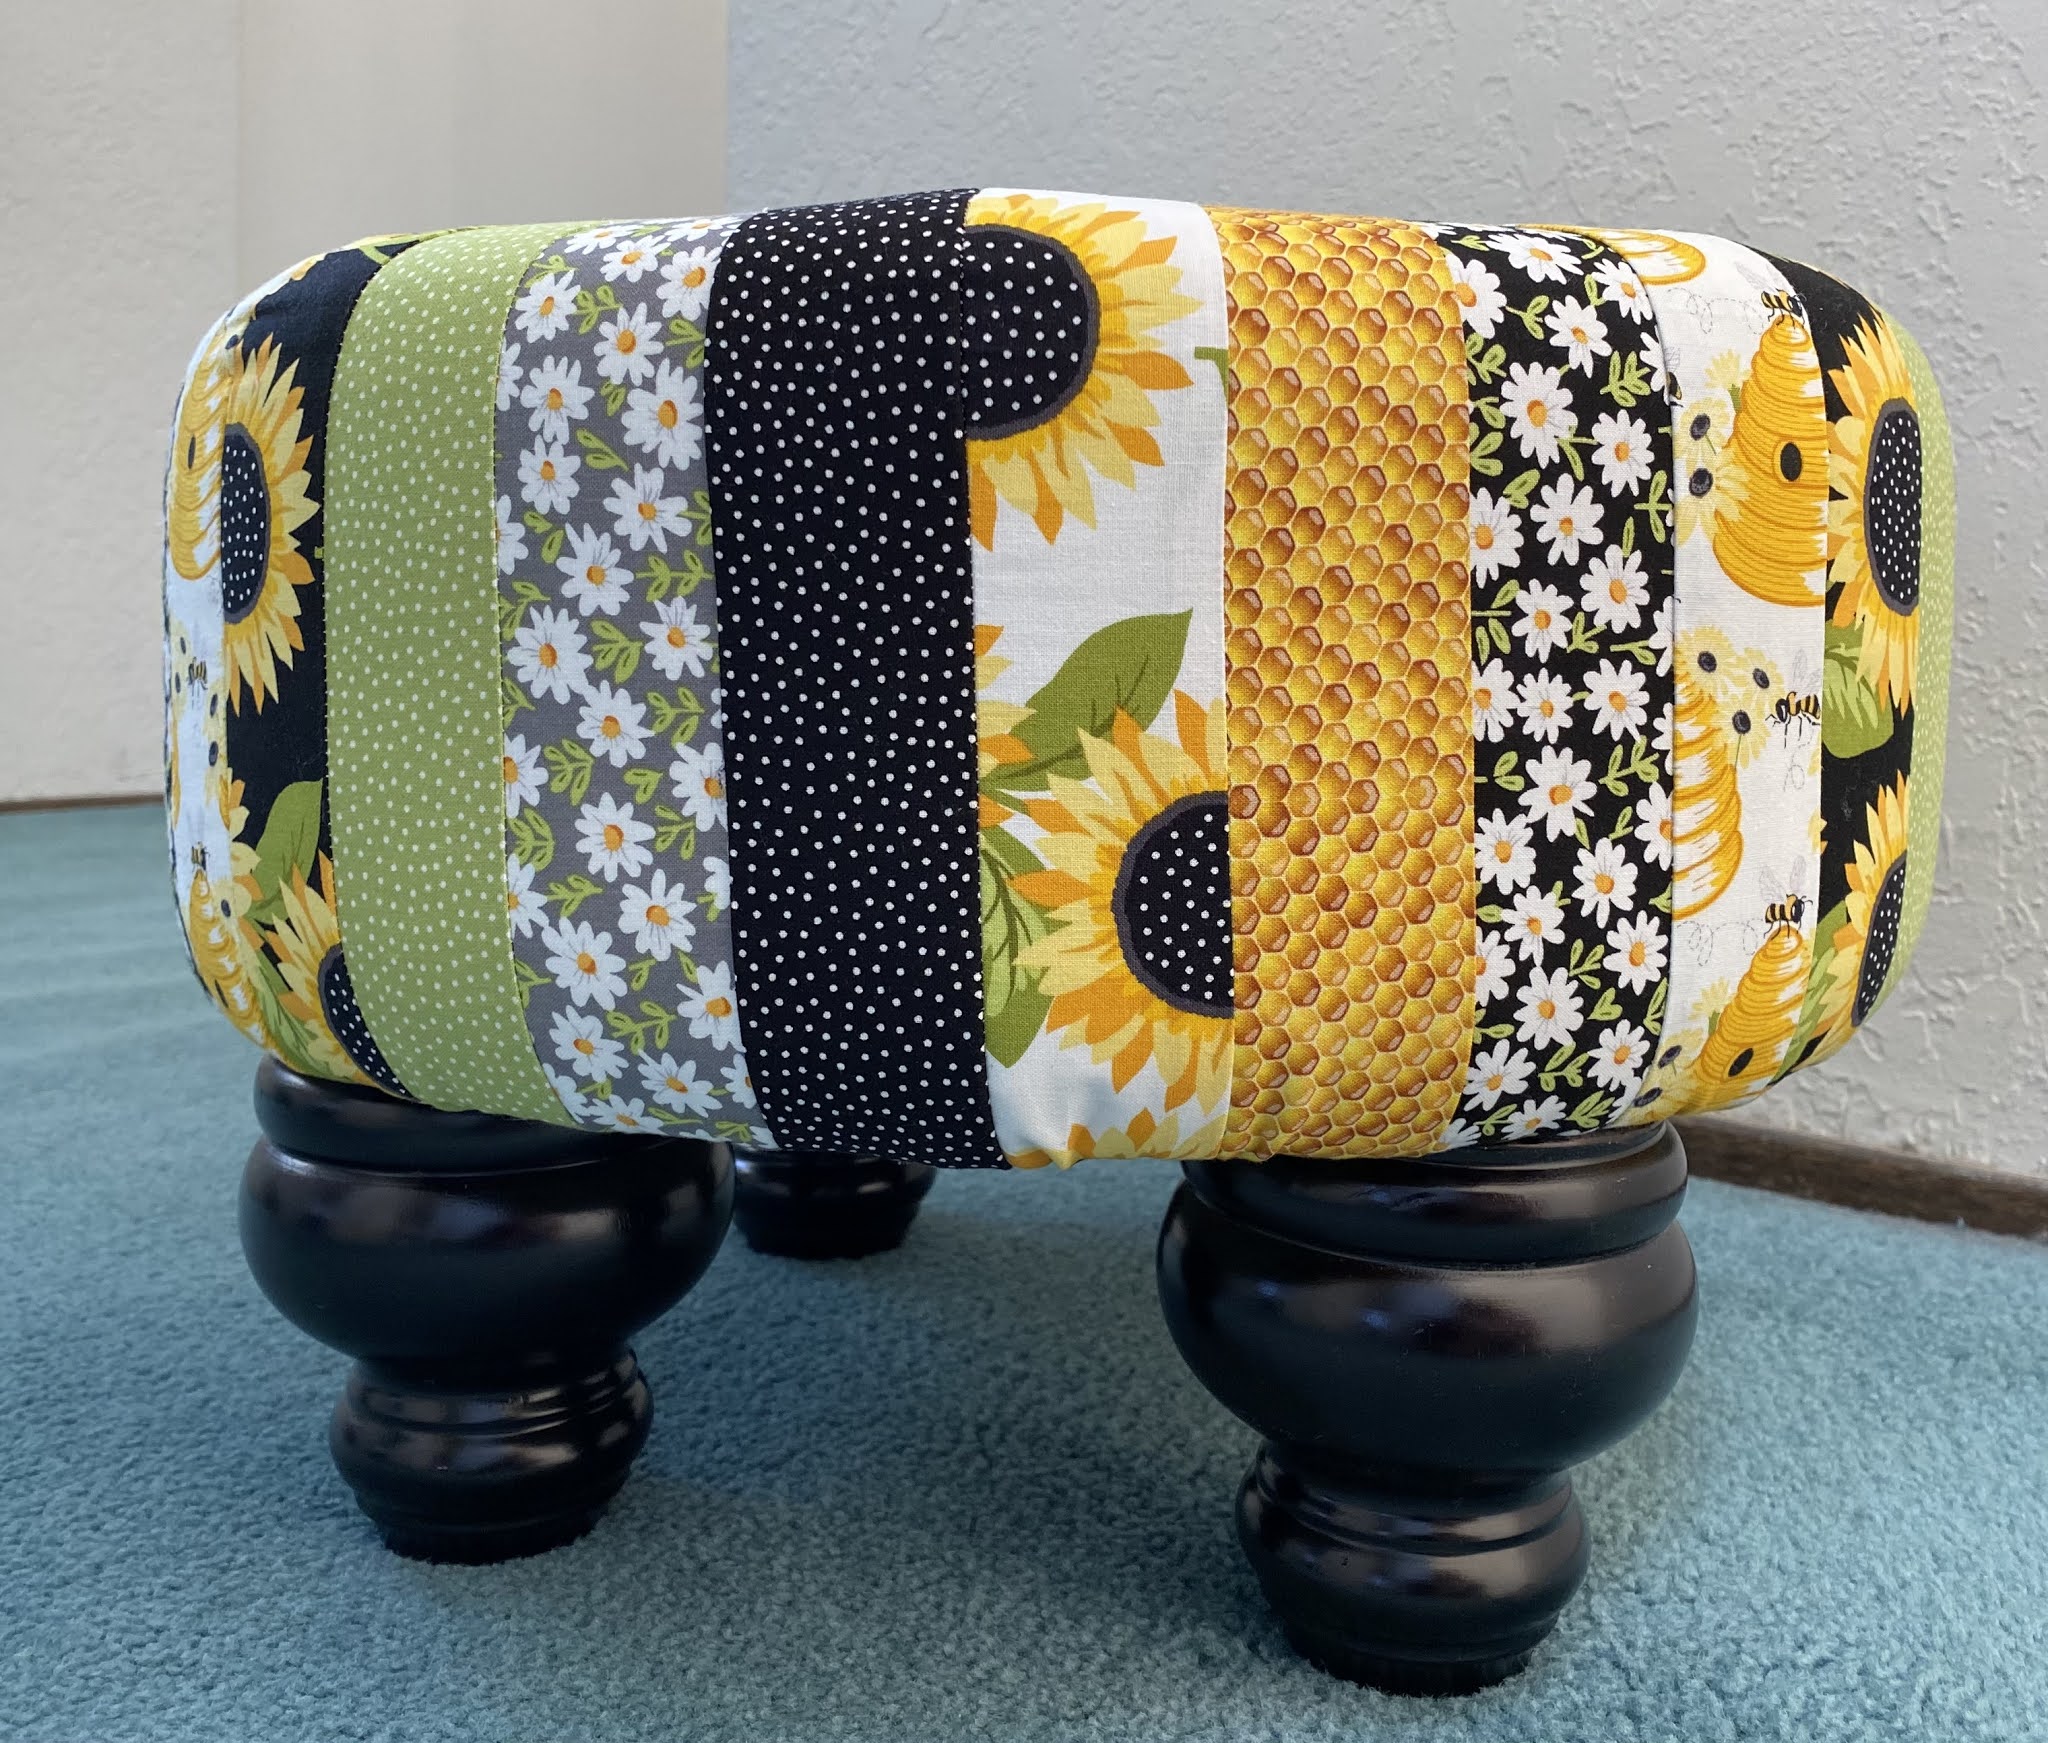
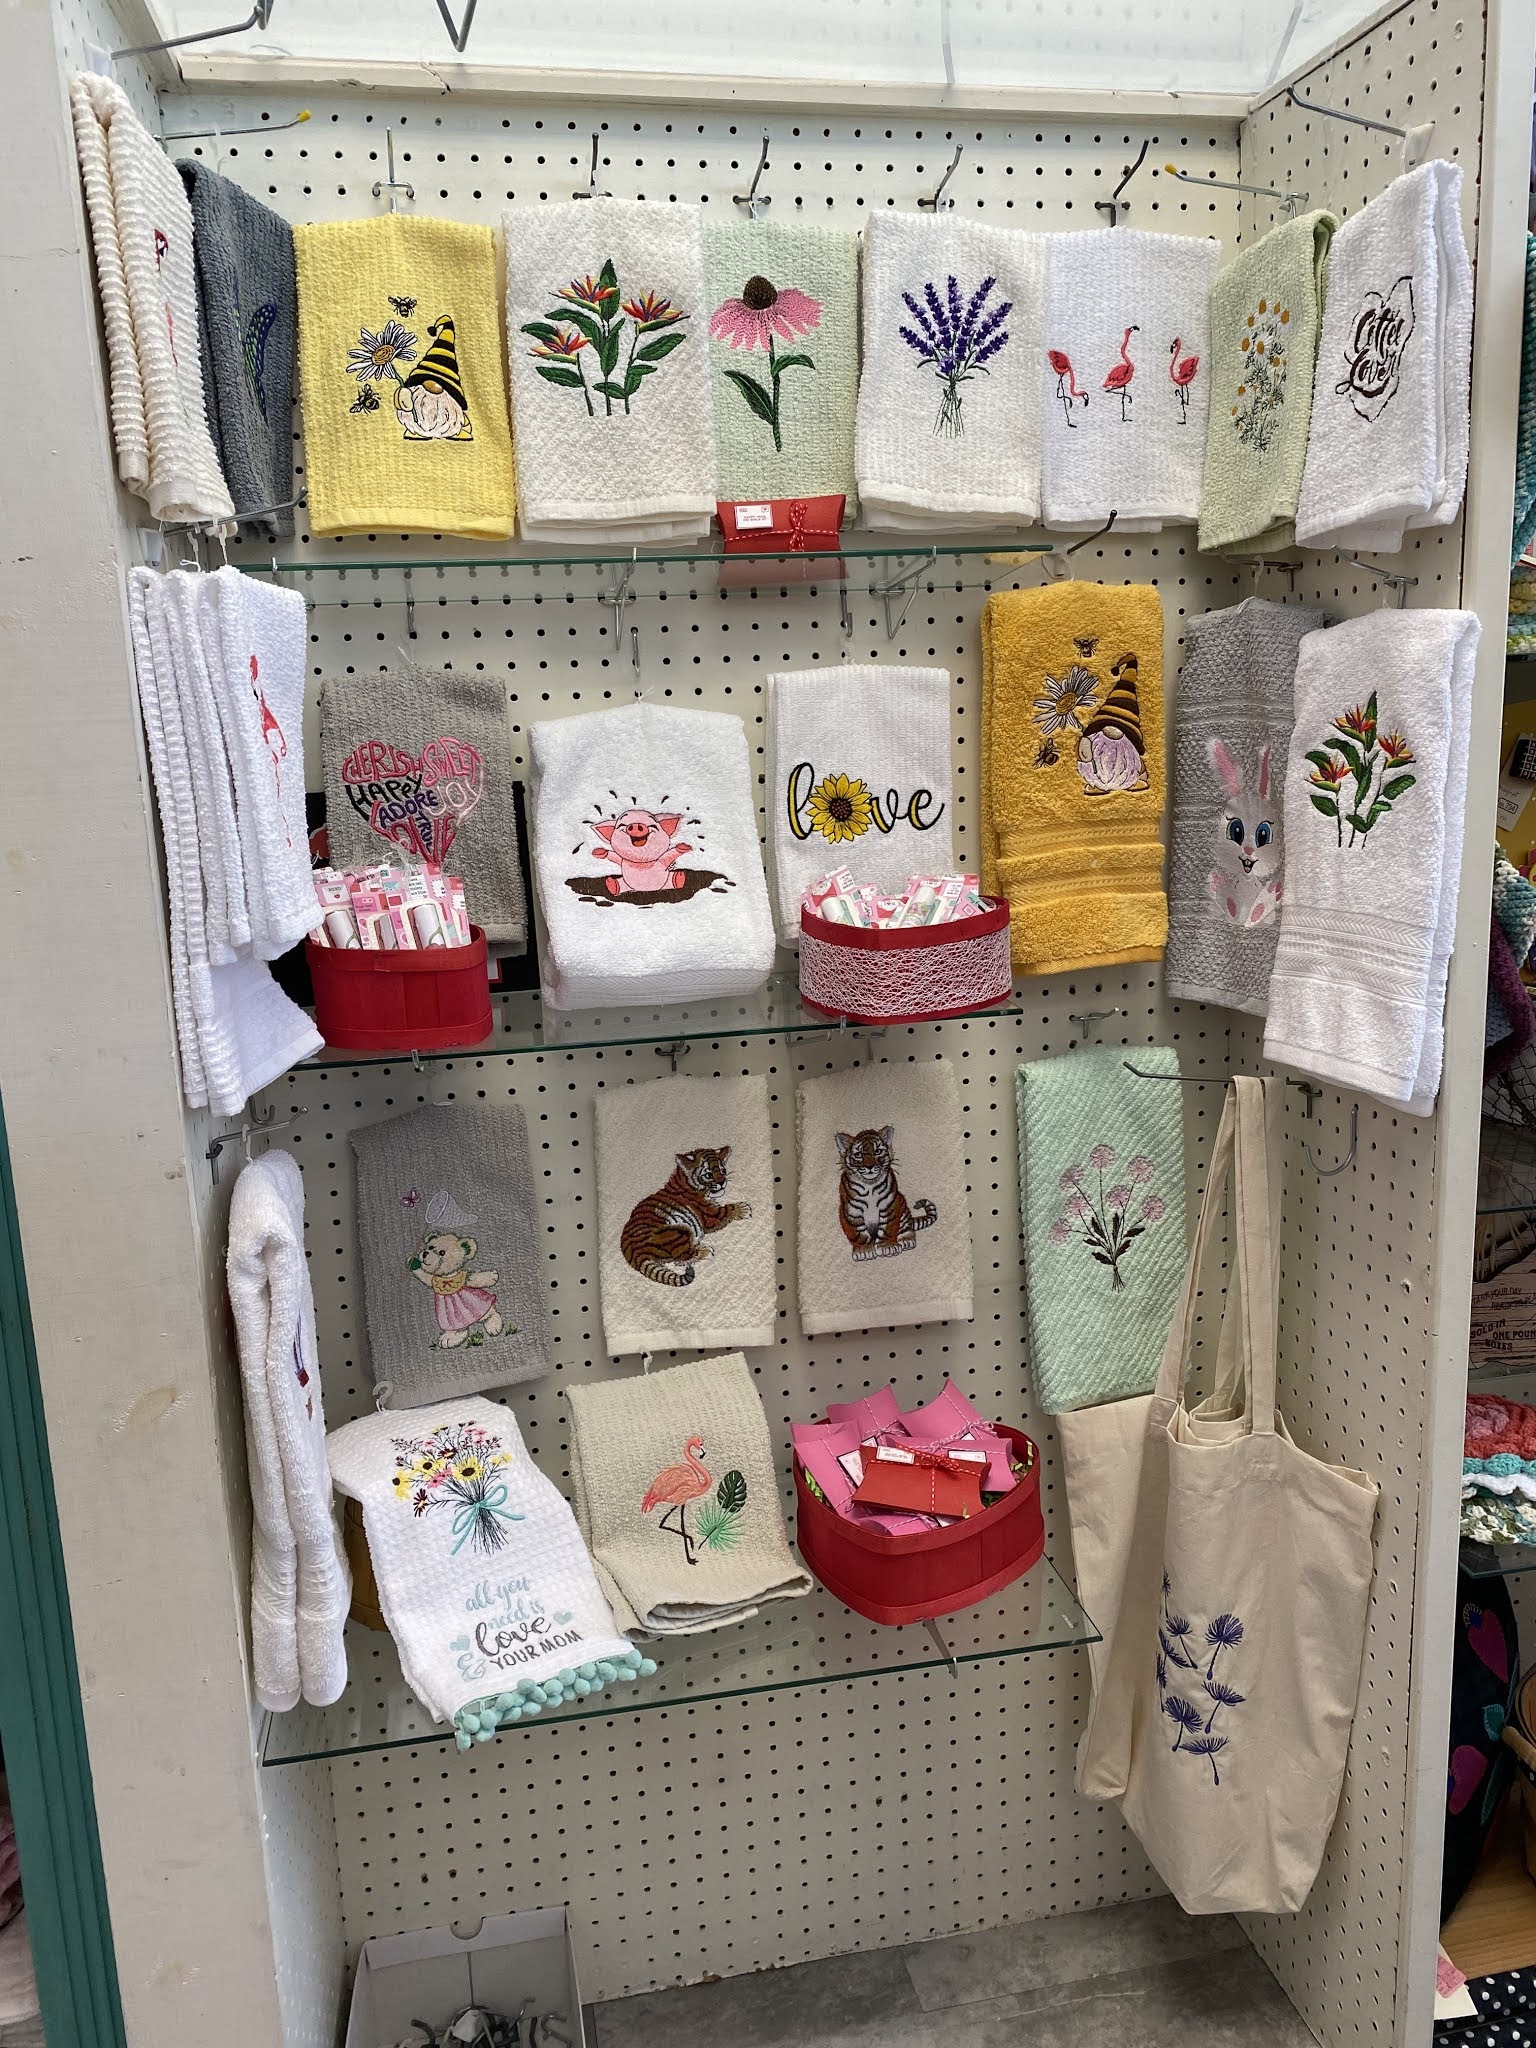
Here are some photos from various Lucky Us blocks I put together…


Once all my blocks were done it was then a case of squaring them up according to the size instructions.  Using Kimberbell’s orange pop rulers and watching a couple of tutorials on how to cut, I went ahead and squared up my blocks.  Then using my sewing machine sewed them together until I ended up with a square roughly 16.5” x 16.5” - mine was more like 16” x 16” so I decided to make my inner border slightly bigger to make sure the pillow insert would fit.  And so I did my own thing with the inner border choosing a 2.5” border to end up with a 2” inner border and a 3.5” flange - 3” outer border.  I found some coordinating fabric over at Jo-Ann’s.  So once I had quilted the borders up, as per the videos, I sewed those to my pillow front and then moved on to creating my pillow back, I made my fabric pieces a little bigger than the suggested requirements as I didn’t want a gap to appear at the back of the pillow insert opening because the fabric is being stretched over that middle area.  Something to think about.  Lastly I added a label - my husband helped me put this together and then I stitched it out on muslin, just to be sure I liked it.  I found I really liked it, so I trimmed it up and fused some heat and bond to the back of it before ironing it on to my fabric.

Below are some photos from my finished Lucky Us ☘️ pillow.


Well I hope this post inspires you to get machine embroidering and making lots of cute things for your house.

If you made it this far, say hi ๐Ÿ‘‹ I’d love to hear where you are reading this blog from.  

Thank you ๐Ÿ˜Š 


Sunday 24 October 2021

Free Standing Lace

What is Free Standing Lace (also known as ‘FSL’) I’m here to help .

Free standing lace might be used to make things like ornaments, bookmarks, snowflakes ❄️ dream catchers, what makes them special is they are completely embroidered “in the hoop” (also known as ‘ITH’) using your machine and at the end, when you wash away the stabilizer which sits between the top thread and bobbin thread, you are left with a design which stands alone held together by top and bottom threads.   

To get started, use two pieces of (fabric mesh style) wash away stabilizer, hooped, lay first piece down on hoop and second piece slightly offset say 45 degrees.  There are two types of wash away stabilizer out there, one that is a fabric mesh style - this is the one you want to use for your FSL. The other is a film style wash away, that is not the one for this.    I use one complete sheet and the second which I sit on top I often use my large scrap pieces of wash away stabilizer saved from my other embroidered projects.   As long as the bottom piece is tight between the hoop - drum like tight, the other pieces can be placed on top of it and if you need to make an edge stick down, just lick your finger and use the moisture to hold the piece down to the bottom sheet.  Use this tactic sparingly as this is wash away stabilizer but I find it can help to keep pieces from moving about or alternatively, use a little piece of masking tape and attach it at the edge. 

Use the same colour bobbin thread to that chosen for the top thread ๐Ÿงต.  Make sure you wind yourself several bobbins of the same colour being used some of these designs get through quite a bit of thread.

If using metallic thread, use a similar colour cotton thread for the bobbin, rather than metallic, your sewing machine will prefer that as metallic can be quite tricky to work with.  Make sure you have a new top stitch needle inserted.

Below are some Christmas ornaments that I stitched out, I did use metallic thread for these.  Tip : use good quality metallic thread when doing FSL projects and slow your embroidery machine down to its lowest setting, this will help prevent thread breakage.  

Load your design on to your machine, make sure your hoop is big enough for the design chosen.  Most designs will tell you what hoop size they are meant for but of course the bigger the hoop you have, you can also duplicate designs and do more than one at the same time if your hoop and the design allows.  Food for thought ๐Ÿ’ญ 

Here I have loaded my hoop and now I will load my design, choosing size and where I want it to stitch out  within my hooped stabilizer.

Choose the camera ๐Ÿ“ท option and the machine takes a photo of the hoop and show on the screen where the design will stitch out. 


Using the left, right, top and bottom arrows move the design to make the most of the remaining stabilizer.  If you only have a hoop big enough for one design, that’s fine too.  


If you want to make a duplicate of the design, click this button and tap the one which duplicates image to the right of the design.


Pop a little space between the designs so this allows you to cut around the designs at the end to get rid of excess stabilizer 


Click ‘Ok’ and then follow through to embroidery.  Change the speed setting down to the lowest speed your machine is capable of.  Mine is 400.


Make sure the thread is loaded and if using a 10 needle machine, tell your machine which spool the thread is on so it pulls from the correct one.  When ready press the lock button which then unlocks the machine ready to go.  The green button should be lit at this point.  Press Start.


Here is the design printing out.


And then I went on to add a second and then a FSL bookmark.


At this point, I trim away any excess stabilizer and then your free standing lace designs are ready to be soaked in some water.  Run designs under a tap and then set aside to dry.  Try to keep designs as flat as possible during the drying process.  Then they are ready to hang.  Add some coordinating thread or ribbon to create a string hoop to hang your new ornament on a Christmas tree ๐ŸŽ„ 


Here are some other Christmas ornaments I did…


Ta dah ๐Ÿ‘Œ๐Ÿ˜Š 

Good luck with your free standing lace designs, I hope the above helps you.  If you got this far and enjoyed this tutorial, comment below, say hi and where you are from. 


Monday 21 June 2021

Tuffets, Towels and Totes

The past few weeks I have been pretty busy with a very special order for a friend of mine who requested two tuffets, one for herself and one for a friend.  She wanted a sunflower ๐ŸŒป themed one and the other to be a patriotic themed tuffet. 

Below are a few photos from the preparation and completion of the sunflower tuffet.

My friend and I went through the fabrics and she chose the ones she wanted to feature in her tuffet.


I completed all eight panels and then arranged my pattern in readiness to sew.


By laying out the panels, this allows me to take a quick photo to include the button fabric I am contemplating using, I can then check everything looks ok.  This is my last opportunity to make any changes.   It allows me to switch out the center fabric if I think it’s wrong and see which other fabric works best for the center.  The button fabric needs to be showy, eye catching one, as it’s what pulls the whole tuffet together and your eyes are immediately drawn to it.


I continued to sew the eighths, quarters and halves together.


And then added the fabric to the button and just placed it in the center to get a feel for the overall look the tuffet would have.


Next I proceeded to cover my 6” foam piece and wood base with a thick half inch upholstery batting and attached this with my electric staple gun and trimmed.  Pulled over the top my tuffet cover and once everything looked centered, pulled in the nylon string around the bottom of my fabric and tied.  Next I attached the button, centered, created crevice and secured strings tightly.  

Lastly I completed the tuffet by adding my bottom fabric, bun feet and tacks.


Next up was the patriotic tuffet.  My friend went through my patriotic fabrics and picked out those she loved to be apart of this tuffet. 


I then cut my fabrics accordingly.


Proceeded to pin and sew the strips to my muslin tuffet pattern.  Pressing fabrics open.


Continued until I had sewed all eight of my eight panels together.  Laid out my pattern so I could take a few photos to check everything was in the right place.  Taking a photo using my phone camera and changing one of the photos to the noir setting also let’s you see how the pattern looks in grey scale, you can usually spot anything odd with a photo like this.


Once I was happy to proceed, I pinned my seams together and continued to sew until my eighths became quarters, quarters became halves and finally two halves created a whole.  


My cover was now ready and prepared my tuffet foam piece.  Again covered my foam and wood base with a half inch upholstery batting and pinned this to the wood using my staple gun and once that was completed, it was ready for its tuffet cover.  Using my 12” needle placed right through the midddle of the foam,  I pulled on my cover and used the needle to assist me in keeping my cover centered to the middle of the foam.  Once I was happy my tuffet cover was in the right place, secured cover by tightening the nylon string I had attached to the bottom of my cover and tied.  Added the button and secured in place, followed by the bottom fabric with upholstery tacks and finished with 4 beautiful wood bun feet. 


Ta dah ๐Ÿ™Œ๐Ÿป 

Well this tuffet is finished and will shortly be heading off to it’s new owner, it’s a surprise gift ๐ŸŽ so I’ll be pleased to get some feedback once it’s been received.  I delivered both tuffets to my friend and I think overall, she was extremely pleased with both of them.  I am very happy with them and enjoyed presenting her with them. 


My other little venture, my booth which I started a few months ago, at the shop I work at, has been doing really well and I just wanted to share a few photos from some of the towels I have embroidered.  Ive also have been busy embroidering towels ready for 4th July, as that’s coming next and I hope to sell a few with my gnomes on. 


And finally I am working on a few new embroidered tote bags for my booth … photos and update to follow.


Thank you for visiting my blog, I hope you’ve enjoyed looking through my most recent projects and if you got this far, please say hi in the comments and where you are reading this from.  Until next time .. bye for now ๐Ÿ‘‹๐Ÿ˜Š


Lucky Us ☘️

Last summer I stumbled across a company called Kimberbell.   What caught my eye whilst browsing their website is their vast back catalog of ...