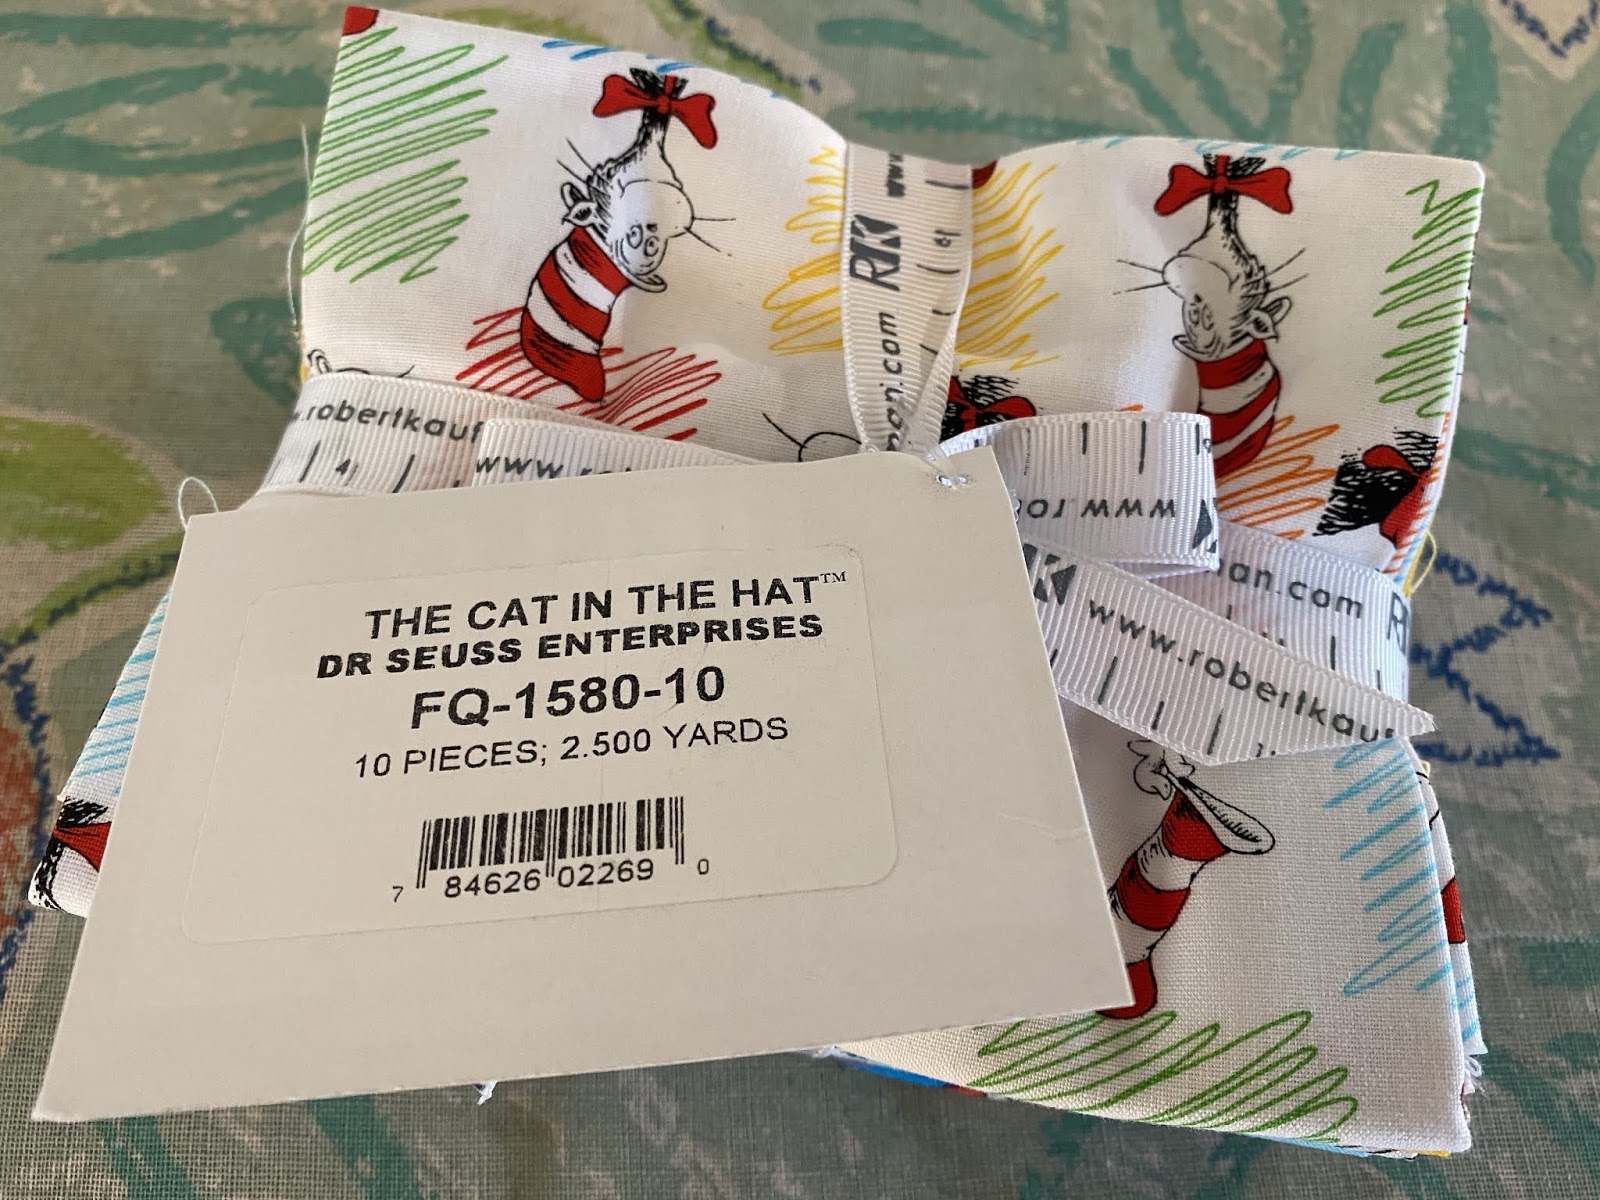
This tuffet started out when I was browsing Etsy for some FQ bundles and stumbled across a bundle called “State Fair” by Whistler Studios, a 6 piece collection. I needed to find 3 extra FQs to turn this into a tuffet. Did a little more browsing Etsy, and stumbled across fabric called Cows Fabric by Timeless Treasures. The red looked a good match to the gingham red fabric in State Fair. I then stumbled across the same pig fabric, but this time in the black alternative. Fantastic, that would definitely go, and finally I needed a piece for what would become my bottom fabric. I came across this black fabric which had the pig, the rooster and the cow alongside words like Whole Milk, Fresh Eggs, Our Roost, Farmhouse. This was perfect. So I added these to my basket. In total I had 9 FQs.
Once received, shuffled my fabrics until I decided on my pattern going forward.
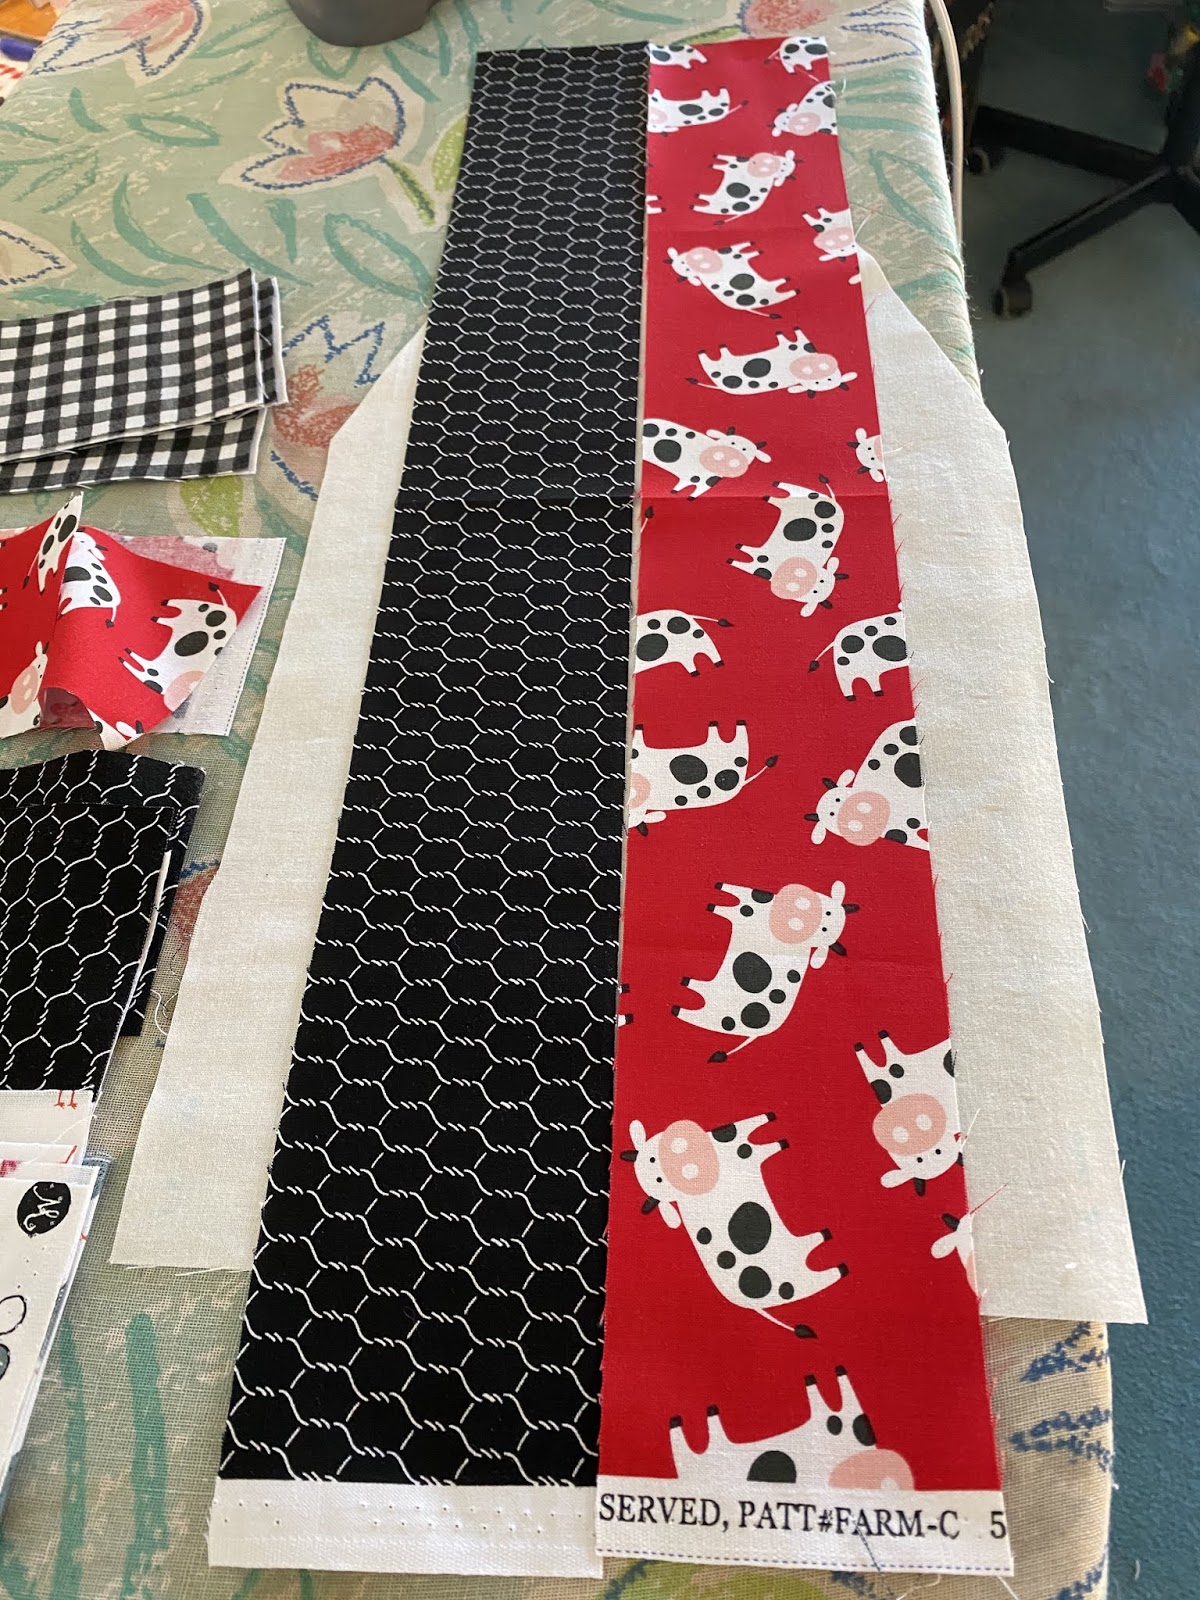
I then proceeded to cut my strips required. My muslin was already precut.
Pinned my strips to the muslin and began sewing them on, working on the same strips for each eighth.
Trimmed off the excess.
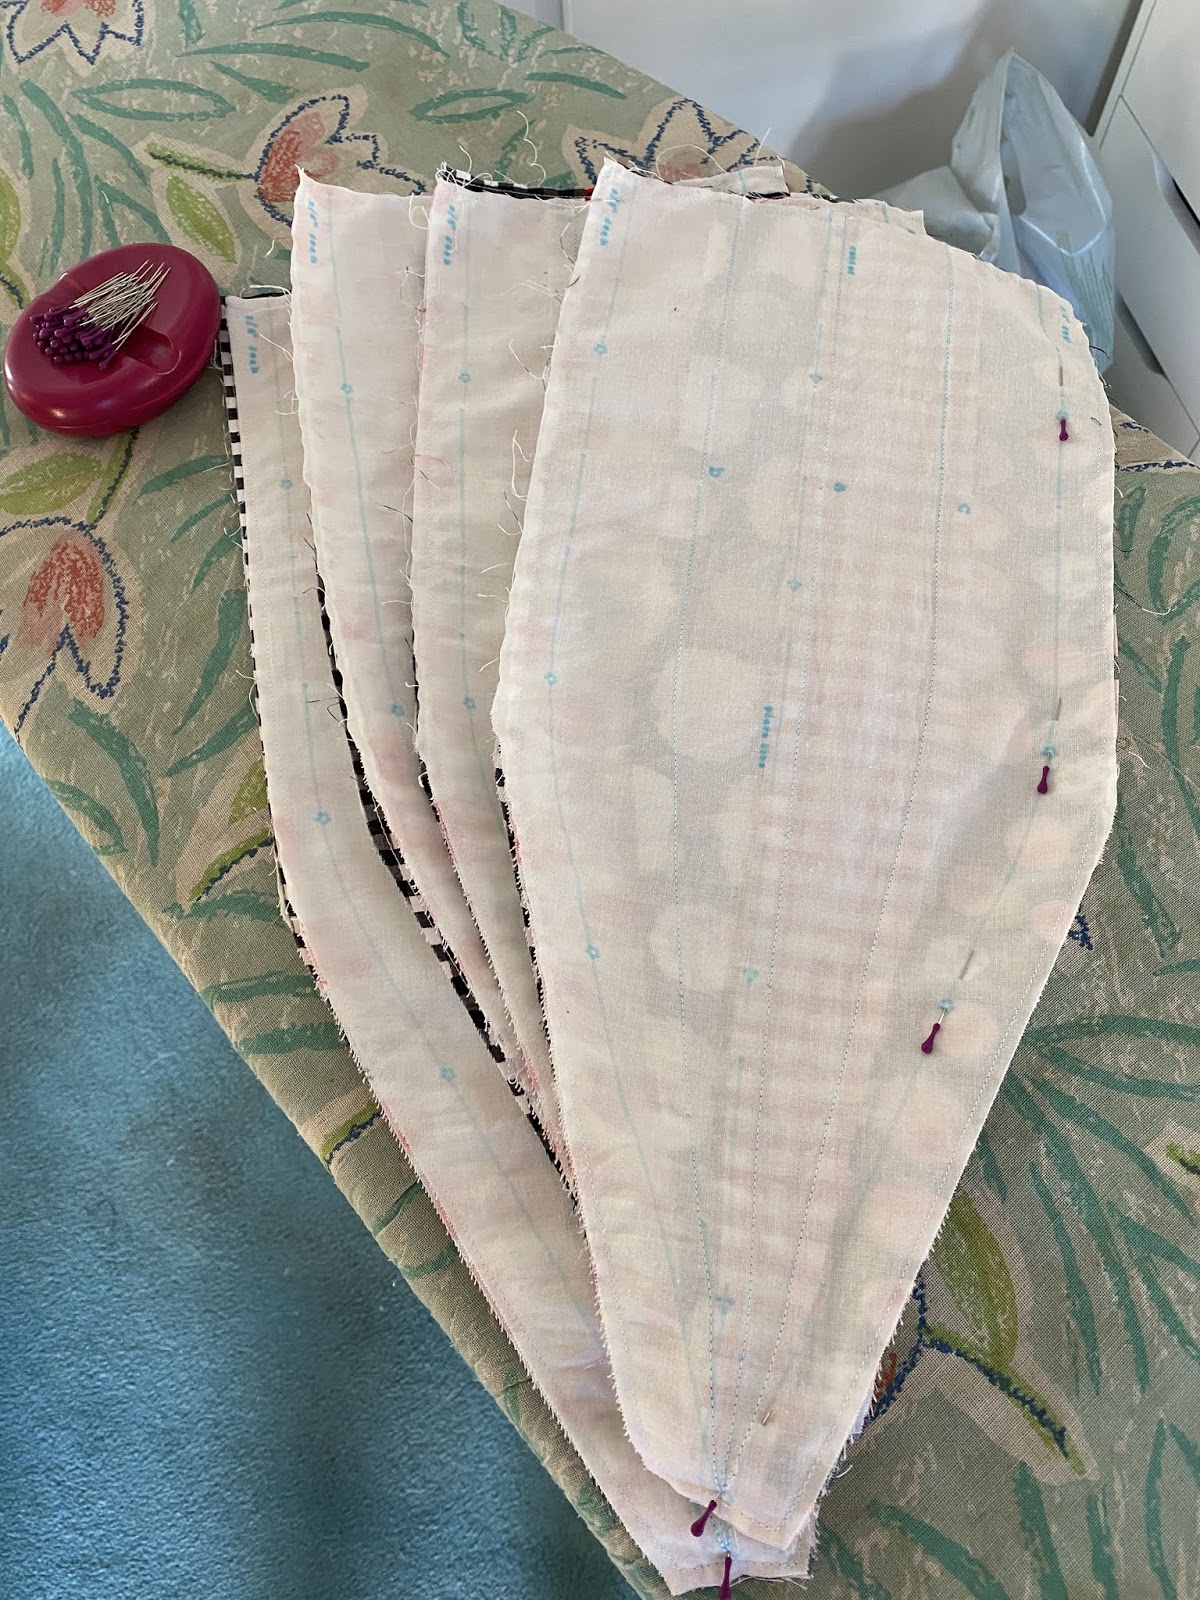
Pinned my remaining strips and sewed them according to the pattern.
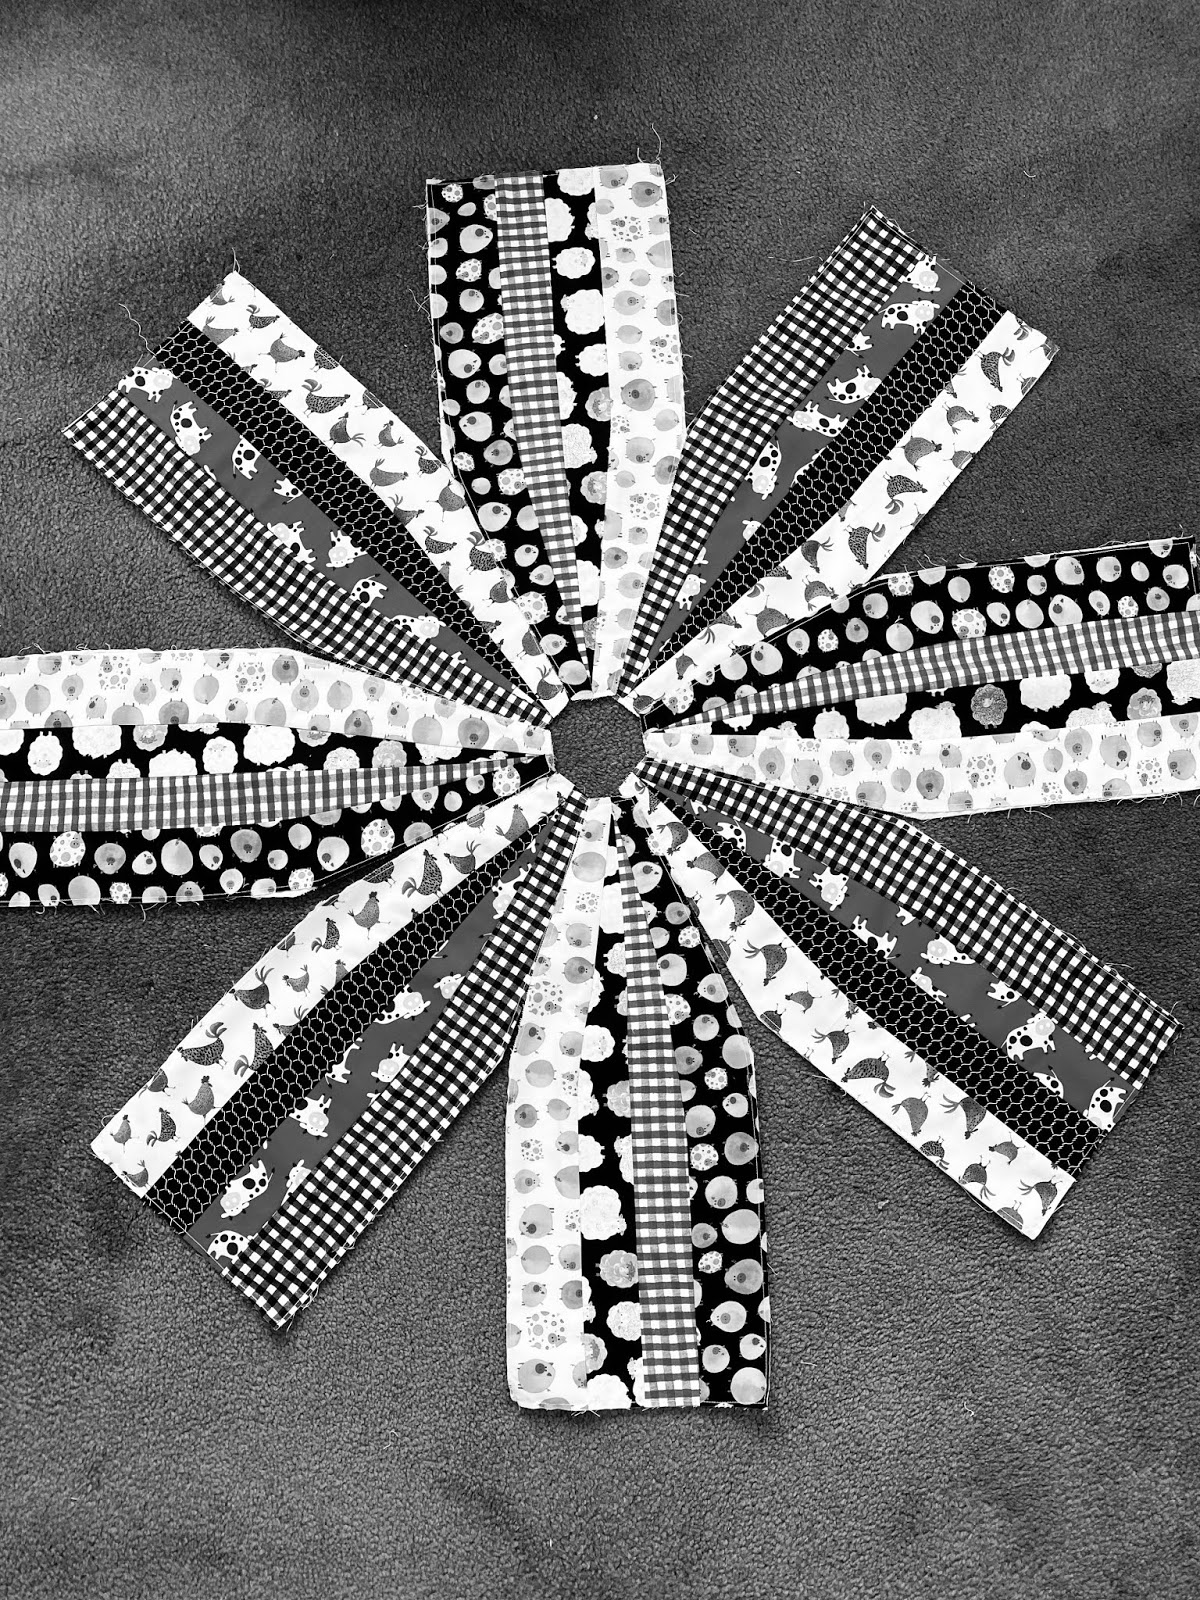
Once I had my eighths sewn, I laid them out so I could take a couple of photos and see which fabric I should use for the center button. It was a little tricky this one, as I erred on the side of the black gingham, but at the last minute went for the red cow fabric. The cow has all the colors of the other fabrics within it, so it kinda works. And has more impact on the eye.
I was now ready to pin my eighths together and sew.
Once that was done, I then matched up the quarter seams, pinned and sewed, followed by the two halves.
Once all seams were sewn, this was the end result.
I covered the button and placed it in the center, to get a feel for whether this was the right fabric.
This tuffet cover was now ready to go over the foam / wood round.
The bottom fabric was cut to size and so was the fusible pellon. I sewed a custom label to the fabric and then ironed on the fusible pellon to the inside of the fabric.
It was now ready for placement, adding holes for the feet and tacking the fabric to the bottom.
And here we have the finished tuffet.
I am really happy with the way this Farm Animals tuffet came out.