Learning the art of Tuffet making ...
I first learnt the art of tuffet making last Spring (2019) when I signed up to a local class at one of my favorite fabric stores in San Jose, California.
This was the end result.
I was proud of myself to have created something so beautiful and have put it together all by myself - with some assistance from the class teacher. I was super impressed with myself at successfully managing to handle an electric staple gun, without causing injury to me or anyone else. I'm not a power tool kind of girl. I usually leave anything involving power tools to my husband (Gary).
So having completed this beautiful masterpiece, I just wanted to do it again. Of course...
I made a few purchases in readiness to get myself started but then just could not find the confidence to actually start a new. I purchased some material, but then I just put the whole thing on the 'back burner'.
Moving forward 12 months, its now Spring 2020 #lockdown and the whole world seems to have ground to halt or may be it just seems that way due to the current pandemic being caused by Covid19. It sure is an eerie time indeed, but I am also trying to put this completely unexpected time I have off from work, to some good use.
Last week I received a text from a friend, prompting me to "Tough it out and make your Tuffets!"
It gave me the push I needed to take another look at what I had purchased and see if I could start a new tuffet.
With the help of my fantastic husband, Gary, he designed a tuffet pattern on his computer using software, Fusion360. He cut me out a 17" round piece of wood from some scrap using his X-carve. Certain holes were drilled into the wood ready for the t-nuts to be installed.
We then transferred our design to the Cricut Design Space software to allow us to print and cut using my Cricut Maker ↑😊 After a couple of test runs, we then felt confident to try drawing the design onto muslin fabric and cutting it out with the Maker's rotary blade. It came out great and all the pen lines were pretty good and the cut line was perfect. I just peeled away the excess fabric from the cut outline and everything just matched up perfectly. I then proceeded to print and cut out a further 7 pieces as 8 parts of the pattern are needed to make one round tuffet, like that up above.
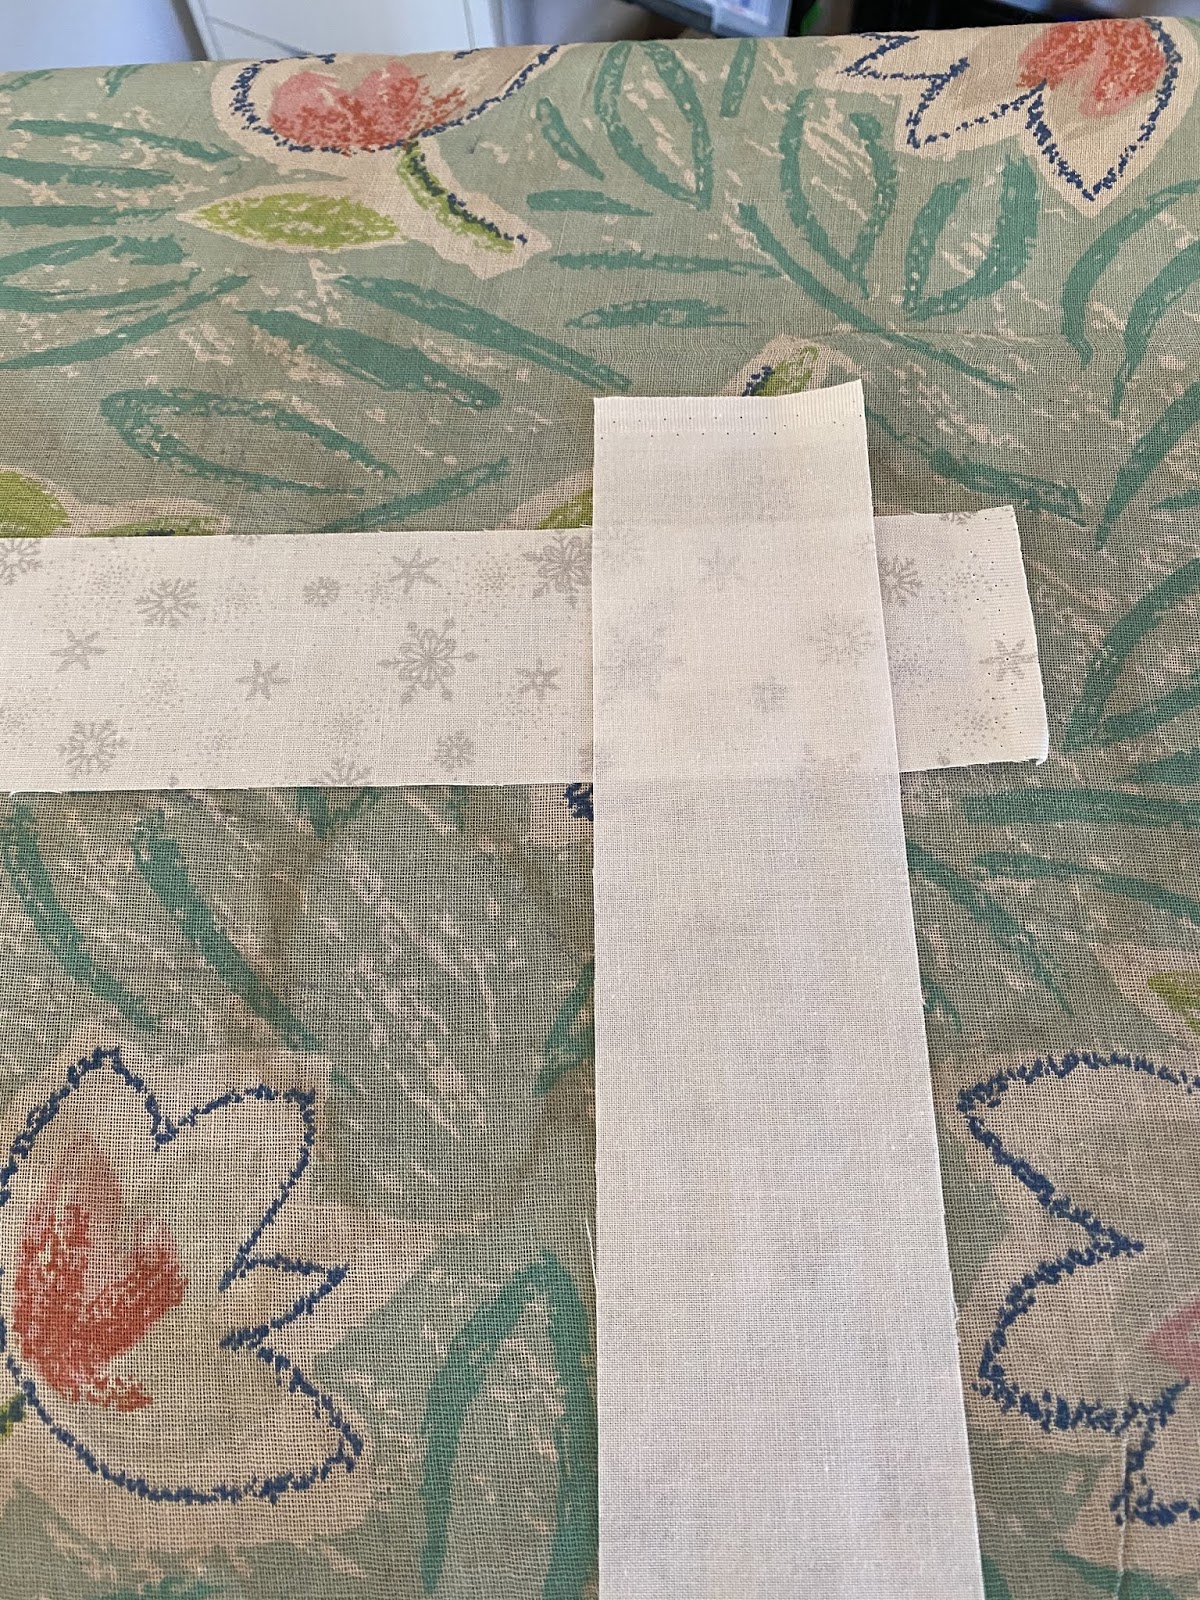
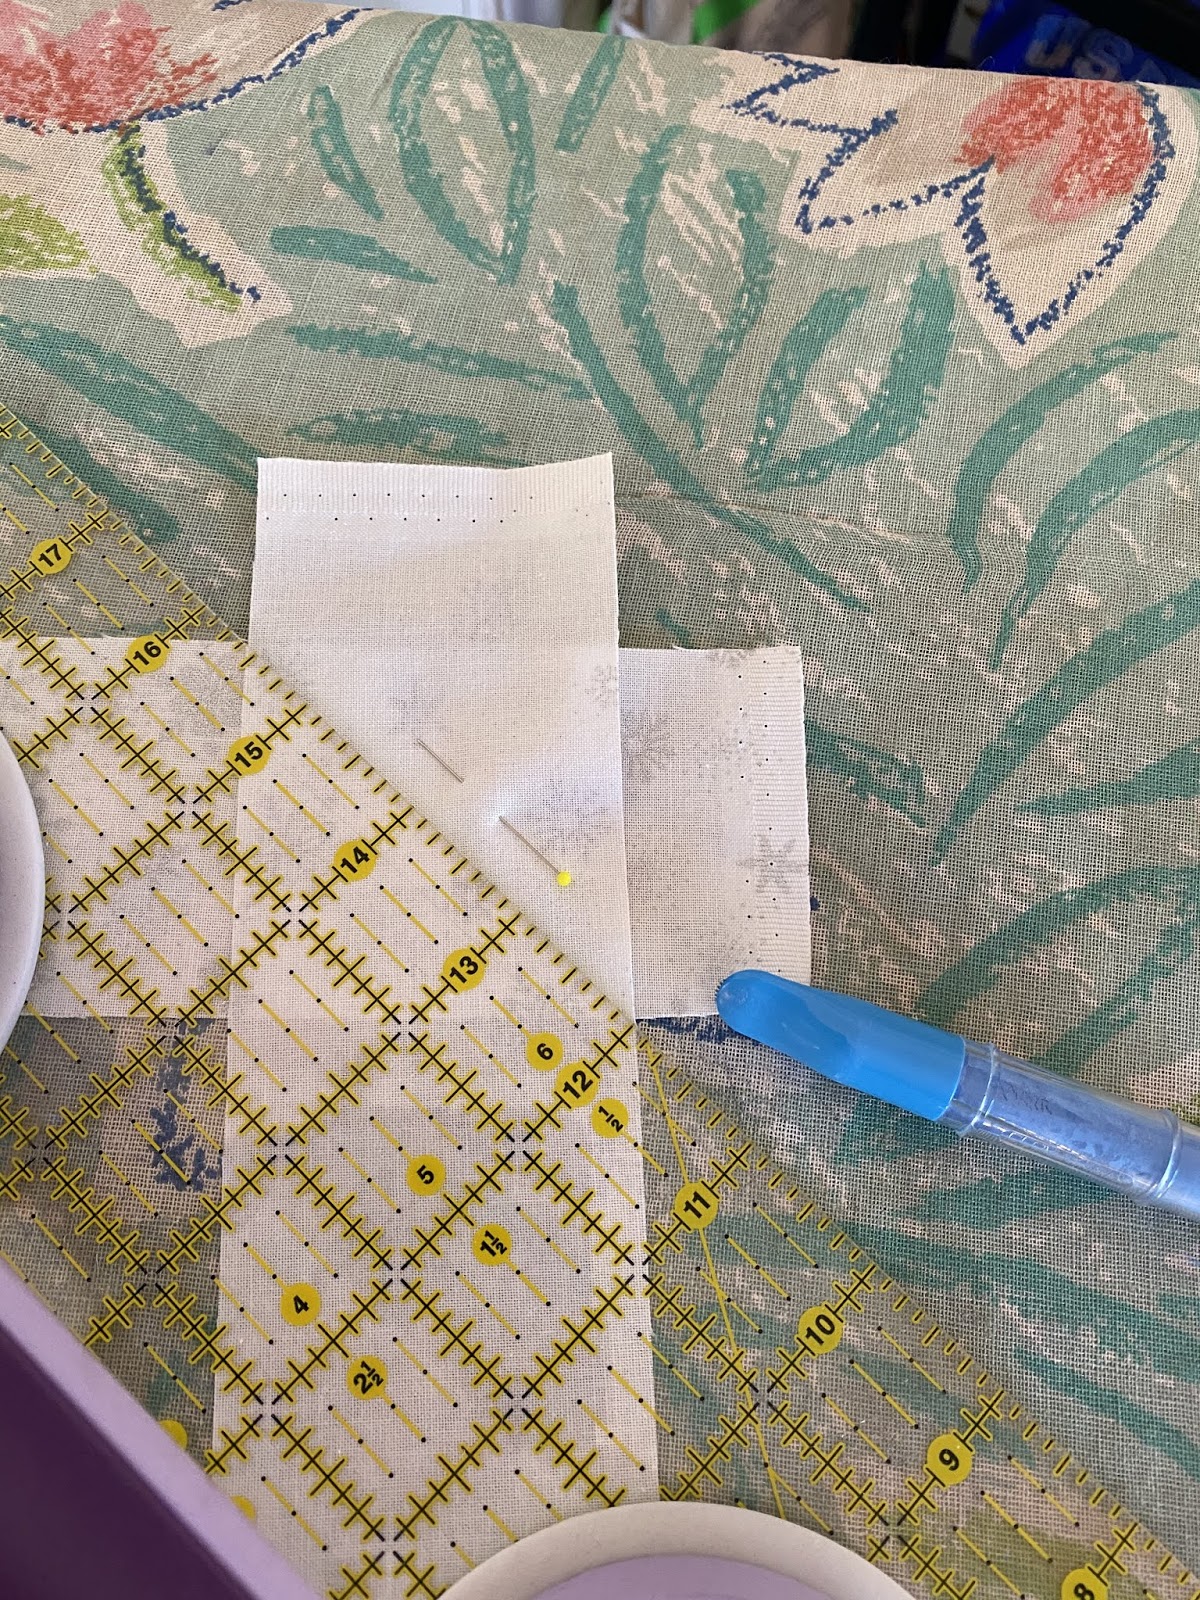
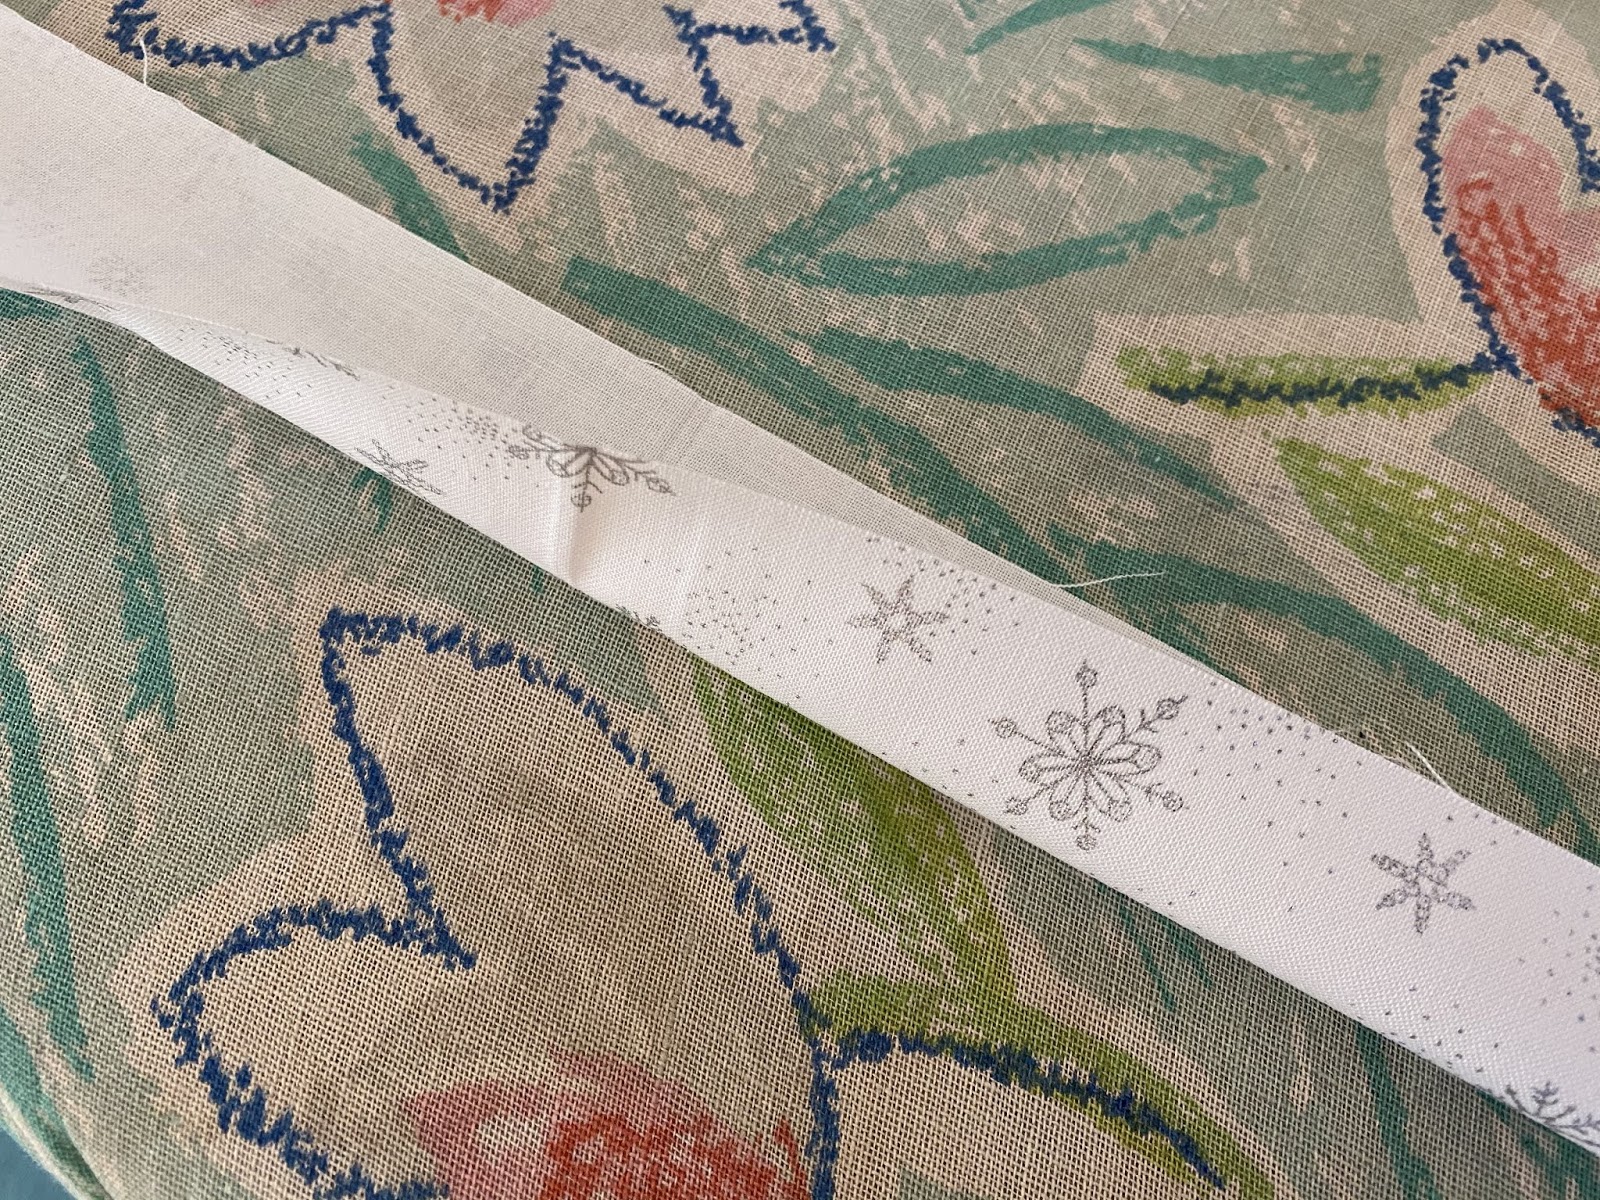
The next morning (Sunday) I proceeded to cut my strips of fabric in readiness to sew and then laid them out into a pattern, similar to that which would eventually form the tuffet, so I could see if anything needed changing or moving. I took a couple of photos to check my design. A photo can show off obvious errors or adjustments that need making with a design that a naked eye might not notice. I then proceeded to sew my fabric to the muslin, in the same way I had been taught at the class. Then laid the design out again just to make absolutely sure every panel is still in its correct place ready to be sewn to its adjacent panel. Examples below.
Once I had sewn every panel, the end result looked like this below.
I pinned the button fabric to the button to see what it might look like. I took several photos to look at the design and check I liked what I was seeing as, at this stage, I still had time to change my mind.
Monday morning I woke up ready to crack on with finishing the fabric part of the tuffet, which required me to sew on the nylon string to the bottom of the tuffet hood.
Once completed, I was then ready to assemble 👊.
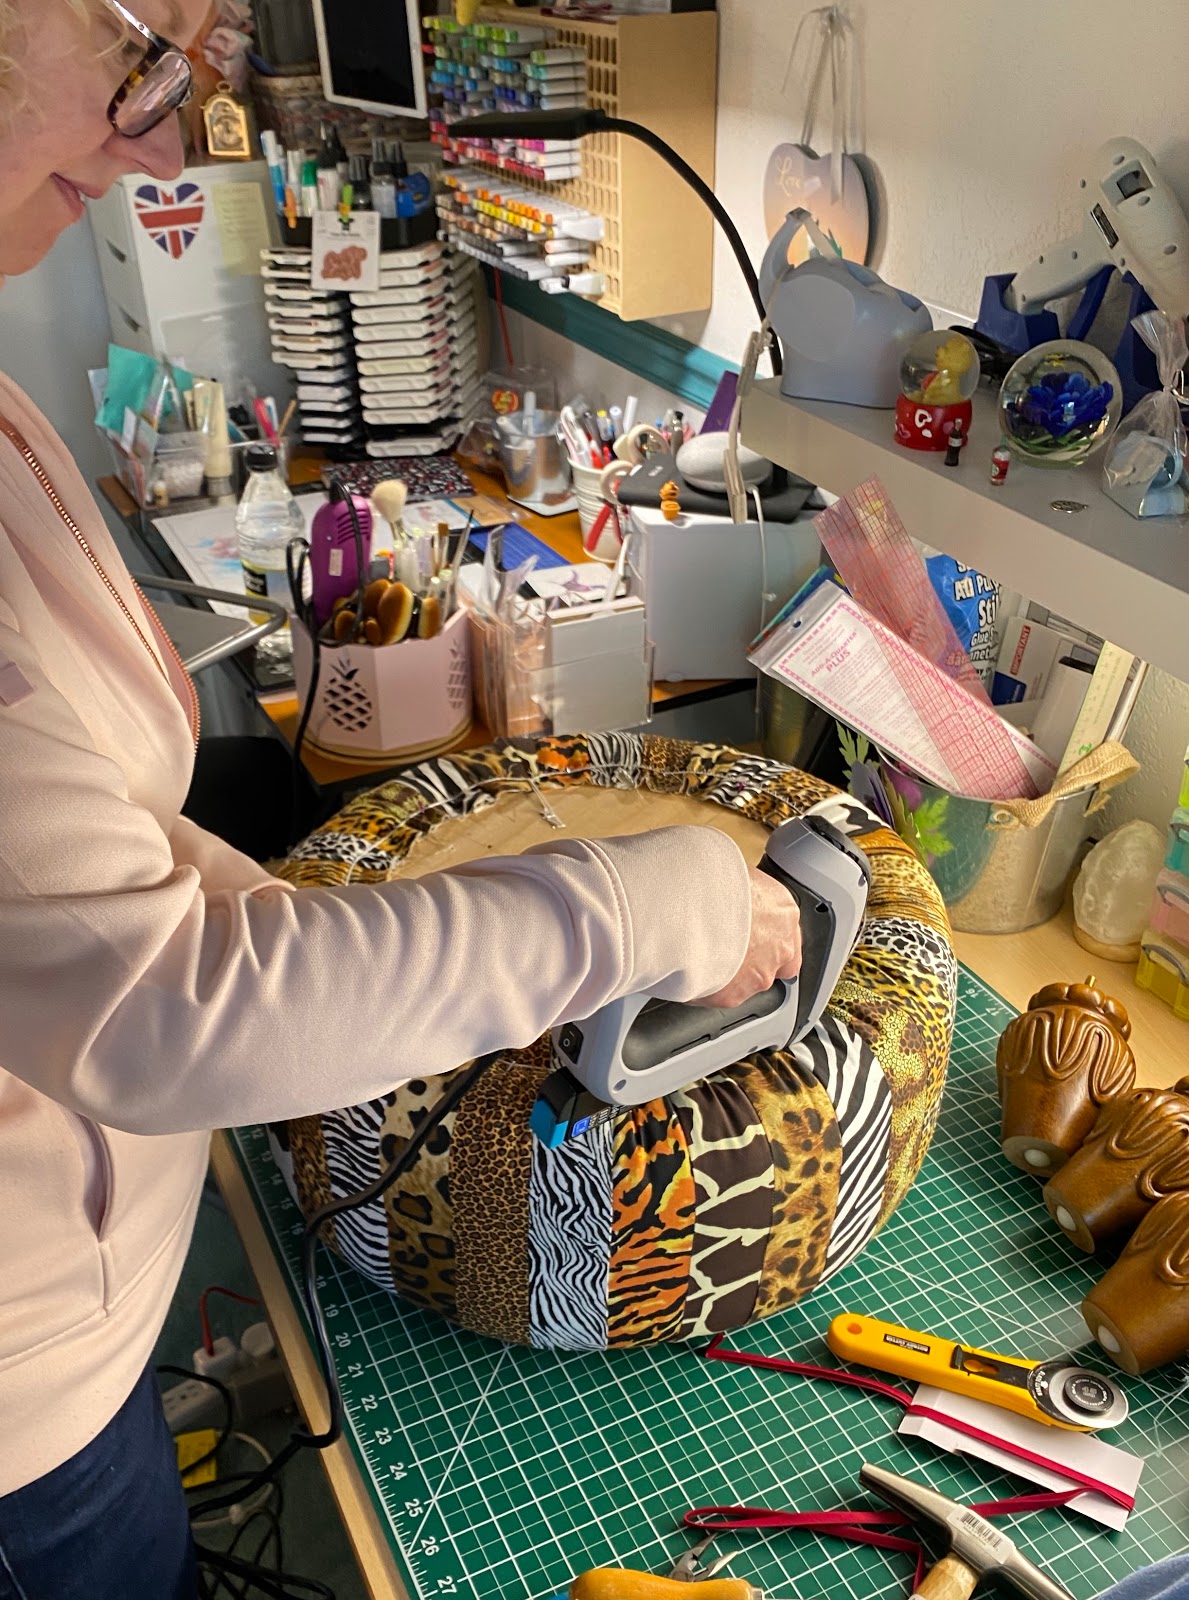
To do this, one must lay the foam cushion on to a big enough piece of upholstery batting, that can be pulled up and over the cushion foam and circle of wood (which is placed on the top of the foam cushion). Using the electric staple gun, I began to staple the batting to the wood, about 1/2" from the edge, pulling tightly as I went, stapling in line with a clock face 12, 6, 3 and 9, then 1, 7, 4 and 10, etc slowly going round filling in the gaps, working from one side to the other, until you end up with a pretty smoothed out piece of batting over your cushion foam. I then trimmed off the excess batting to about 1/2" in from the staples to neaten it up.
Next, I needed to find the center of the tuffet top and once I had located this, I marked the area with a X one which I would see, through the center hole, once the tuffet hood was in place.
This next part requires two people .. so I asked my husband to give me a hand.
With his help, we pulled on the tuffet top, over the cushion foam / wood. Its like trying to get an extra tight dress on someone two sizes too small. It requires a lot of squeezing and pushing on the foam to manipulate the fabric over the sides. Once in place, we then needed to add the button. I let my husband handle this part, as it was quite tricky, trying to feed a 12" needle from one end of the tuffet to the other, trying to find both center holes and feeding through the nylon strings attached to the button, which when pulled tightly would eventually hold the button in place. Using a piece of plastic drain pipe, we then turned the tuffet upside down, placing the button part of the tuffet into the center of the drain pipe. I then instructed my husband to push down on the tuffet as hard as he could, whilst I pulled tight the nylon strings and tied them. We then flipped the tuffet over and ended up with this.

So next was to cut out a round piece of fabric, this was to cover the bottom wood panel. I added a personalized label to complete the finish.
Today we received our bun feet for our tuffet and Gary was able to install the t-nuts to the wood panel. The last things to do are to staple gun the fabric to the wood, tack the fabric cover to the wood and then finally screw the bun feet in place.
And here we have the finished tuffet.