Hi 👋 everyone,
I own a Brother Quattro Innovis 6000D which came with all the upgrades. We bought it secondhand from our local Sewing Machine Center. For me, still a newbie to sewing machines, sewing and embroidery, this was and is a gem 💎 of a find. I have it set up for embroidery right now. Its been a while since I’ve done any, due to all my other crafty projects. Searched for a design I could practice with to get me back into the swing of things. I’m still learning what this awesome machine is capable of. 


I have a ton of awesome designs I purchased a while ago from Smartneedle.com
https://smartneedle.com/product-category/embroidery/
They have such cute awesome designs. Found a FQ (Fat Quarter) I could use to practice on. Chose a design and sorted out my 🧵. It’s good to do a practice piece before cracking on with something you want 💯% perfect, it’s a good exercise to familiarise yourself with your machine, changing spools 🧵and other reminders. Make sure you have embroidery and bobbin thread specifically for embroidering with and have several bobbins filled ready for use.


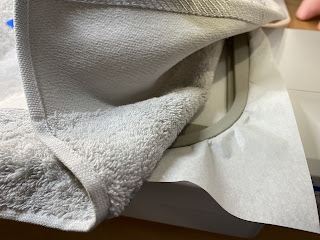
Today, I set out to embroider a towel, making sure I had my design the right way round for the towel in question, which also has some additional sparkly snowflakes so really important I get this right. I decided to try embroidering it using the floating method. It’s really difficult to hoop thick fluffy towels and have seen various people comment this is a method they use. So having watched some videos on YouTube of the technique, I set off ... cut some tear away stabiliser which I hooped. This is the brand I’m using for my larger designs.

Then using the plastic inserts that come with the hoops used this to find the middle of the stabiliser. I then proceeded to iron my towel and create a crease to where I wanted the middle of my design to lay. I then used 505 temporary fabric adhesive to stick my towel to the stabiliser - remembering the towel is not hooped, it is laid over the top of the hoop, but stuck to the stabiliser using the adhesive. Placing the middle of my crease on the towel to the middle marked out on my stabiliser to square things up.


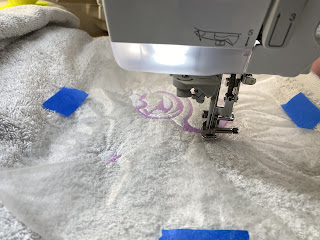
I then cut a piece of water soluble topping to place over the top of towel to be embroidered. This stops the stitches sinking into the towel, allowing the stitches to sit on the surface of the towel, so the design doesn’t get lost in amongst the towelling.
Last time I did a towel using this method, I pinned the stabiliser to the towel but after watching a video of someone using masking tape to stick this stabiliser in place, I decided to try this technique to see how good it worked. The first thing I noticed was I wasn’t spending loads of time trying to get the pins in the stabiliser and that was worth something, wasting precious time on mindless tasks, so far it seems to be working ...

I chose my design. I don’t always use exactly the colours provided but usually choose something close to it.
I have two different thread types I’m currently using.
The first is a mixed bag of Isacord embroidery threads.

And then there’s these New Brothread threads I got off of Amazon. I have to say I am impressed with the quality and the fact they don’t break. Sometimes the more expensive threads can let me down.


I then proceeded to pick out my thread 🧵

The great thing about embroidering🧵 using this machine, is that it stops between each colour change, you can follow the design on the screen, it cuts the thread too and moves around the design so easily. I also have an automatic needle threader when loading up the next spool 🧵 and that is a god send 🙏 I usually trim any loose thread ends too between thread changes.

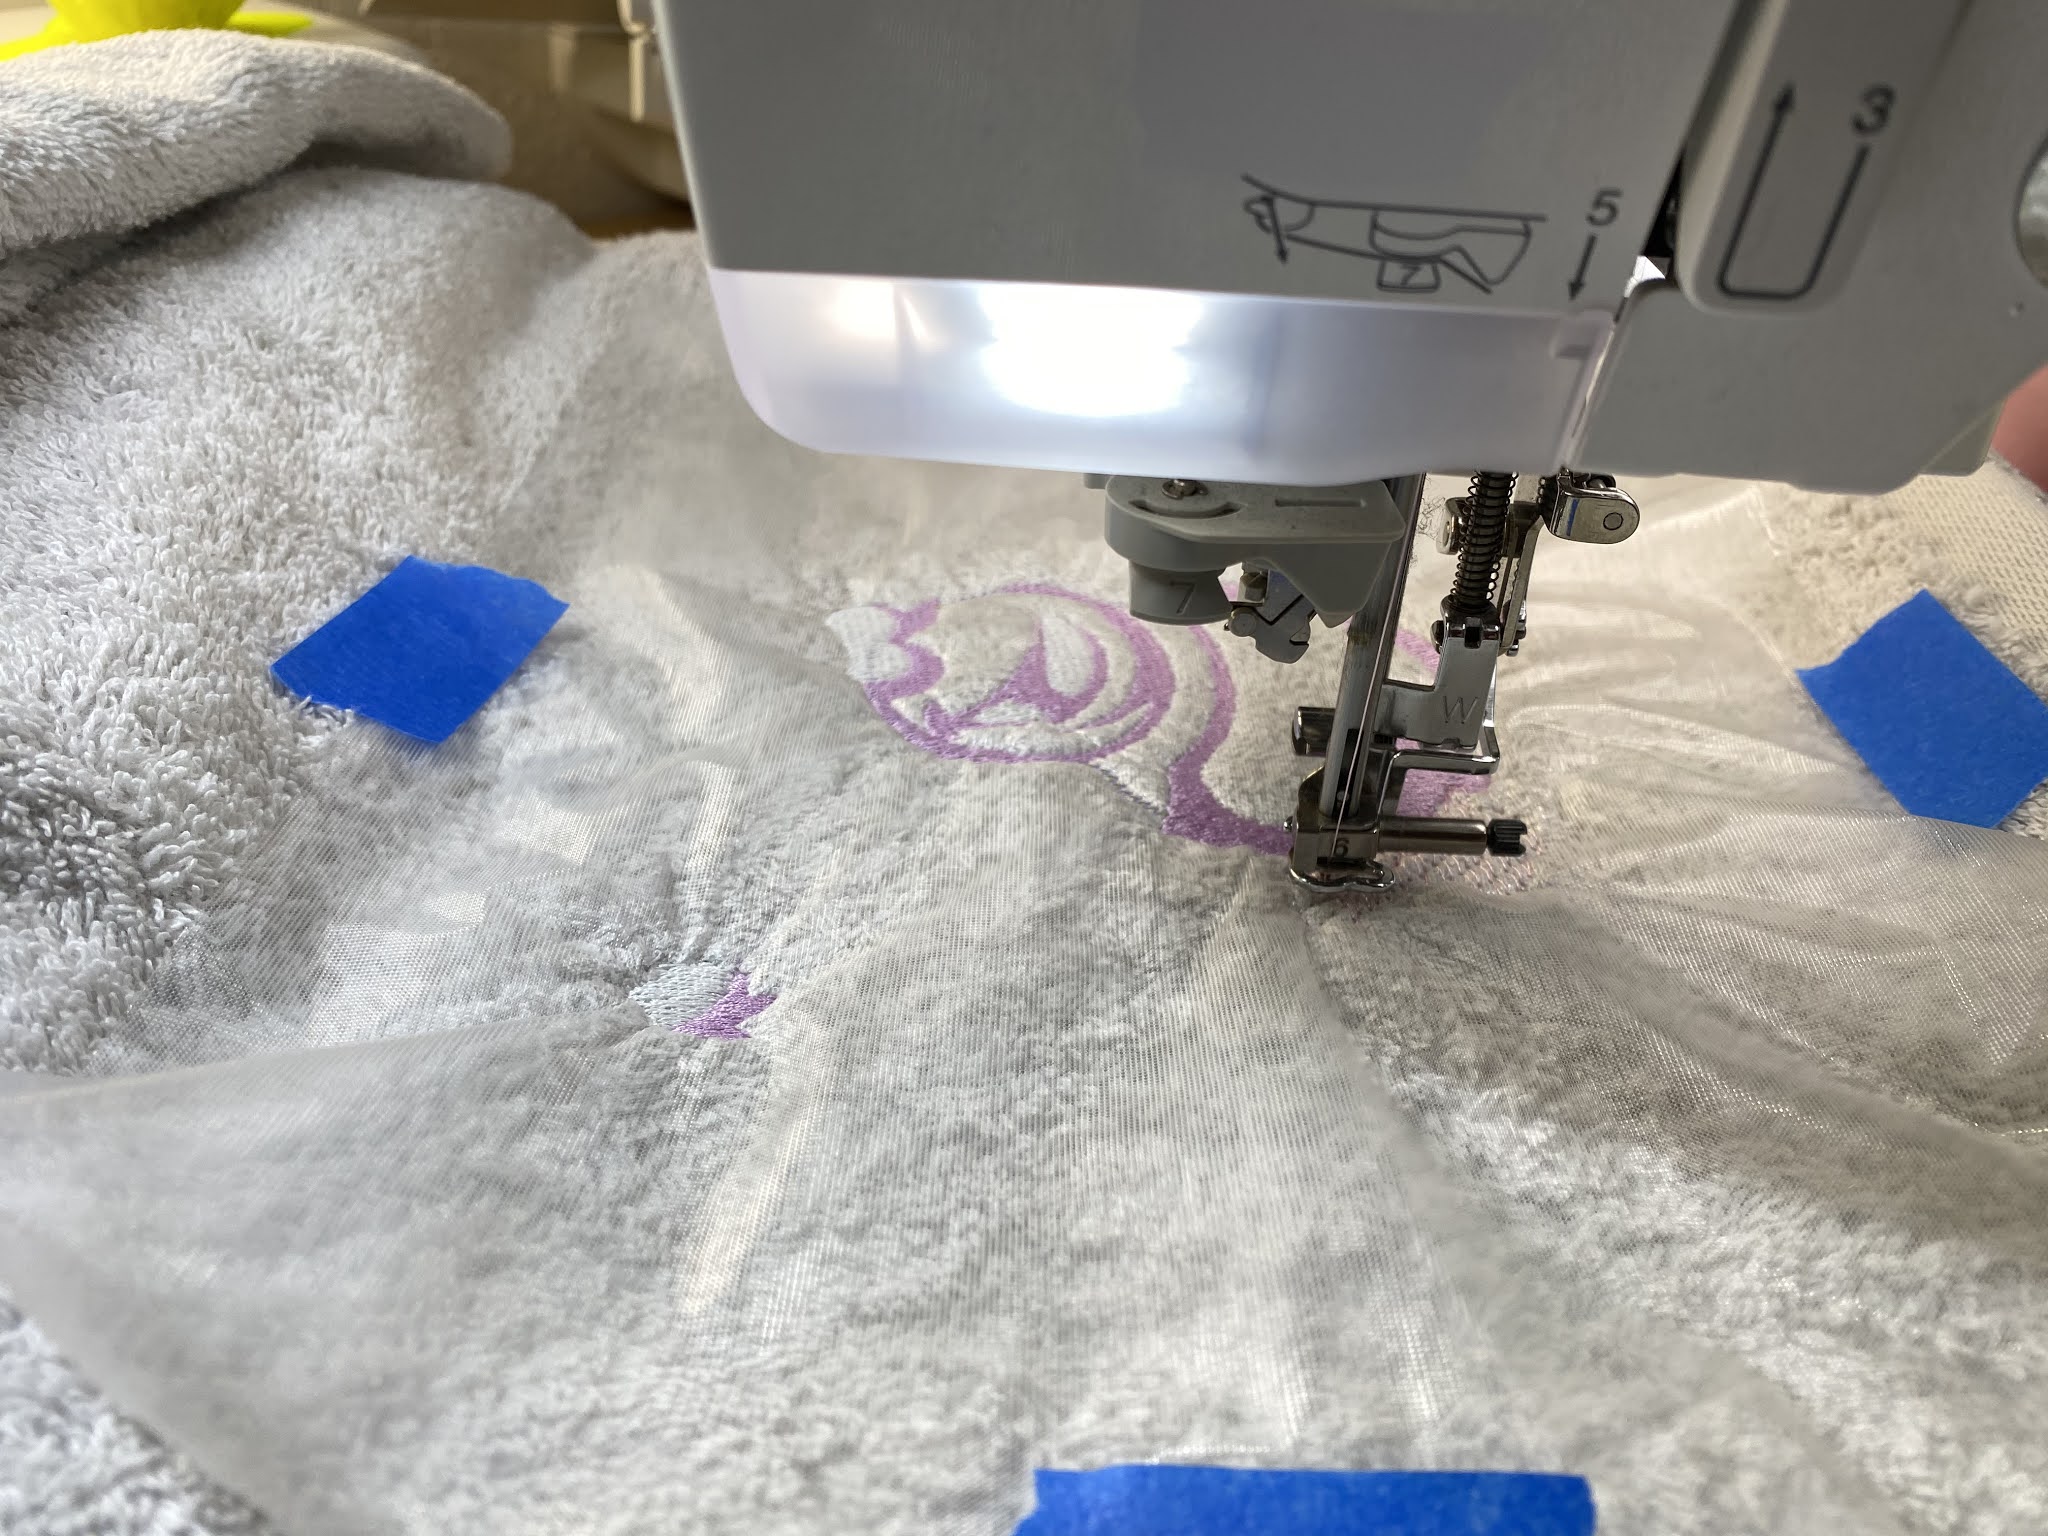
I love how the embroidery comes together and it’s so therapeutic just to sit and watch.


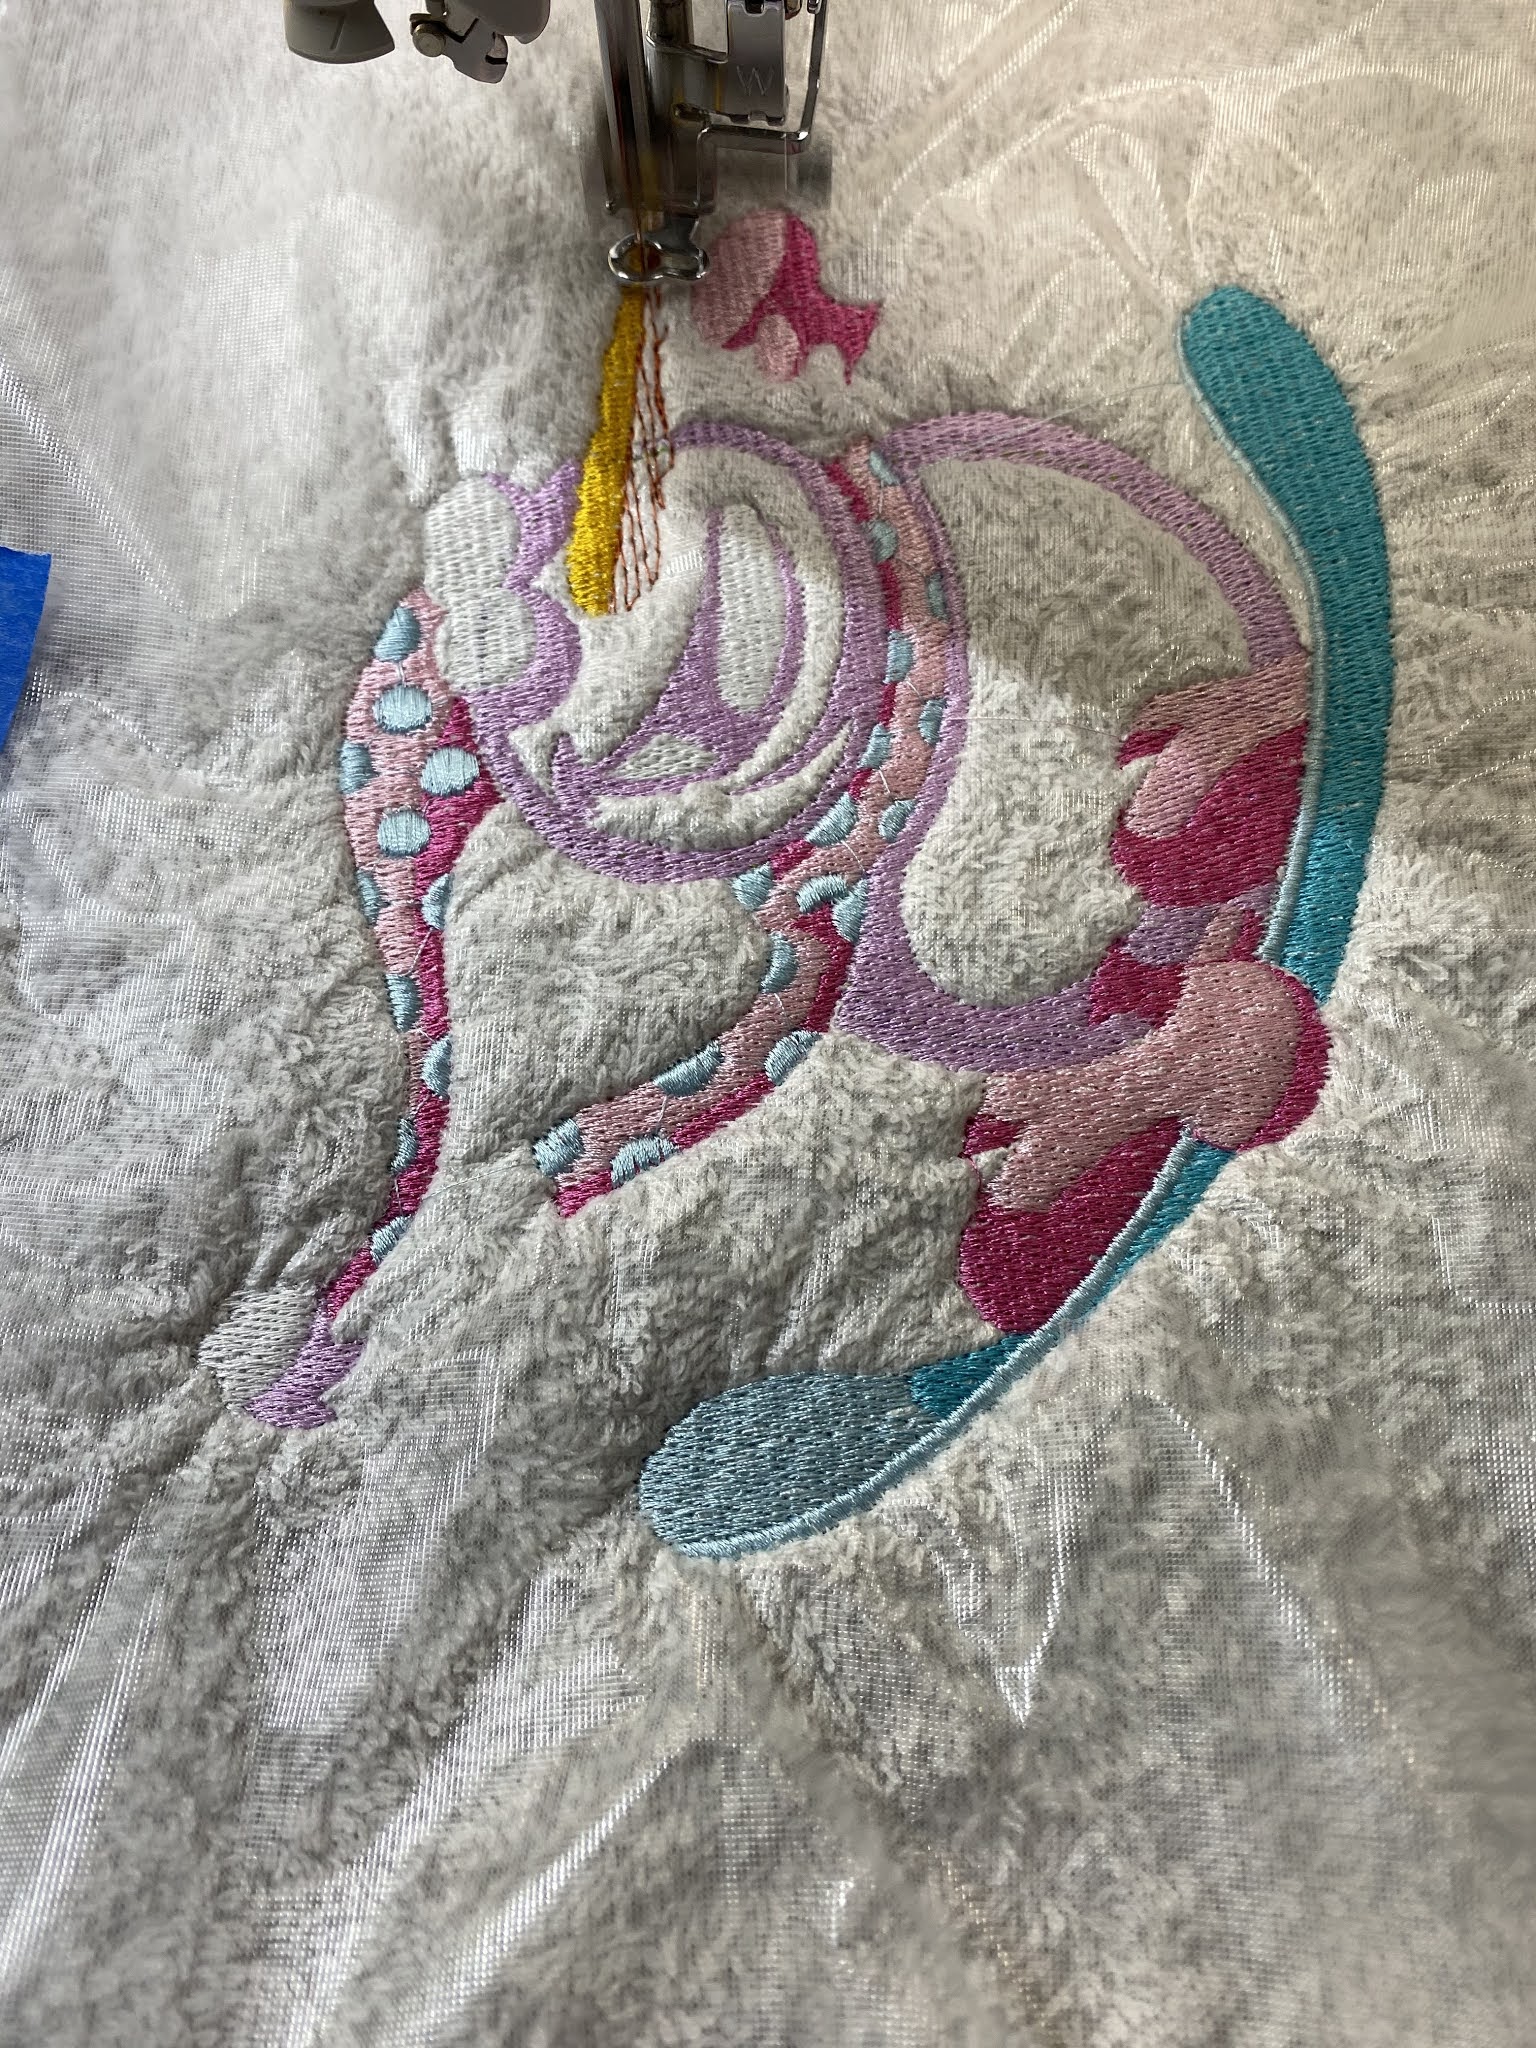
Got to the final colour thread, and that’s when everything went downhill from there on. First the needle broke, I hadn’t realised this at first, as usual I had turned my back for a 5 minutes, when the machine stopped midway complaining. It said I needed to rethread the upper thread. But on doing so, more than once, still no status change. That’s when I noticed something shiny on the towel and realised the needle had snapped. Anyway, finally got it going again, and then the top thread decided to get itself all tangled up around the bobbin - don’t know how, why, or when but with brute force and my husband on hand got the thing finally untangled and ready to go again ..
Finally finished the last colour, being black, of course it’s the one that adds all the details to the image. You can’t afford to have stitches skipped or missing, it will show. I went back over some of the areas that were caught up in the tangle to hopefully make the details more prominent. In the end I drew a line under the project after the needle snapped for a second time 😬
Once I removed the hoop from the machine, I needed to tear off the washable and tear away stabilisers, being careful not to pull too many of the towel threads. The towel will need a wash now to remove any final small pieces of stabiliser.


YAY .. Here is the finished towel.