Thursday, 25 February 2021

Meet Baby Yoda

Well hello ... 

I’m so excited to share with what I’ve been doing this week ..  drum roll ... meet Baby Yoda .. my new Babylock Venture 10 needle embroidery machine.  Yay πŸ‘πŸ‘ 


I’m super excited to have this new 10 needle embroidery machine in my life.  My husband treated me, he said it was my birthday and Christmas present for the next 5 years, that’s how long he’s taken out an interest free store credit to buy it.  If you’re looking for a new sewing or embroidery machine and live in the US, I highly recommend visiting your local Sew and Vac store, they do have some amazing deals and some offer interest free credit which makes buying an expensive machine more do-able and manageable.   We also got a load of goodies added to our “bundle”.  

So here are a few projects I have been making with my new machine, named Baby Yoda. 


This beautiful cushion cover, I used a design by Embroidery Library, a very beautiful and delicate design especially against a dark backdrop.

Here is a link to the design 


I also went on to embroider some tote bags. 

Here are some of the finished bags.


And lastly a few bar towels done with my new machine.


This design is by Embroidery Panda, a link to their website is below, they have some awesome deals especially the ones at 0.35 cents a design .. I’ve managed to get some great designs since finding this website especially with the additional discount offered if you spend over a certain amount, can’t beat that


These designs I got from Embroidery Online, they have a great “Dollar Designs” section where every design is $1.  Another place to find great embroidery design deals.


Well I hope this has inspired you to try embroidery 🧡 it is super fun and stretches your imagination  .. until next time πŸ‘‹πŸ˜

Tuesday, 26 January 2021

S.W.A.L.K

Hi everyone,

Hope everyone is keeping well and using their hobbies to keep themselves sane during these turbulent times.

I’ve been busy making some valentine treats ready for my new booth. 

Using a new lip balm die set released by My Favorite Things together with their rip strip dies, I quickly came up with some ideas, I thought might help boost my sales during valentines season.   I attach a link to where you can buy this die set.

https://mftstamps.com/search?type=product&q=Lip+balm

I also sourced some unbranded lip balm from Amazon and bought a bag of each flavour, Cherry and Peppermint.   Found some freebie images to use, to create fun characters for each of these lip balm.

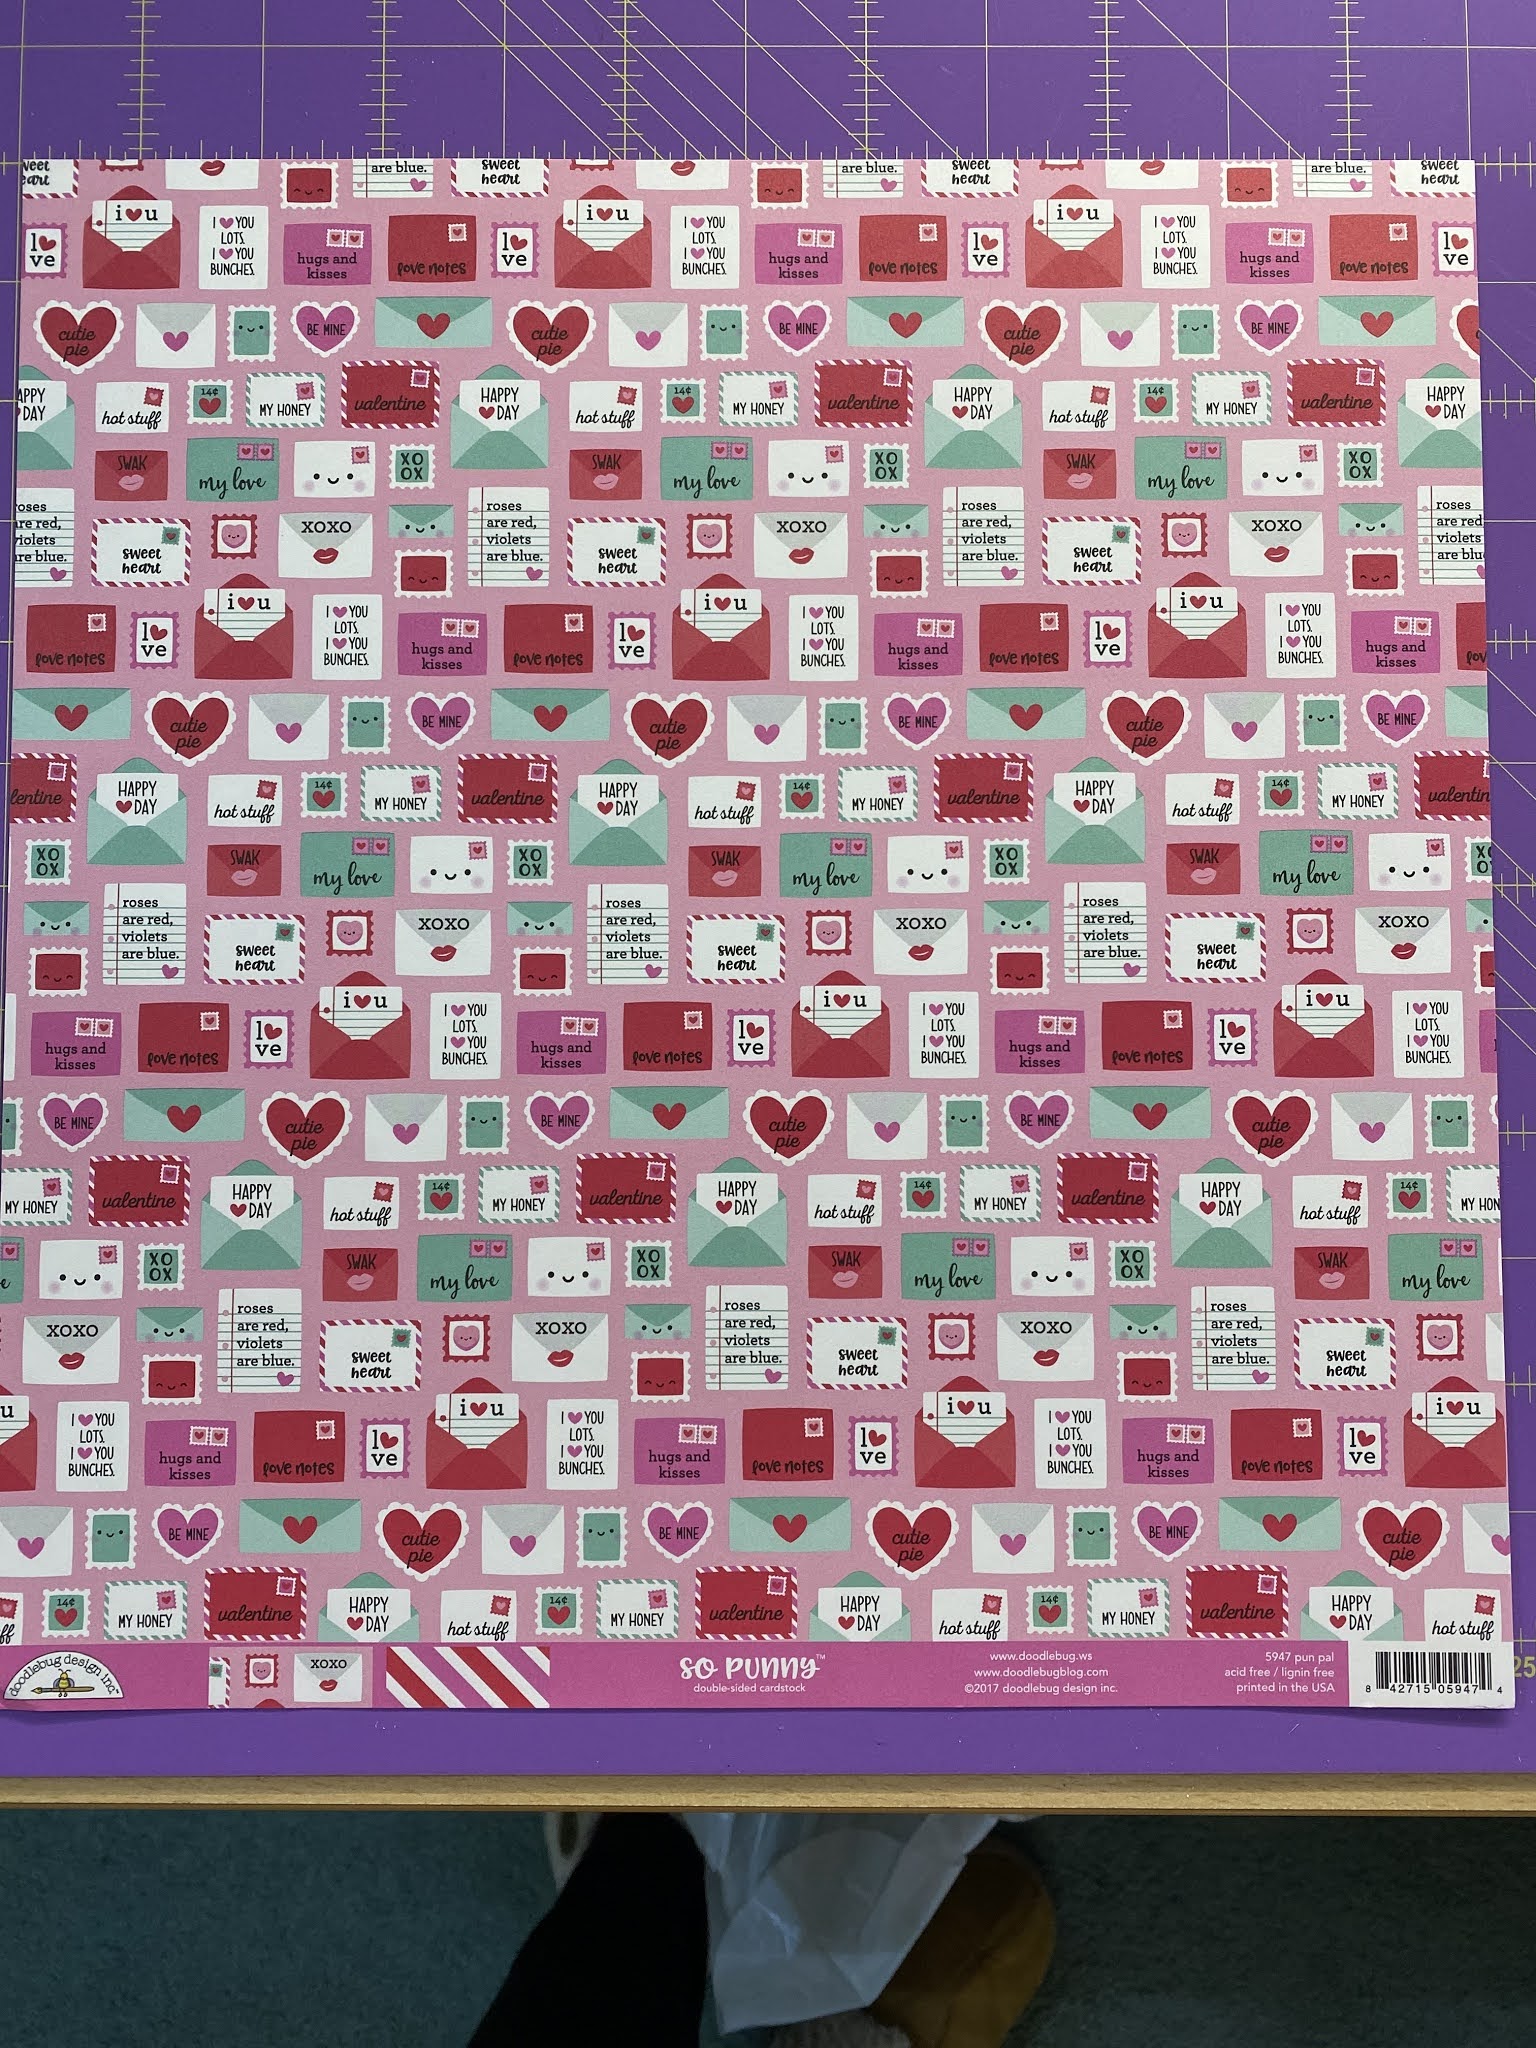
Once I had everything set to go, I picked out my papers and started to die cut all my pieces.


I then picked out papers for the backside of the product, red for πŸ’ and green for peppermint and proceeded to die cut those out together with the rip strip taped in place at the same time.  I had my husband design and 3D print me a very thin plastic template, to drop into the center of my tag die so placement of my rip strip die would be a much quicker and accurate experience each and every time I placed it down on my paper.  


I then added my lip balm cover designs to each lip balm, my husband designed these cute covers for me.  We printed and cut them out using our Cricut Maker.   


So now I was ready to assemble, I worked on one flavour first and then the other.

Using 1/8th inch scor tape, I placed a strip of adhesive around the hole on the backside of the piece of paper which is my front piece, where the plastic pouch goes.


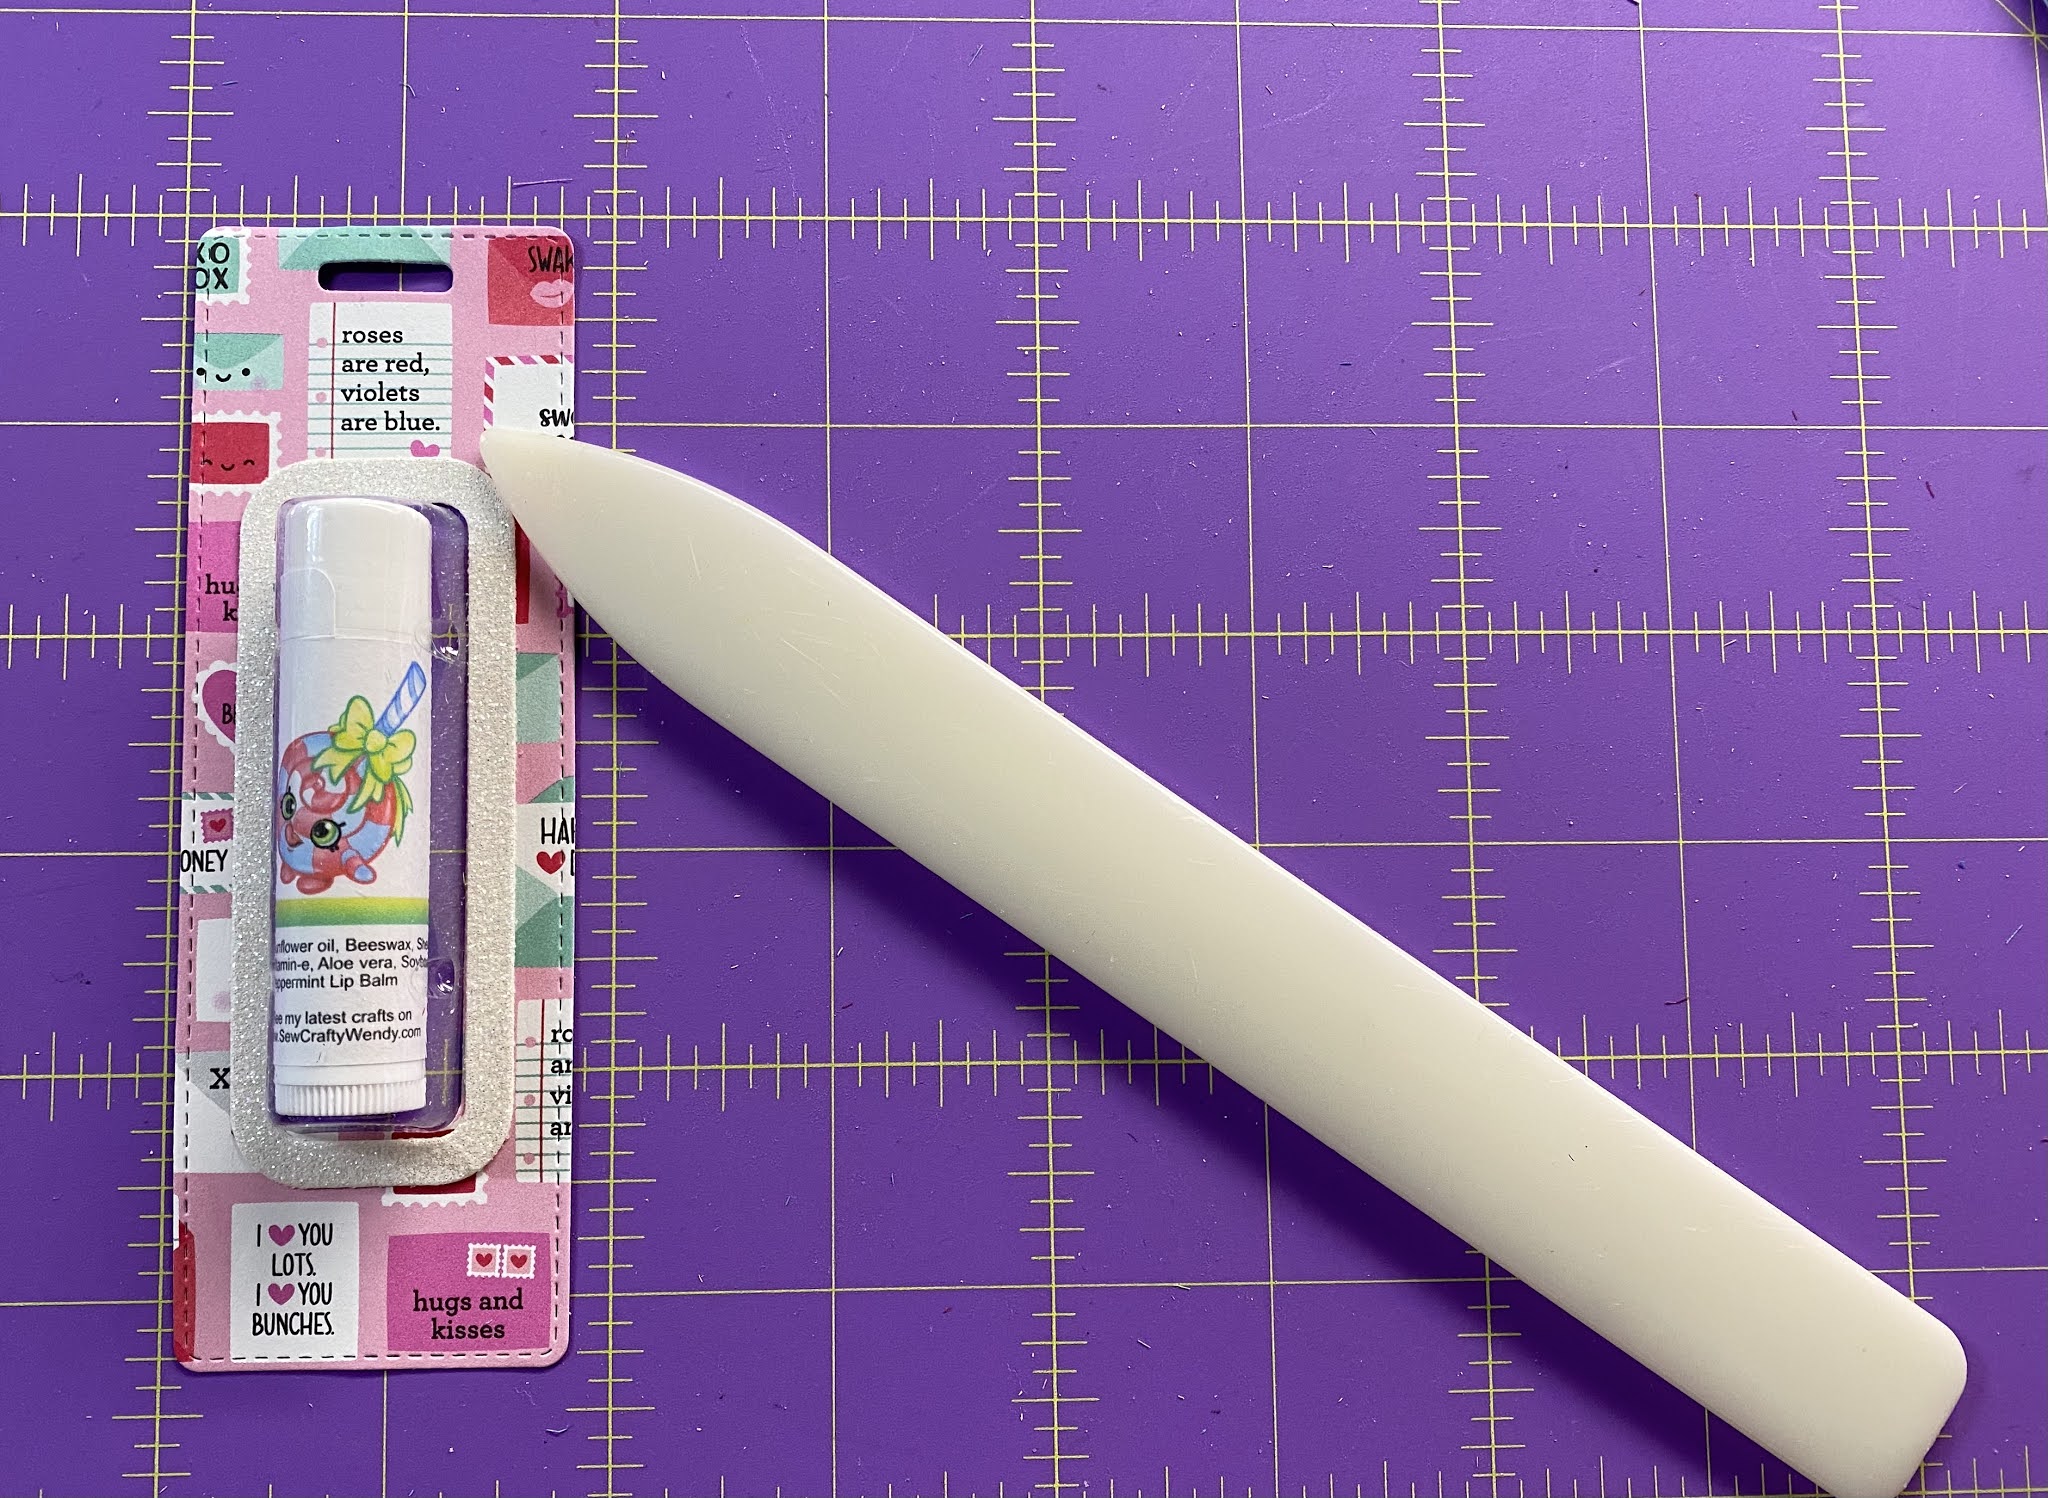
Pushed the plastic pouch in place and burnished with my bone folder tool to adhere well to the front piece. 


Next I placed scor tape around the frame piece and adhered to front paper, around the window, again using bone folder to burnish in place and added my lip balm to the inside of the plastic pouch, turning the label to face the front of the window.


I then sealed the lip balm in place by adhering the back tag piece to the front tag piece.


I had a little production line going on to complete all lip balm featuring in my valentines theme.  I finished off with a little ribbon tied through the tag hole, added a bow to complete the look.  What do you think ?   


These babies are now ready to sell in my booth, I really like how they turned out. Ta dah πŸ™ŒπŸ»


Thanks for looking and if you made it this far, please leave a comment and say hi and where you are viewing this blog from  - take care πŸ‘‹πŸ˜Š


Thursday, 21 January 2021

Open for business

This week when I arrived at work, I hung up my newly embroidered towels and opened up my booth for business.  I’m sharing this booth with a co-worker to keep my costs to a minimum and allows me to test the market see what’s popular.

So here is a few photos of my set up.  If you are local or live within driving distance of Sunnyvale, California, please come visit Cranberry Hill and say hi. 


I’ve already sold 2 towels so things are off to a good start.

Next week something exciting is coming to our home ... πŸ˜‰ can’t wait to share what’s new in my next update  ❤️

Monday, 11 January 2021

My new venture for 2021

Happy New Year everyone,  

I’ve been busy today making some new embroidery projects, ready for sale. You see it all started last week, whilst at work, when one of the vendors vacated their spot at the shop.  So I had one of those brainwaves or moments and thought .. oh, I could take that ... so I decided to ask the store owner if I could secure the section that had just become available to sell some of my own handmade creations.  Up until now I haven’t been in a position to do this, but now felt like the right time had come and I should grab this opportunity, if I was allowed.   I was given the green light ... so I have been buzzing to get started on some stuff.  

I decided to embroider some hand towels.  I picked on a couple of designs that I had recently purchased online, that didn’t require too many thread changes to get me started.  Let me know what you think?


This was my first design, “Coffee Lover” in a heart shaped monogram from Stitchtopia. 


Using brown thread, closest to the colour of coffee, I proceeded to load the thread onto my machine. Checked my bobbin thread was good too and enough to complete such a project.   Good pointer here, take a look at the size of the design on your machine, then put a ruler over the area you want the design to be over and if the size is bigger than the area in question, then you need to press the size icon, and then press the icon showing a box with arrows pointing inwards to decrease it, or outwards, if you want to go larger.
Hooped my towel, using a tear away stabilizer, and my brand new magnetic hoop I got for Christmas πŸŽ„ from my wonderful husband, Gary - thank you 😘 Xx


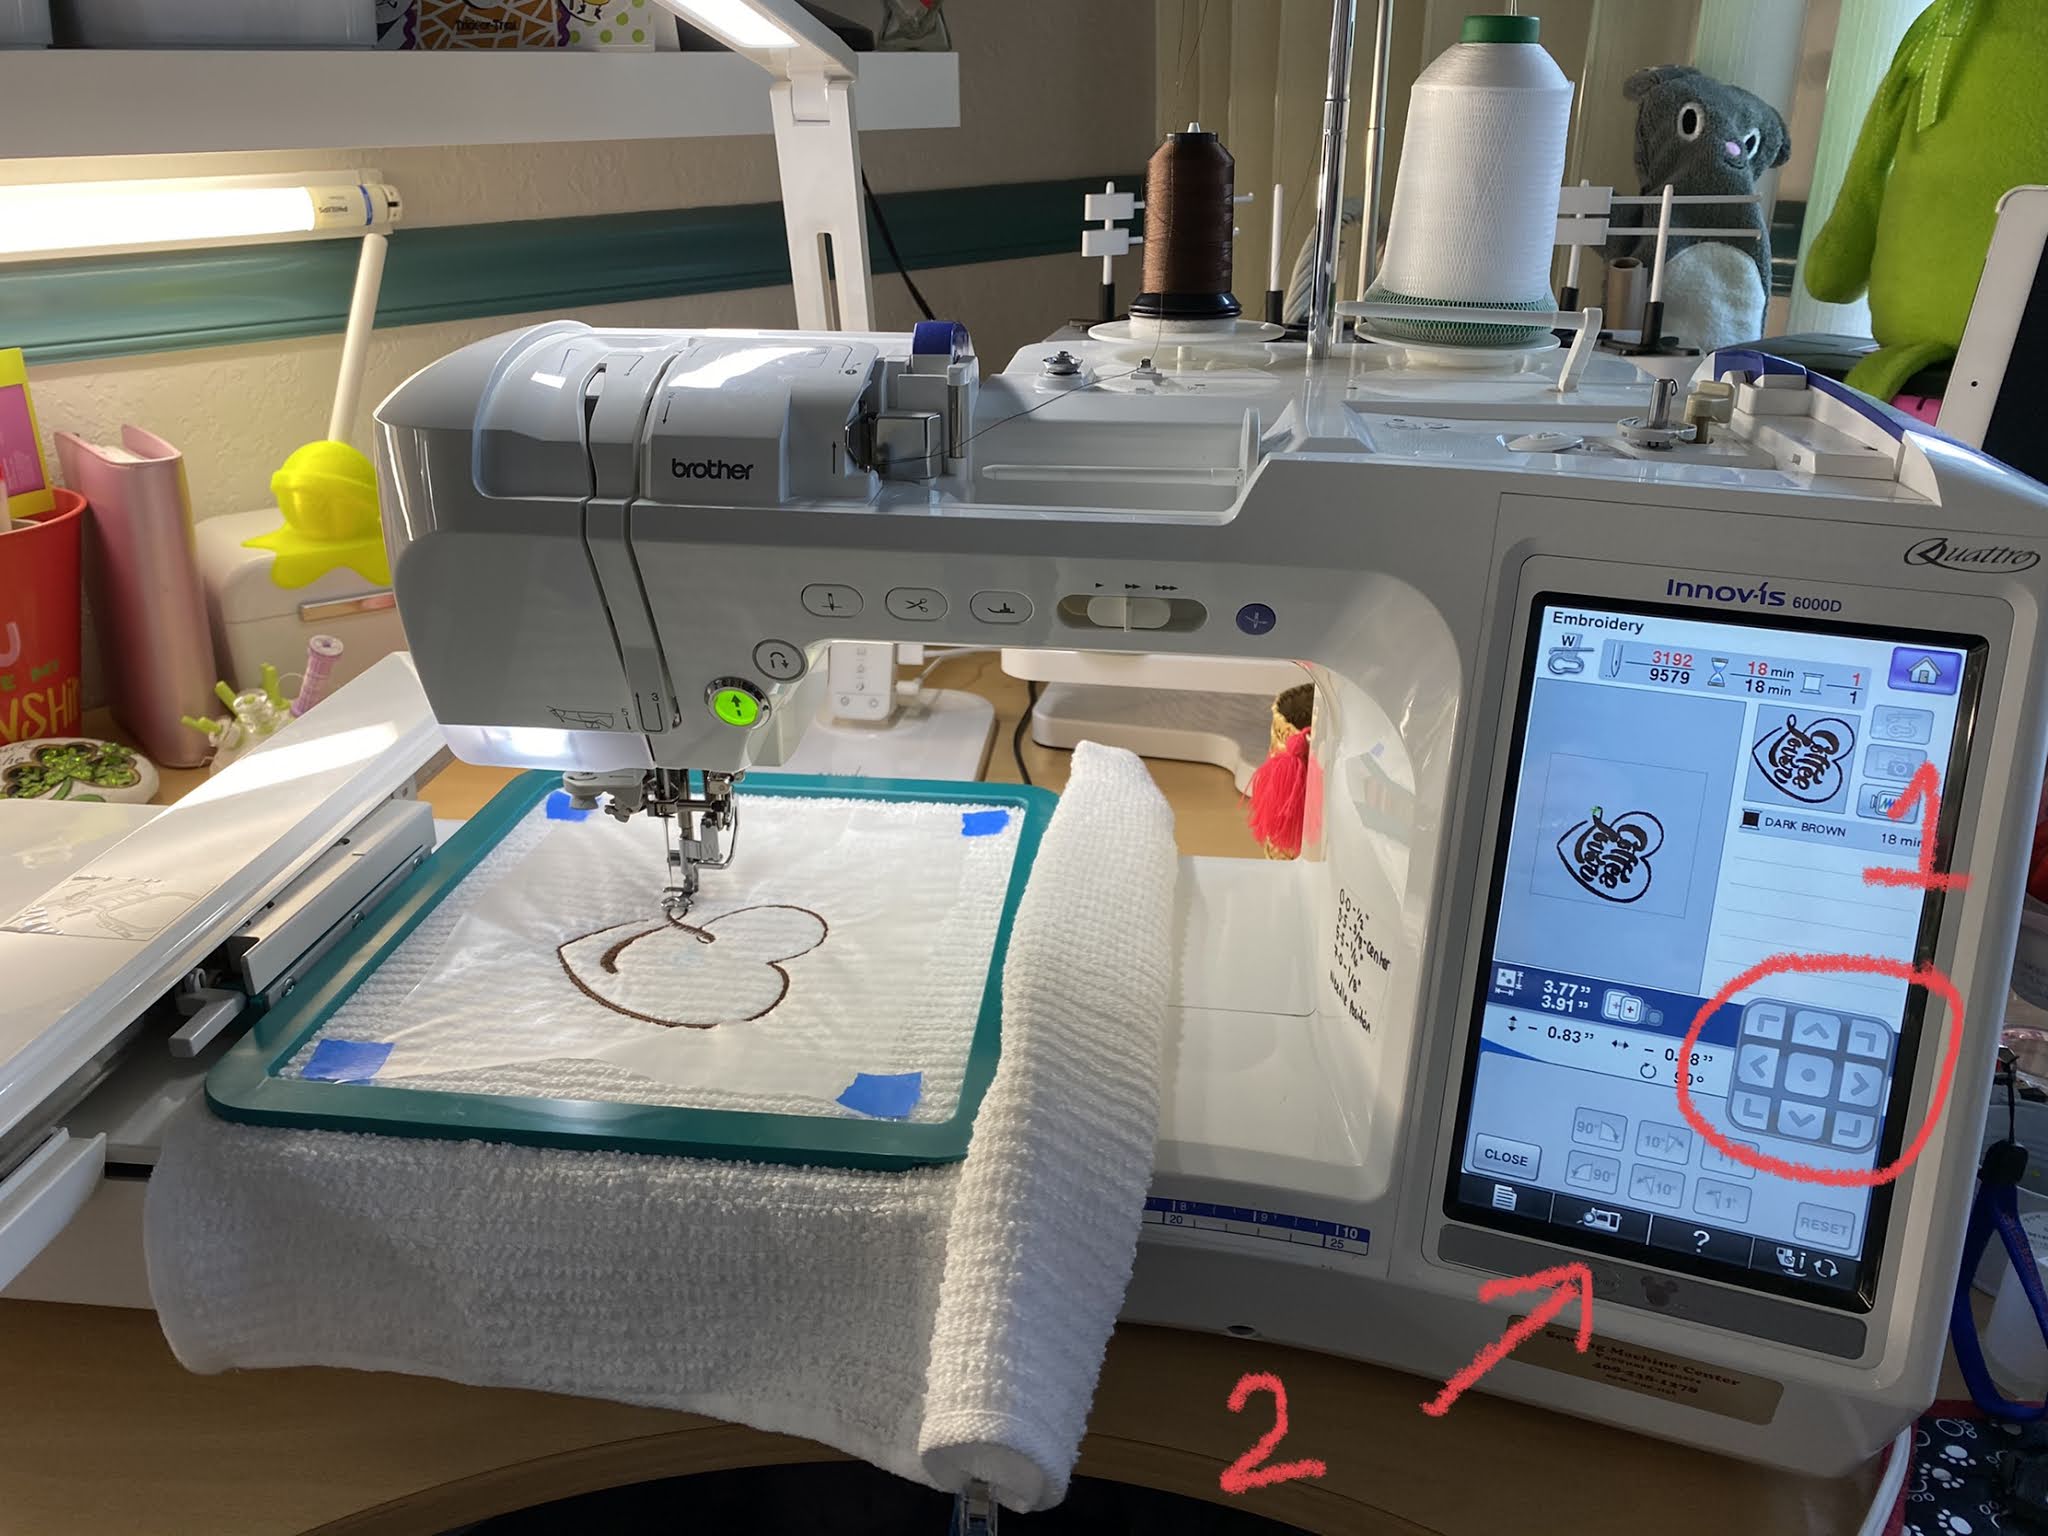
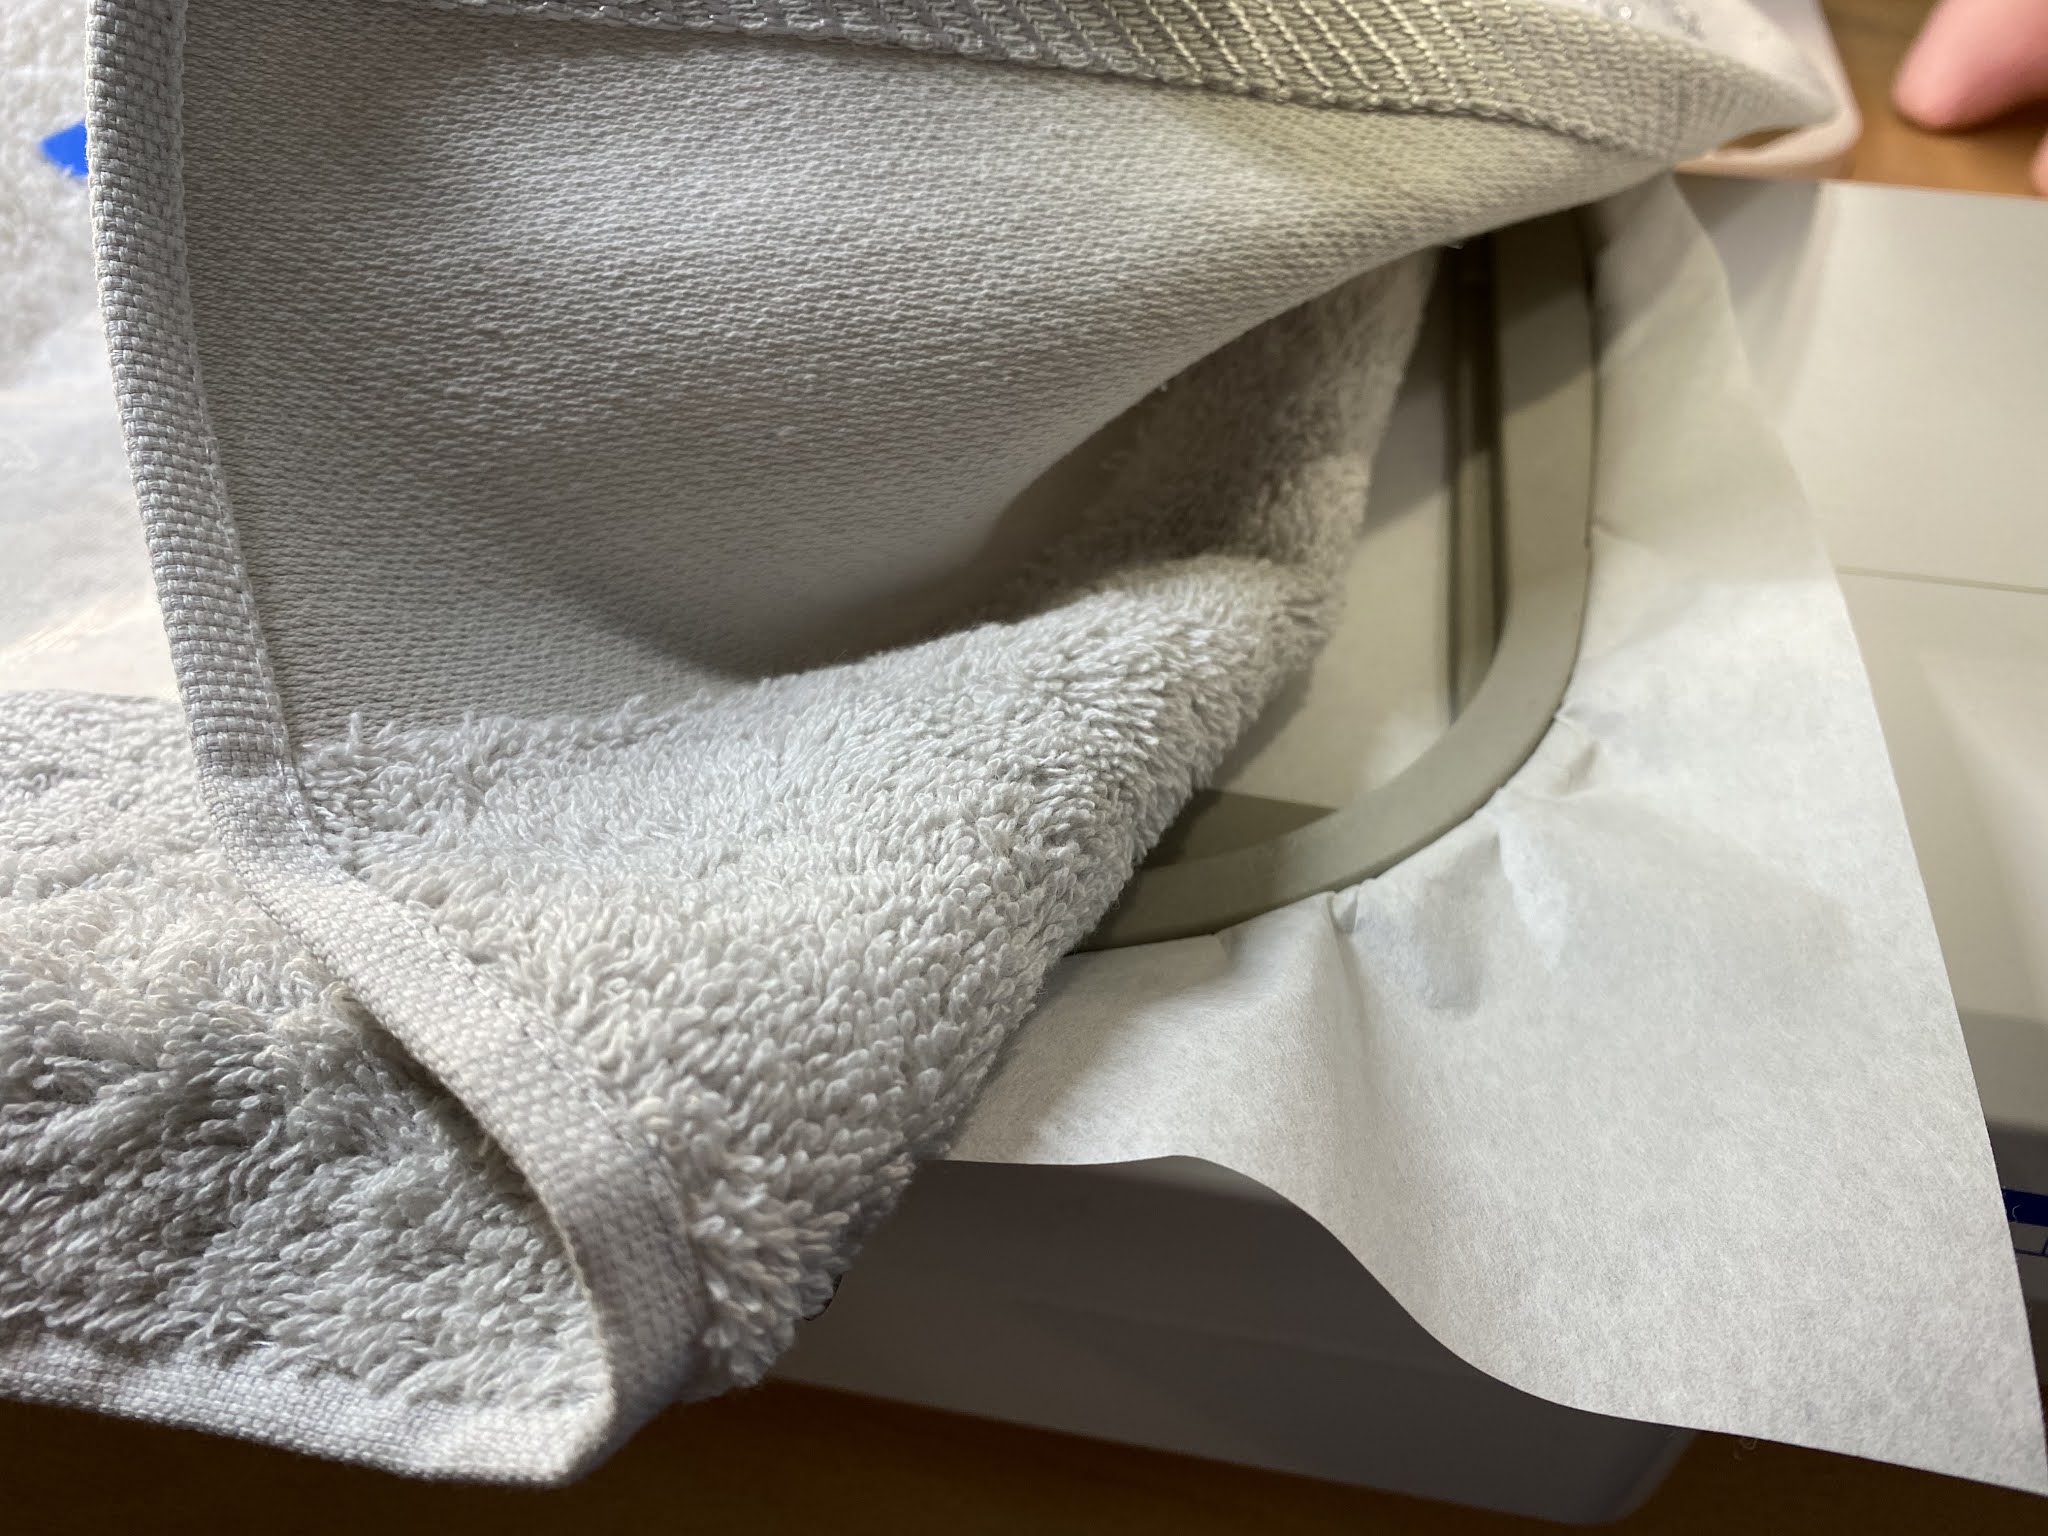
Before placing my towel in the hoop I wanted to find the middle point of where I wanted my design to be stitched.   I always try to embroider the opposite end to the where any label is, the label indicates to me this is the bottom of my towel.   So I turn the towel over, this is my top, working the opposite end to the label, fold the towel end up, towards the middle crease and finger press to create a fold line which is like a quarter way up on the towel, then unfold and fold the towel right side on top of left side and finger press the center fold in the area the other fold was made to locate the middle.  I could have used an iron here, if the lines had not been too defined, but this towel was thin enough that I could make out my middle point. Unfold and with a ruler, make a cross through the center point with a fabric pen to indicate the middle.  Before loading towel into magnetic hoop, I take care not to distort the towel lines so design stitches our straight and the toweling stays straight too.  Once loaded up I take my hoop over to my machine and load it on.   Important point here, if you need to rotate your design, now is the time to do so, the picture on the screen helps to see which way round it will stitch out.  I use the rotate button if I need to turn the design round.  I use quilt clips to hold my rolled up excess towel in place too.   Then using my machine I find my center point of my towel - the cross made with fabric pen, using the arrow buttons.   The photo attached shows 1) the buttons to press to move needle position around design to center point and 2)  press this button, with presser foot down,  and this machine’s camera feature appears on screen and you can move needle position, using the arrow buttons, to the exact center of cross and view on screen.


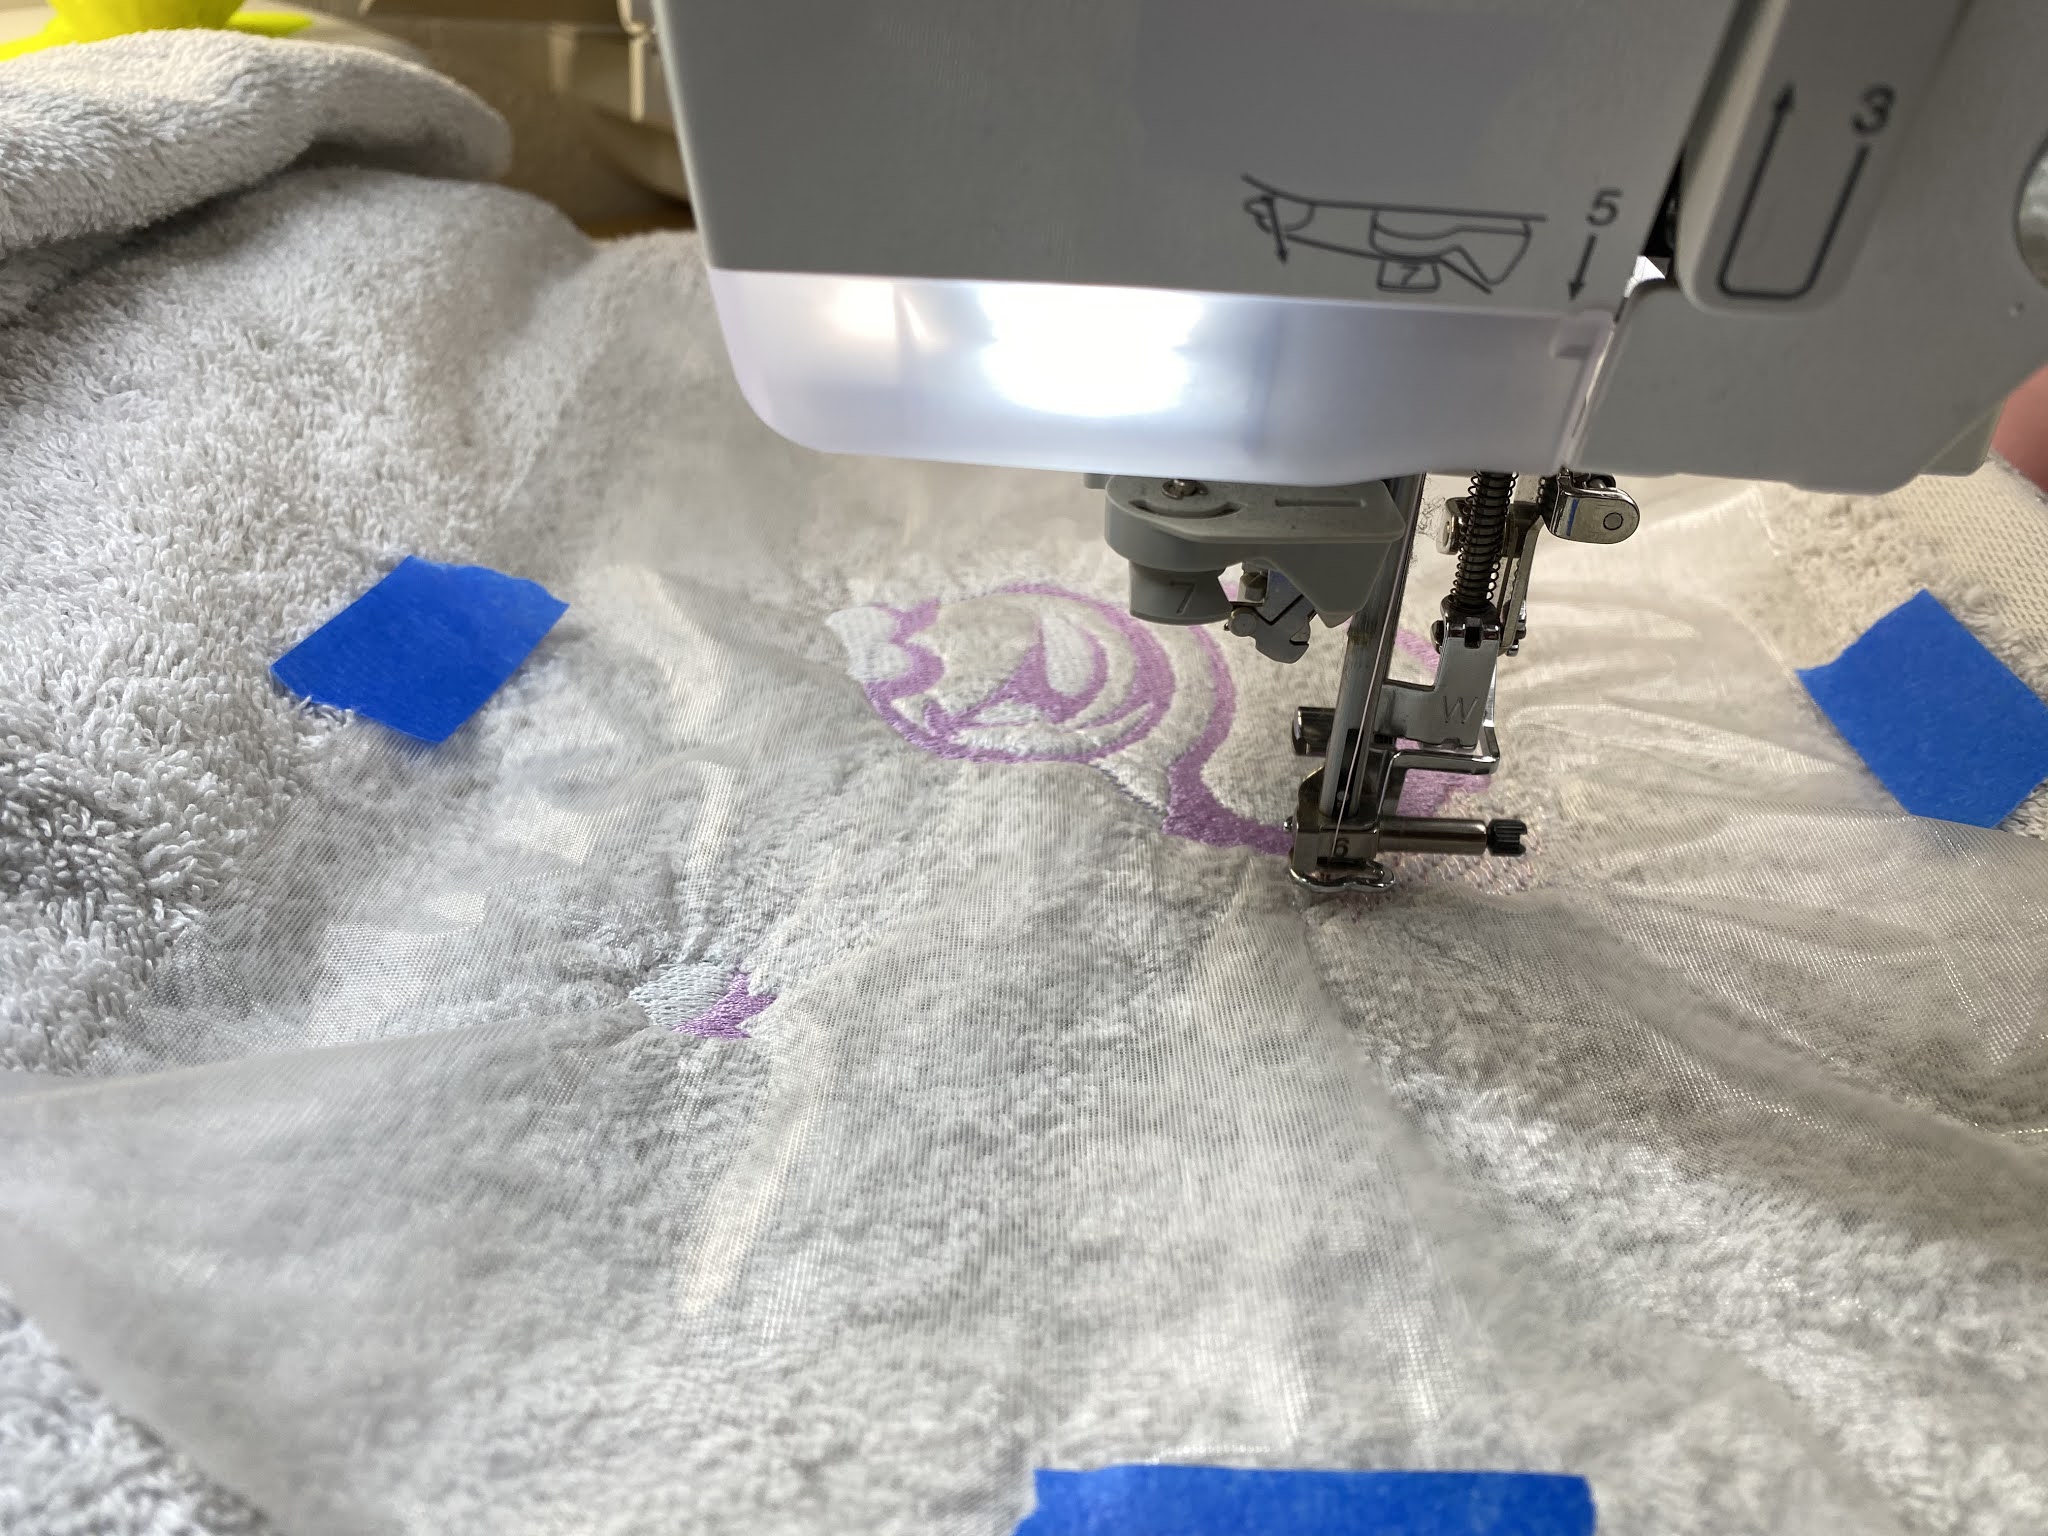
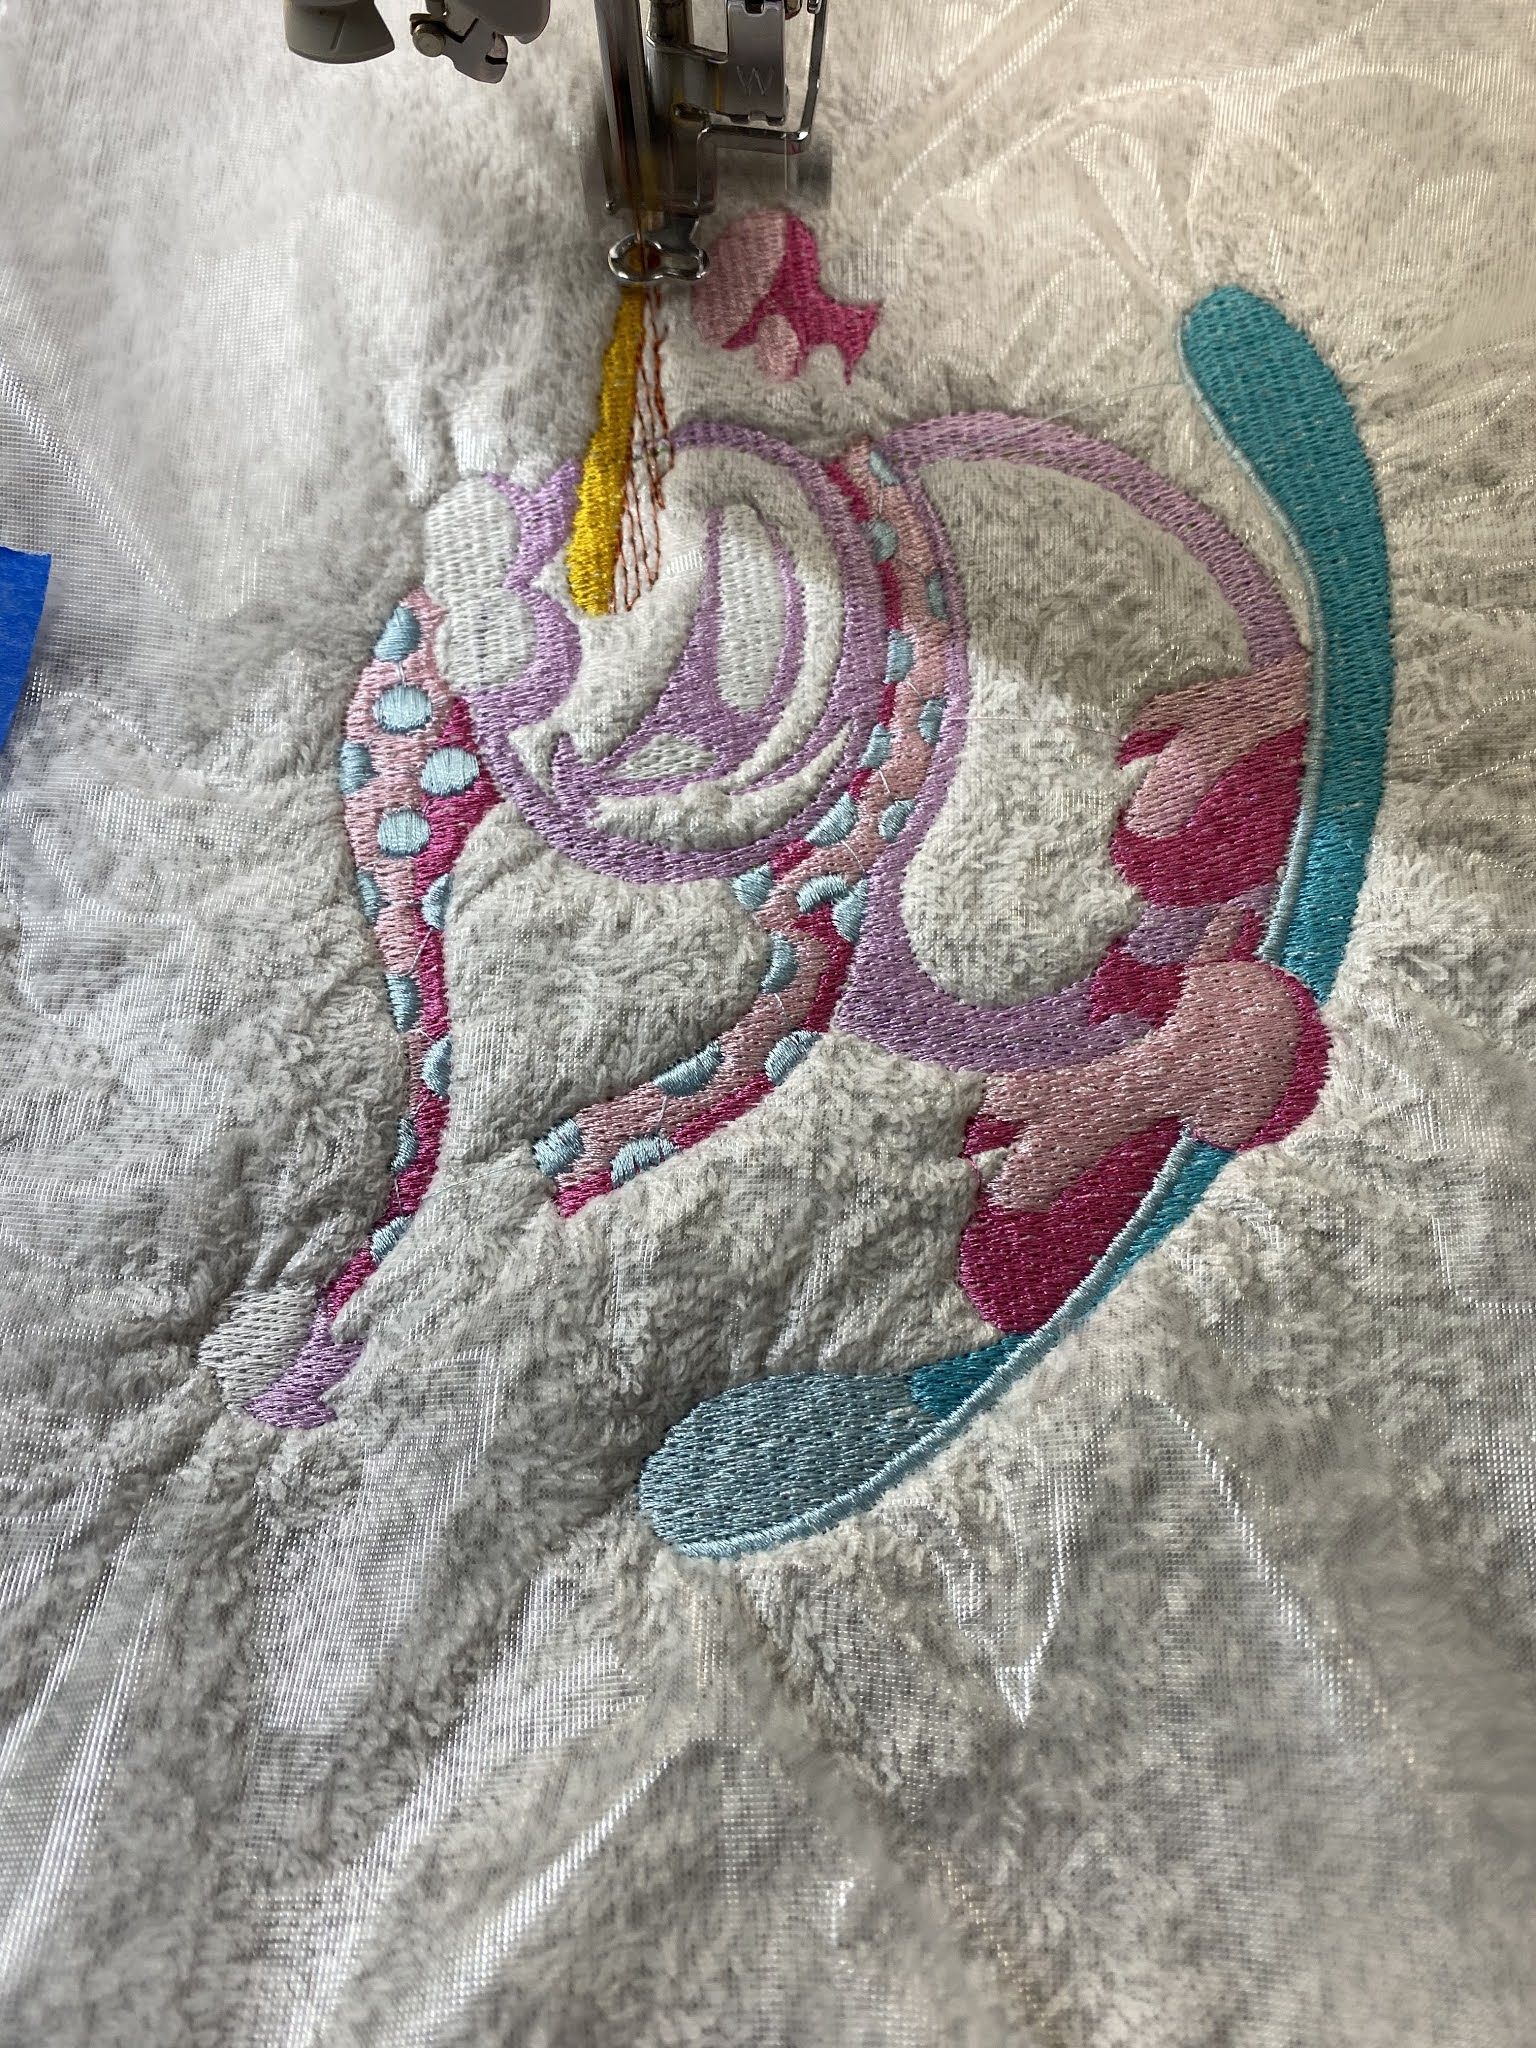
Once I’m happy I’ve found where I want the center of my design to be, I placed a piece of wash away stabilizer over the top and taped it down with some masking tape.   The reason I’m using wash away stabilizer, is so my stitches don’t sink into the toweling.  The stabilizer helps them to sit on top of the toweling.  Now I’m ready to press the green button to start stitching out my design.  To do this, I just lower the presser foot, my thread is already threaded, my needle is new, I checked my bobbin thread was good too, so I knew everything is good.  And here we go ....


I’m ready to remove hoop from my machine, I take it over to my ironing board as it’s a good height to work at when dealing with removing stabilizer and threads not required.  Snip any threads away not meant to be there and remove as much tear away stabilizer as possible, carefully.    


My towel is finished and ready for the wash.  This will help to remove any wash away stabilizer and hopefully any small tear away I wasn’t able to remove with scissors.

I was feeling accomplished at finishing my first towel, so on to another.

This time I used a design from Embroidery Online called “Think Pink” here is a link to their store.  I found this amongst their “Dollar Designs” under their Specials tab, that’s right $1.    


Here are some photos, following the same process as I did for Coffee Lover


You can see from this photo, the size of the design, how it looks on screen is how it will stitch out on my towel, how many stitches this design has, how many color thread changes there are.


And here are the finished towels.


I’m excited to hopefully find designs people will want to buy and this will incentivize me to push myself even more.

Thanks for stopping by and if you made it this far, let me know in the comments where you are viewing this page from, I’d love to hear from you.   Don’t be afraid to master your embroidery machine, once you feel like you’re cracking that nut, it’s very satisfying and enjoyable to use.  Always do a practice piece before setting out to embroider a towel or item of clothing so you can be sure your machine is working well and everything looks good.  I’m still finding my way with my machine too.  Oh, by the way, I love my new magnetic hoop πŸ™ŒπŸ» A must have !!!

πŸ˜ŠπŸ‘‹ 

Tuesday, 17 November 2020

Embroidery and me


Hi πŸ‘‹ everyone, 

I own a Brother Quattro Innovis 6000D which came with all the upgrades.  We bought it secondhand from our local Sewing Machine Center.  For me, still a newbie to sewing machines, sewing and embroidery, this was and is a gem πŸ’Ž of a find.    I have it set up for embroidery right now.  Its been a while since I’ve done any, due to all my other crafty projects.  Searched for a design I could practice with to get me back into the swing of things.  I’m still learning what this awesome machine is capable of. 

I have a ton of awesome designs I purchased a while ago from Smartneedle.com 

https://smartneedle.com/product-category/embroidery/

They have such cute awesome designs.  Found a FQ (Fat Quarter) I could use to practice on.  Chose a design and sorted out my 🧡.   It’s good to do a practice piece before cracking on with something you want  πŸ’―% perfect, it’s a good exercise to familiarise yourself with your machine, changing spools 🧡and other reminders.  Make sure you have embroidery and bobbin thread specifically for embroidering with and have several bobbins filled ready for use. 


Today, I set out to embroider a towel, making sure I had my design the right way round for the towel in question, which also has some additional sparkly snowflakes so really important I get this right.  I decided to try embroidering it using the floating method.  It’s really difficult to hoop thick fluffy towels and have seen various people comment this is a method they use.  So having watched some videos on YouTube of the technique, I set off ... cut some tear away stabiliser which I hooped.  This is the brand I’m using for my larger designs. 


Then using the plastic inserts that come with the hoops used this to find the middle of the stabiliser.  I then proceeded to iron my towel and create a crease to where I wanted the middle of my design to lay.  I then used 505 temporary fabric adhesive to stick my towel to the stabiliser - remembering the towel is not hooped, it is laid over the top of the hoop, but stuck to the stabiliser using the adhesive.  Placing the middle of my crease on the towel to the middle marked out on my stabiliser to square things up. 


I then cut a piece of water soluble topping to place over the top of towel to be embroidered.  This stops the stitches sinking into the towel, allowing the stitches to sit on the surface of the towel, so the design doesn’t get lost in amongst the towelling.

Last time I did a towel using this method, I pinned the stabiliser to the towel but after watching a video of someone using masking tape to stick this stabiliser in place, I decided to try this technique to see how good it worked.   The first thing I noticed was I wasn’t spending loads of time trying to get the pins in the stabiliser and that was worth something, wasting precious time on mindless tasks, so far it seems to be working ...


I chose my design.  I don’t always use exactly the colours provided but usually choose something close to it.

I have two different thread types I’m currently using. 

The first is a mixed bag of Isacord embroidery threads.
  

And then there’s these New Brothread threads I got off of Amazon.   I have to say I am impressed with the quality and the fact they don’t break.  Sometimes the more expensive threads can let me down.


I then proceeded to pick out my thread 🧡 


The great thing about embroidering🧡 using this machine, is that it stops between each colour change, you can follow the design on the screen, it cuts the thread too and moves around the design so easily.  I also have an automatic needle threader when loading up the next spool 🧡 and that is a god send πŸ™ I usually trim any loose thread ends too between thread changes.


I love how the embroidery comes together and it’s so therapeutic just to sit and watch.


Got to the final colour thread, and that’s when everything went downhill from there on.  First the needle broke, I hadn’t realised this at first, as usual I had turned my back for a 5 minutes, when the machine stopped midway complaining.  It said I needed to rethread the upper thread.  But on doing so, more than once, still no status change.  That’s when I noticed something shiny on the towel and realised the needle had snapped.  Anyway, finally got it going again, and then the top thread decided to get itself all tangled up around the bobbin - don’t know how, why, or when but with brute force and my husband on hand got the thing finally untangled and ready to go again ..   

Finally finished the last colour, being black, of course it’s the one that adds all the details to the image.  You can’t afford to have stitches skipped or missing, it will show.  I went back over some of the areas that were caught up in the tangle to hopefully make the details more prominent.  In the end I drew a line under the project after the needle snapped for a second time 😬 

Once I removed the hoop from the machine, I needed to tear off the washable and tear away stabilisers, being careful not to pull too many of the towel threads.  The towel will need a wash now to remove any final small pieces of stabiliser. 


YAY .. Here is the finished towel. 


Lucky Us ☘️

Last summer I stumbled across a company called Kimberbell.   What caught my eye whilst browsing their website is their vast back catalog of ...